
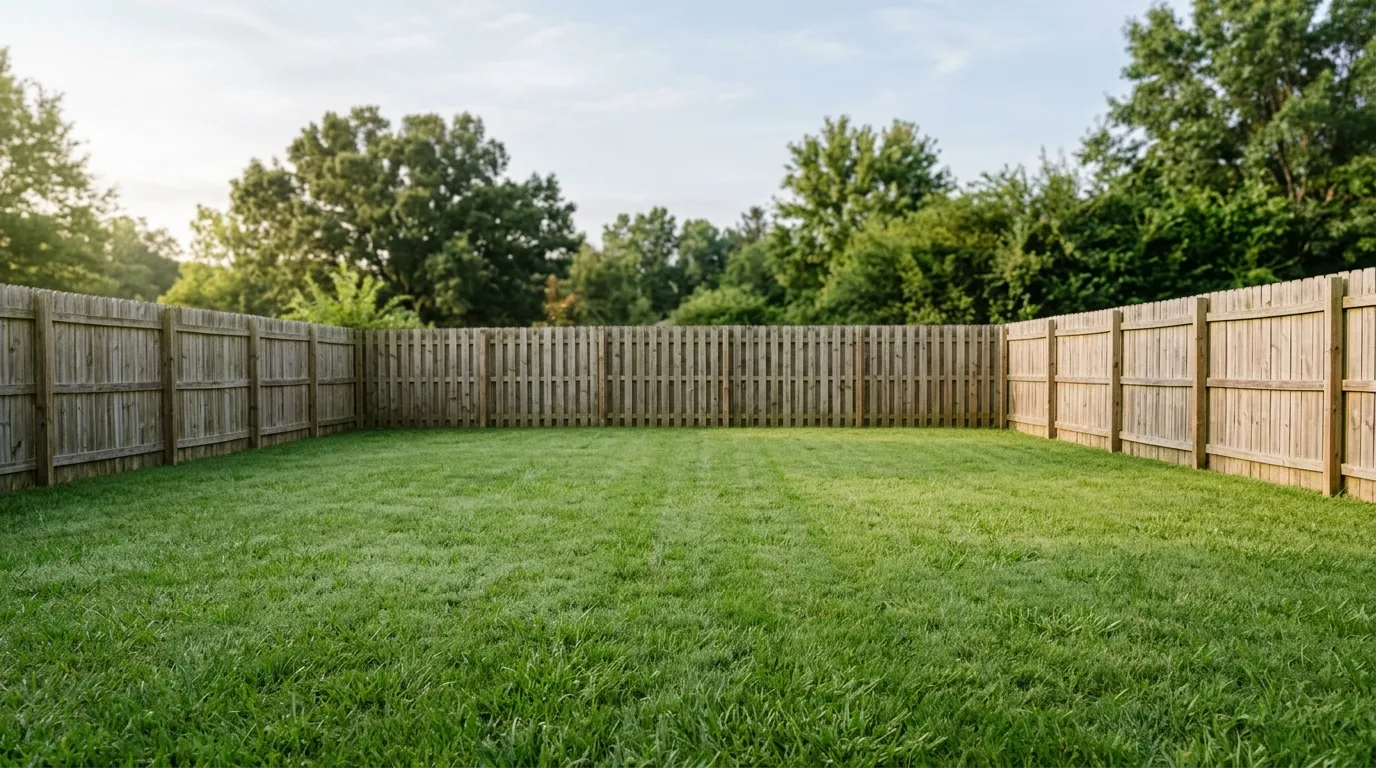
Staring at an empty yard can feel overwhelming. Where do you even start? Which plants go where? How much space do you actually need?
Here’s the truth: a great garden layout isn’t about having a green thumb. It’s about planning a few key details before you dig a single hole. Get the layout right, and everything else planting, watering, maintaining gets easier.
This guide walks you through the exact steps to plan a layout that looks good and actually works, even if you’ve never designed a garden before.
Step 1: Study Your Sunlight First
Before you pick a single plant, watch your yard for a day. Sunlight determines almost everything about what will thrive where.
- Full sun areas get 6+ hours of direct light. Great for vegetables, roses, and most flowering plants.
- Partial shade spots get 3–6 hours. Good for hostas, ferns, and many herbs.
- Full shade areas get less than 3 hours. Stick to shade-lovers like impatiens or lily of the valley.
Grab a notebook and jot down which zones get sun in the morning versus the afternoon. This ten-minute observation saves you from planting sun-loving flowers in a shady corner where they’ll never bloom.
Step 2: Sketch a Rough Bubble Map
You don’t need fancy software. Grab paper and draw simple circles (“bubbles”) representing different zones you want:
- A seating area
- A vegetable patch
- A flower border
- A pathway connecting everything
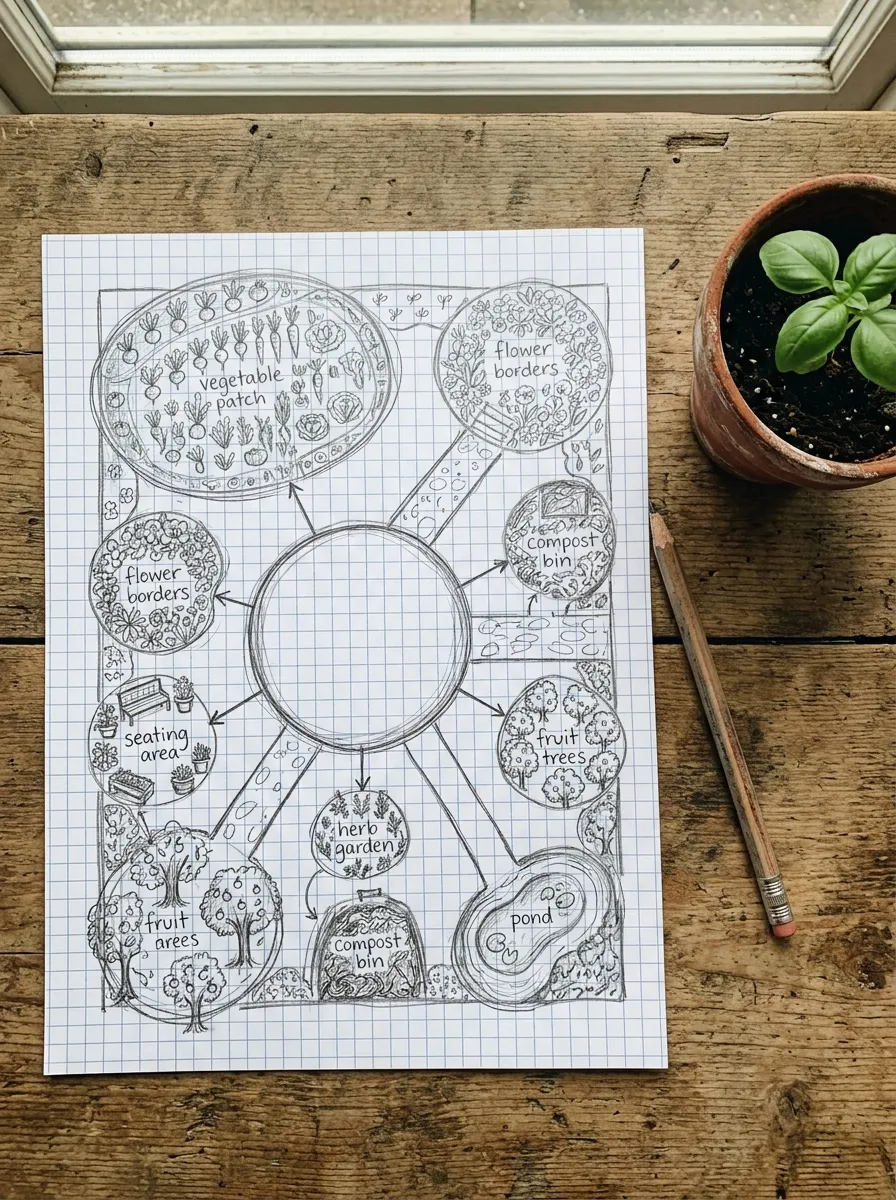
Don’t worry about exact measurements yet. This step is just about deciding what goes roughly where. Keep taller elements like trees or trellises toward the back or sides, so they don’t block sunlight from shorter plants in front.
Step 3: Create Zones, Not Just Rows
Beginners often plant in straight rows because it feels tidy. But zones – grouped clusters of plants with a shared purpose – actually look more designed and are easier to maintain.
Try grouping by:
- Water needs (thirsty plants together, drought-tolerant ones together)
- Height (tall in back, short in front)
- Purpose (herbs near the kitchen door, cut flowers near a path)
This way, watering becomes simple. You’re not running the hose to five random spots around the yard.
Step 4: Add a Path Before You Plant
A path isn’t just decorative. It tells your feet – and your eyes – where to go. Without one, people end up walking straight through garden beds, which compacts soil and damages roots.
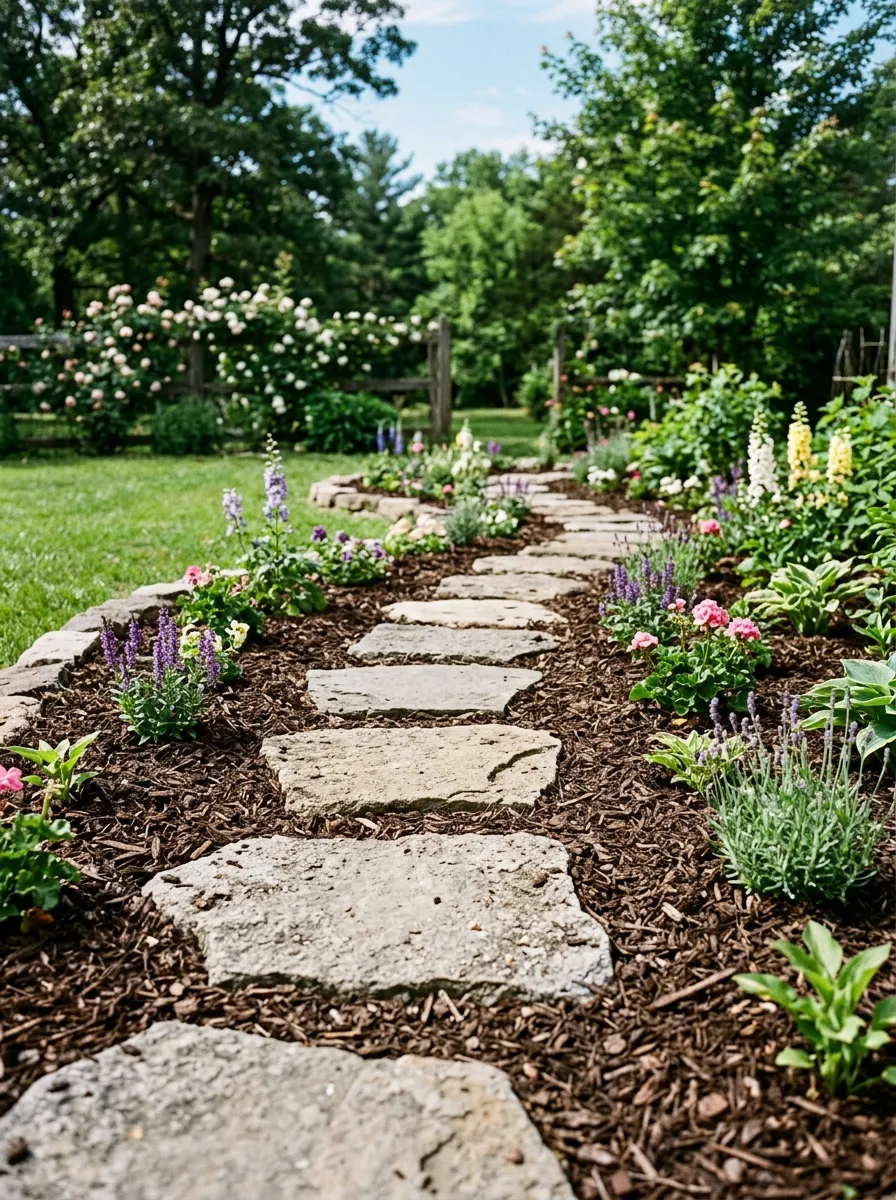
You don’t need pavers or poured concrete. A basic path can be:
- Mulch, spread over cleared ground
- Stepping stones, spaced a stride apart
- Gravel, contained with simple wooden edging
Budget tip: Lay your path out with a garden hose first. Move it around until the curve feels natural, then use spray paint to mark the shape before adding material.
For more guidance on planning a practical and attractive walkway, explore this garden path planning guide for helpful ideas on choosing the right path style, materials, and layout for your outdoor space.
Step 5: Think in Layers, Not Flat Beds
A flat bed with everything at the same height looks unfinished. Instead, build in three layers:
- Back layer: tall plants or shrubs
- Middle layer: medium bushes or flowering perennials
- Front layer: low ground cover or trailing plants
This layered look works in a small border or a full backyard bed. It also means every plant gets visible sunlight instead of shorter ones getting shaded out by taller neighbors.
Step 6: Leave Room to Grow
One of the biggest beginner mistakes is planting too close together. That tiny seedling looks lonely now, but check the plant tag — it might triple in size by summer.
- Always plant based on mature size, not current size.
- When in doubt, space plants slightly farther apart than the tag suggests.
- Fill gaps temporarily with cheap annuals while perennials fill in over a season or two.
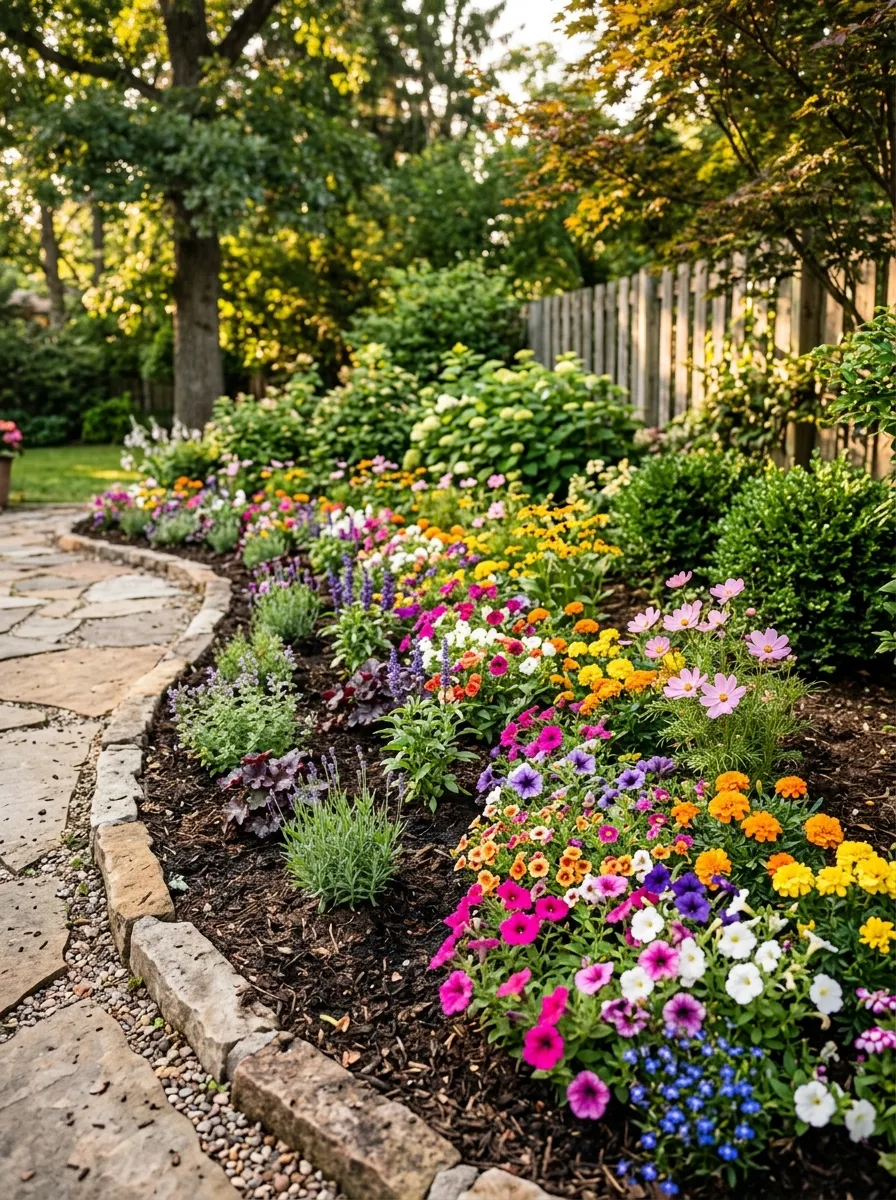
This patience pays off. A garden that looks sparse in May often looks completely full by August.
Step 7: Test Your Layout Before Committing
Before digging anything permanent, place your actual pots or nursery plants (still in their containers) where you plan to plant them. Walk around. Sit where your seating area will be. Look at the view from a window.
This quick test often reveals problems a path that’s too narrow, a bed that blocks a view—before they become permanent mistakes. Once you’re happy with the layout, explore these modern garden design ideas to create a clean, stylish outdoor space where every element feels intentional and well placed.
Your Garden, One Step at a Time
A great garden layout doesn’t happen in one weekend, and it doesn’t need to. Start with the sunlight map, sketch your zones, and lay out a simple path. Everything else can grow from there, one season at a time.
Save this guide for your next trip to the garden center – you’ll know exactly where everything belongs before you even buy it.