
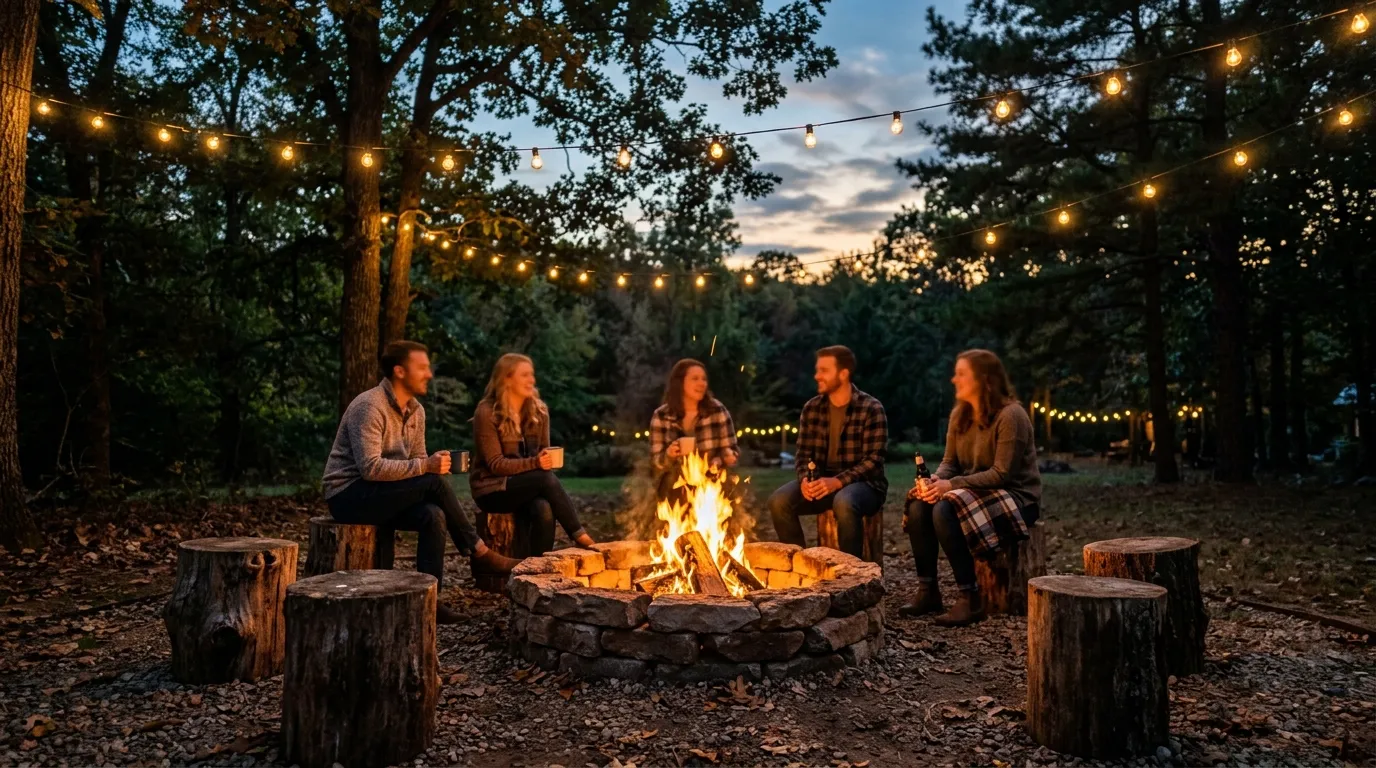
A fire pit turns an ordinary backyard into the place everyone wants to end up on a cool evening. It’s the one feature that pulls people outside after dark, gives kids somewhere to roast marshmallows, and gives adults a reason to linger long after dinner. Building one doesn’t require a mason or a big budget. This list walks through practical, affordable ways to build, style, and surround a fire pit so it becomes the actual heart of your yard, not just a hole with some rocks around it.
1. Build a Simple Ring From Stacked Fieldstone
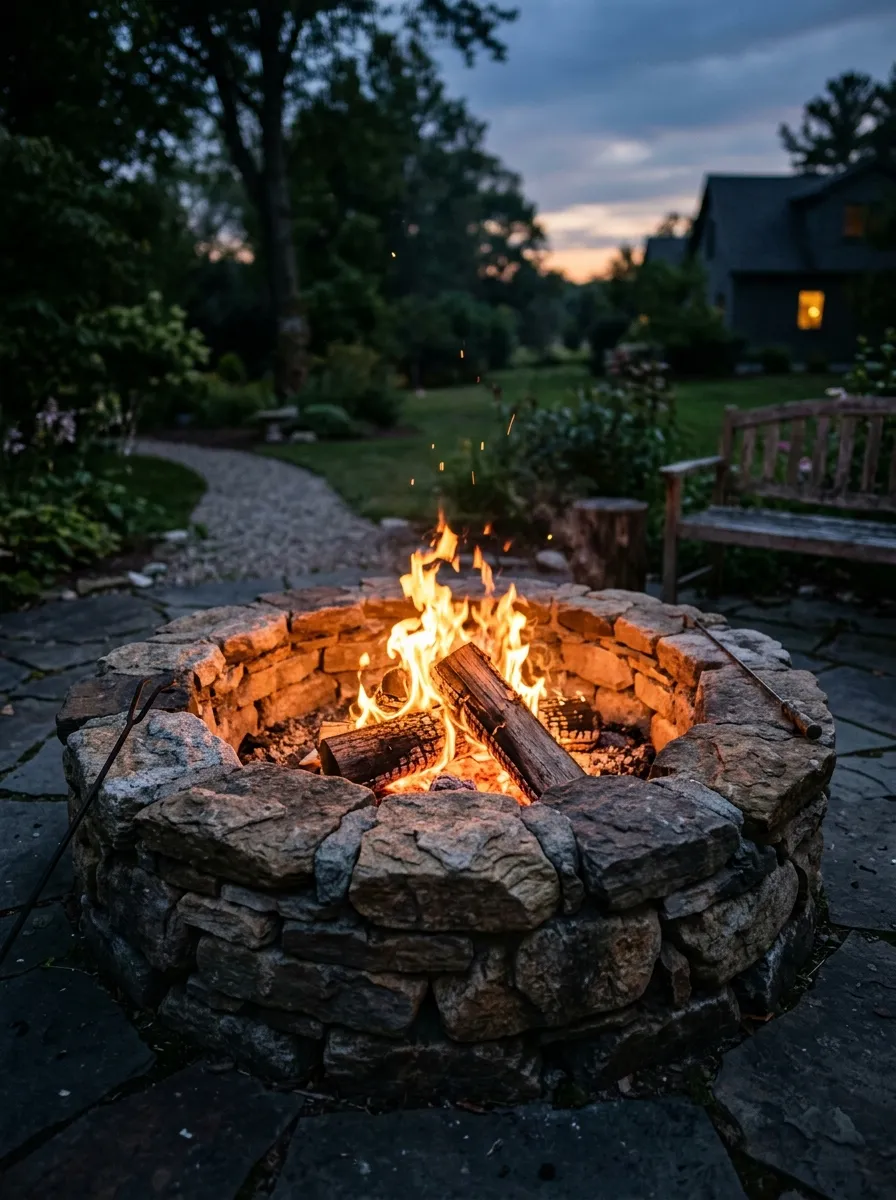
A stacked stone ring is the most basic fire pit build, and it holds up well without any mortar. Dig a shallow circle about a foot deep, then stack irregular fieldstones in a ring two or three layers high.
The gaps between stones actually help with airflow, keeping your fire burning steadily rather than smothering itself.
Choose stones that are roughly similar in size for easier stacking, though a little variation adds a more natural, collected look.
Budget tip: many yards already have loose fieldstone scattered around, or a neighbor doing landscape work may have extra to give away.
This build takes an afternoon and needs no special tools beyond a shovel. It’s sturdy enough to last for years and only improves with a bit of soot and weathering over time.
2. Use a Metal Fire Ring Insert for Safety
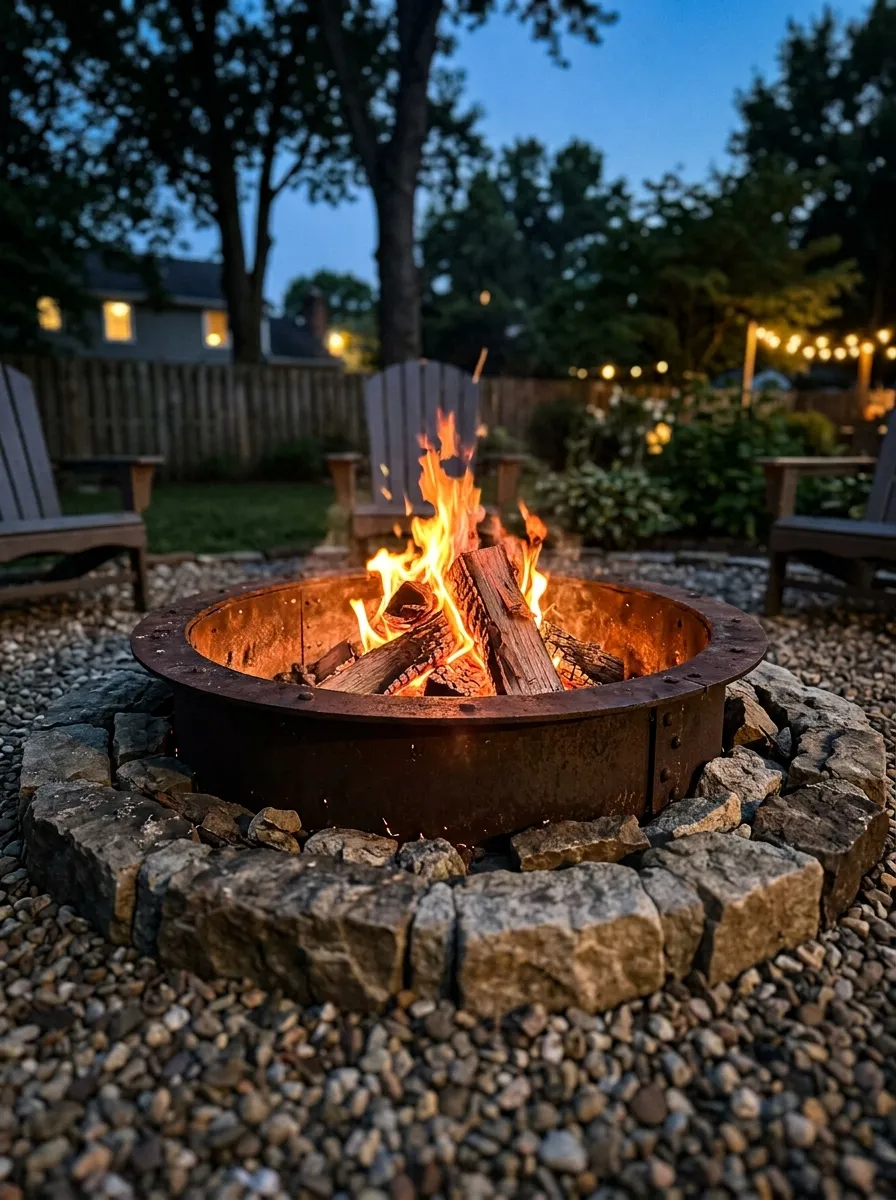
A metal insert protects the inside of your fire pit from heat damage while making cleanup far easier than an open dirt or stone base. Drop a round steel fire ring into your dug-out pit before stacking stones around the outside for decoration.
The metal contains embers better than stone alone, reducing the risk of a fire spreading to nearby grass or mulch.
Look for a ring with drainage holes near the bottom, which keeps rainwater from pooling and rusting it out too quickly.
Budget tip: old metal drums or tractor rims, cut down to size, work as a budget alternative to a purchased fire ring.
This upgrade adds real safety and durability to any basic stone pit, and it’s a small cost compared to the protection it offers your yard.
3. Add Log Stump Seating Around the Pit
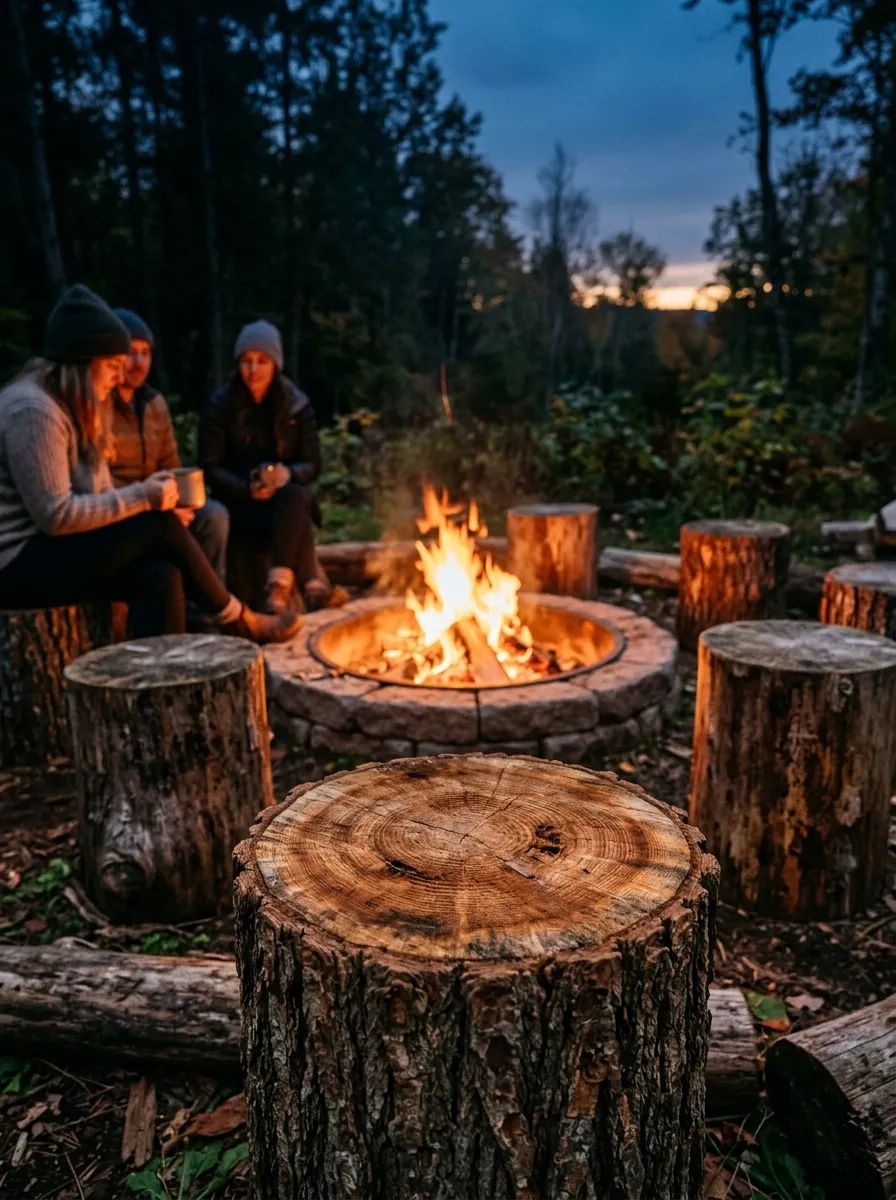
Tree stumps make sturdy, weatherproof seating that costs nothing if you have access to a recently cut tree. Cut sections about eighteen inches tall, sand the top surface smooth, and arrange them in a loose circle around your fire pit.
Stumps hold up to rain and sun far better than fabric cushions, and their natural bark texture fits almost any yard style.
Seal the cut surfaces with an outdoor wood sealant to slow rot and extend how many seasons they’ll last.
Budget tip: ask a local tree removal service for stump sections, since they often need to dispose of them anyway and hand them over for free.
This project gives you seating that looks intentional and rustic rather than mismatched, all without spending a dime on patio furniture.
4. Build a Raised Fire Pit With Concrete Blocks
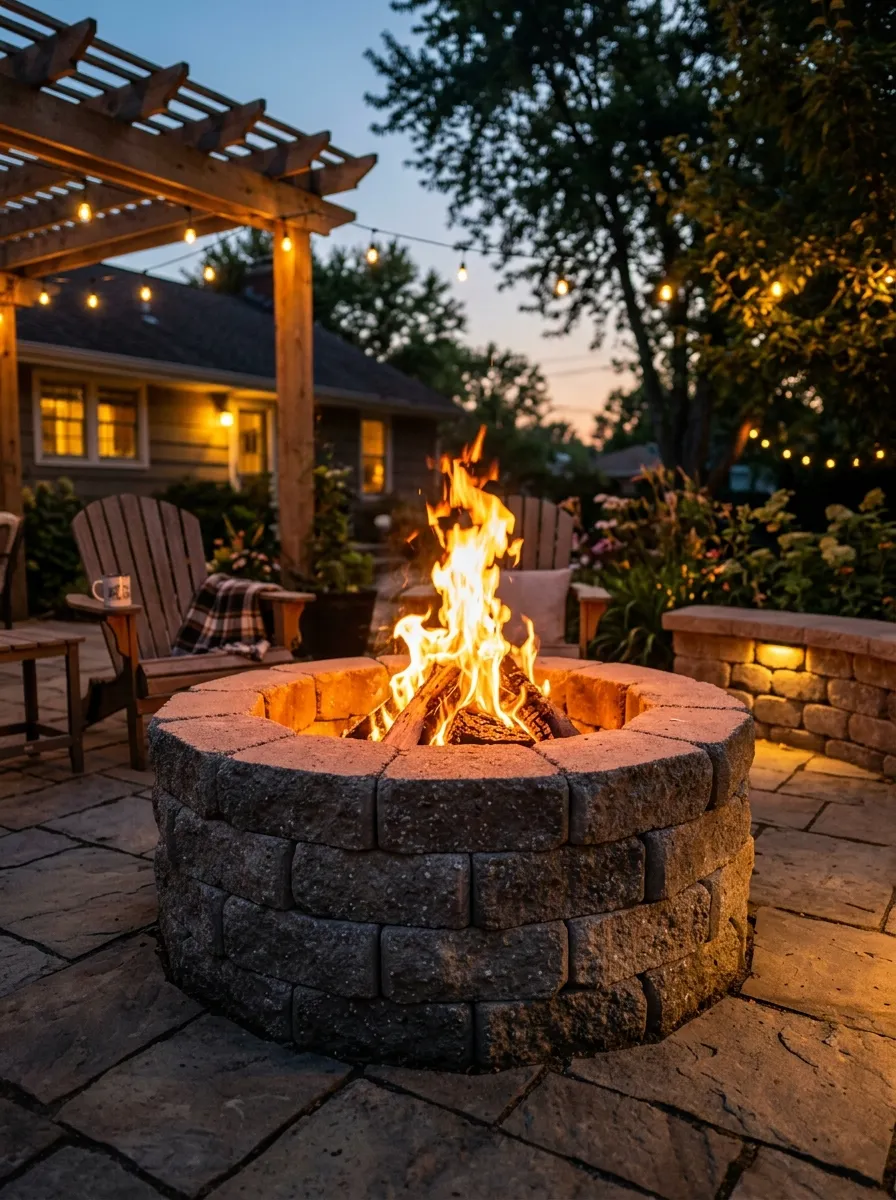
A raised fire pit sits above ground level, which makes it easier to see the flames from a seated position and keeps the fire further from ground moisture. Stack concrete blocks in a circle, offsetting each layer slightly like a brick pattern for added stability.
No mortar is required if you keep the structure under three layers high, since the weight alone holds everything in place.
Line the interior with fire brick or a metal ring insert to protect the concrete blocks from cracking under direct heat.
Budget tip: buy blocks from a hardware store’s damaged or discounted pallet, since small chips and cracks won’t show once stacked and lit.
This build takes a single afternoon and gives your yard a defined, sturdy fire feature that reads as a real design choice rather than a temporary setup. For more inspiration and safety considerations, explore these DIY backyard fire pit ideas to find different designs and layouts that can work for your outdoor space.
5. Create a Gravel Base to Prevent Mud
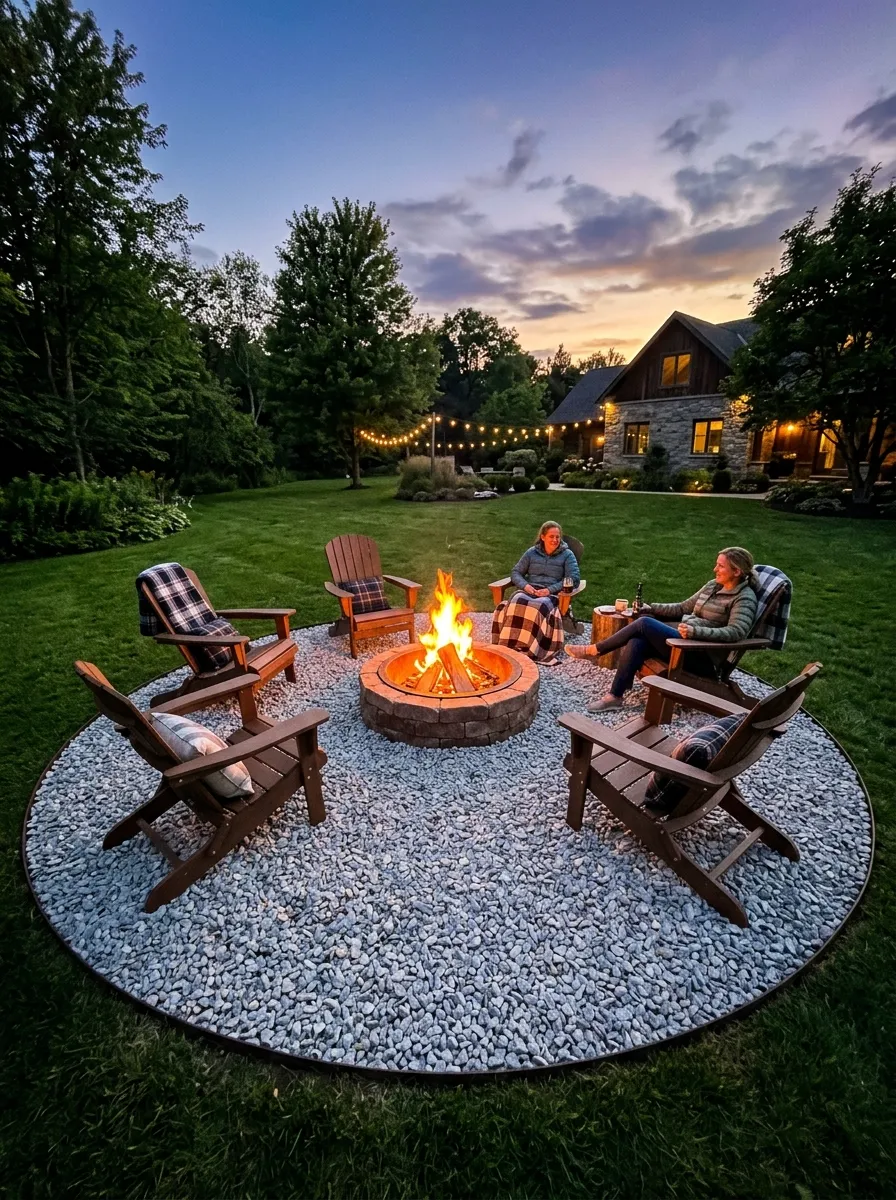
Grass around a fire pit wears down fast from repeated foot traffic and heat exposure, eventually turning into a muddy patch. A gravel base solves this before it becomes a problem. Mark out a circle larger than your seating area, remove the grass, lay landscape fabric, then spread a few inches of gravel across the space.
This keeps the ground dry and stable even after rain, and it eliminates the ongoing struggle of trying to regrow grass in a high-traffic spot.
Edge the gravel circle with timber or stone to keep it from spreading into the surrounding lawn.
Budget tip: buy gravel in bulk from a landscaping supplier rather than bagged gravel from a hardware store, since bulk pricing runs far cheaper per square foot.
This project keeps your fire pit area looking clean and usable through every season, rain or shine.
6. String Overhead Lights for Evening Ambiance
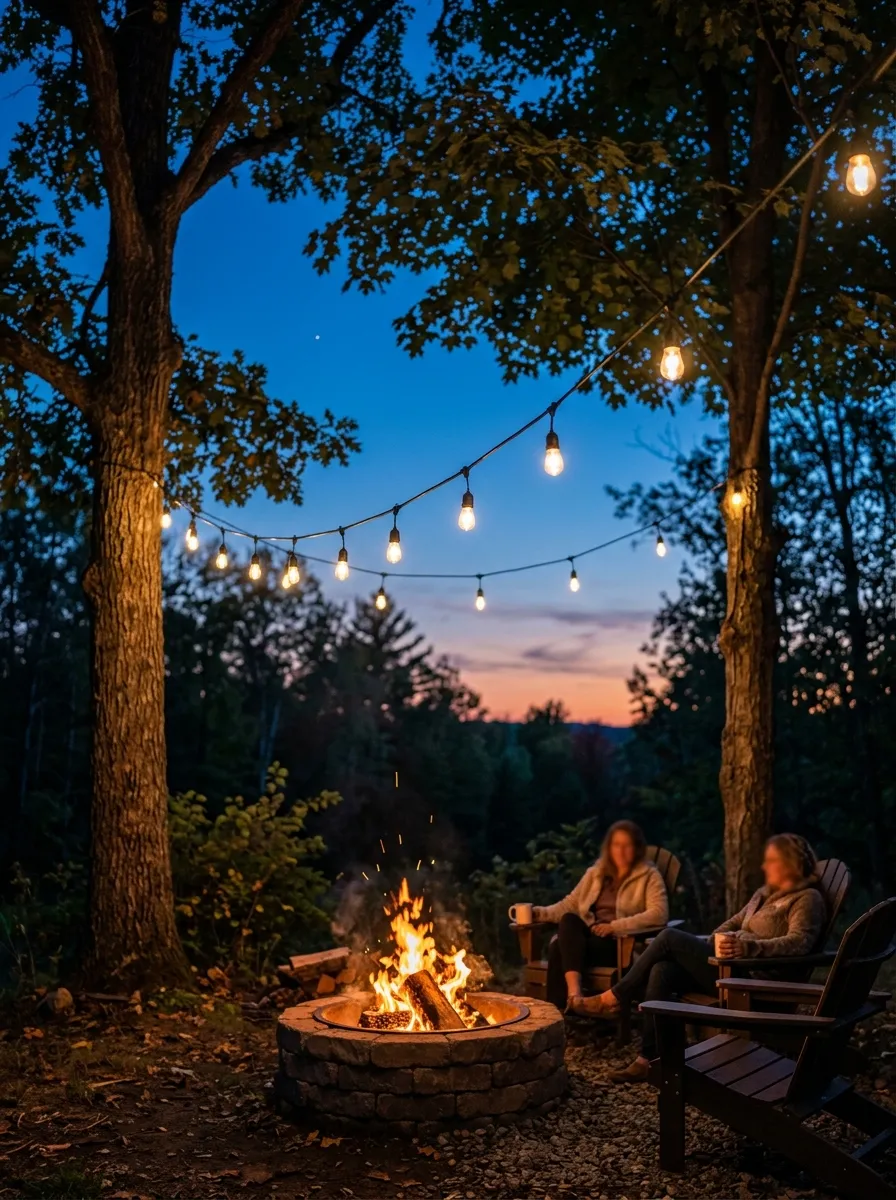
String lights add a soft, warm glow that extends the mood of your fire pit gathering beyond just the flames themselves. Run a strand between two trees, along a fence, or across a simple pole frame positioned above the seating area.
Choose warm white bulbs rather than cool white or colored lights, since warm tones blend more naturally with firelight instead of competing with it.
Solar-powered string lights avoid the need for an outdoor outlet, charging during the day and switching on automatically at dusk.
Budget tip: watch for post-holiday clearance sales, when string lights often drop significantly below their regular price.
This project takes under an hour to set up and makes a real difference in how inviting the space feels once the sun goes down.
7. Build a Built-In Bench Ring Around the Fire
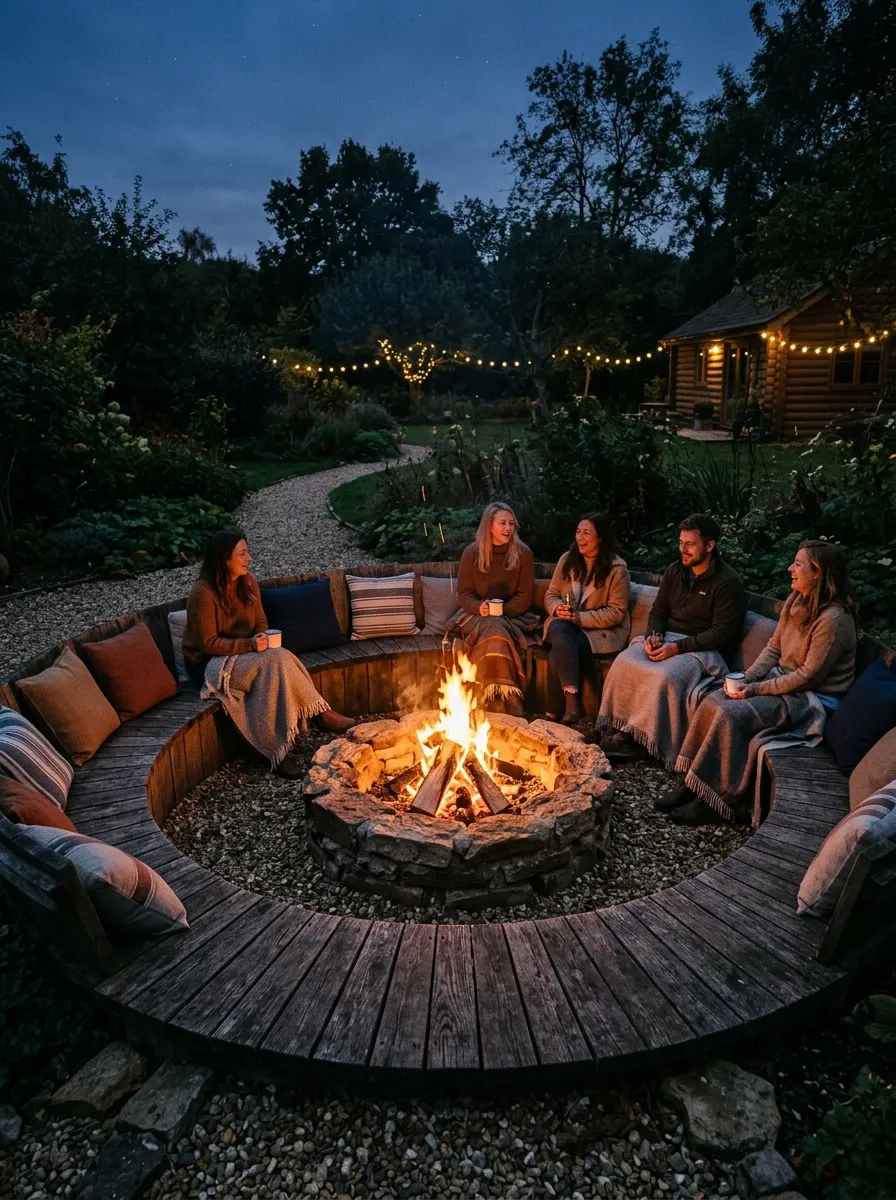
A built-in bench ring gives every guest a permanent seat without needing to drag chairs out each time. Build a simple curved frame from pressure-treated lumber, sized to wrap most of the way around your fire pit while leaving a gap for easy access.
Top the frame with deck boards for the seating surface, and add a slight back rest if you want more comfort for longer evenings outside.
Leave enough distance between the bench and the fire pit itself to avoid heat damage to the wood over time.
Budget tip: reclaimed deck boards from a torn-out deck project cover most of the material cost for this build.
This project turns a fire pit into a genuine outdoor room, with permanent seating that never needs to be found, moved, or stored.
8. Add a Small Side Table for Drinks and Snacks
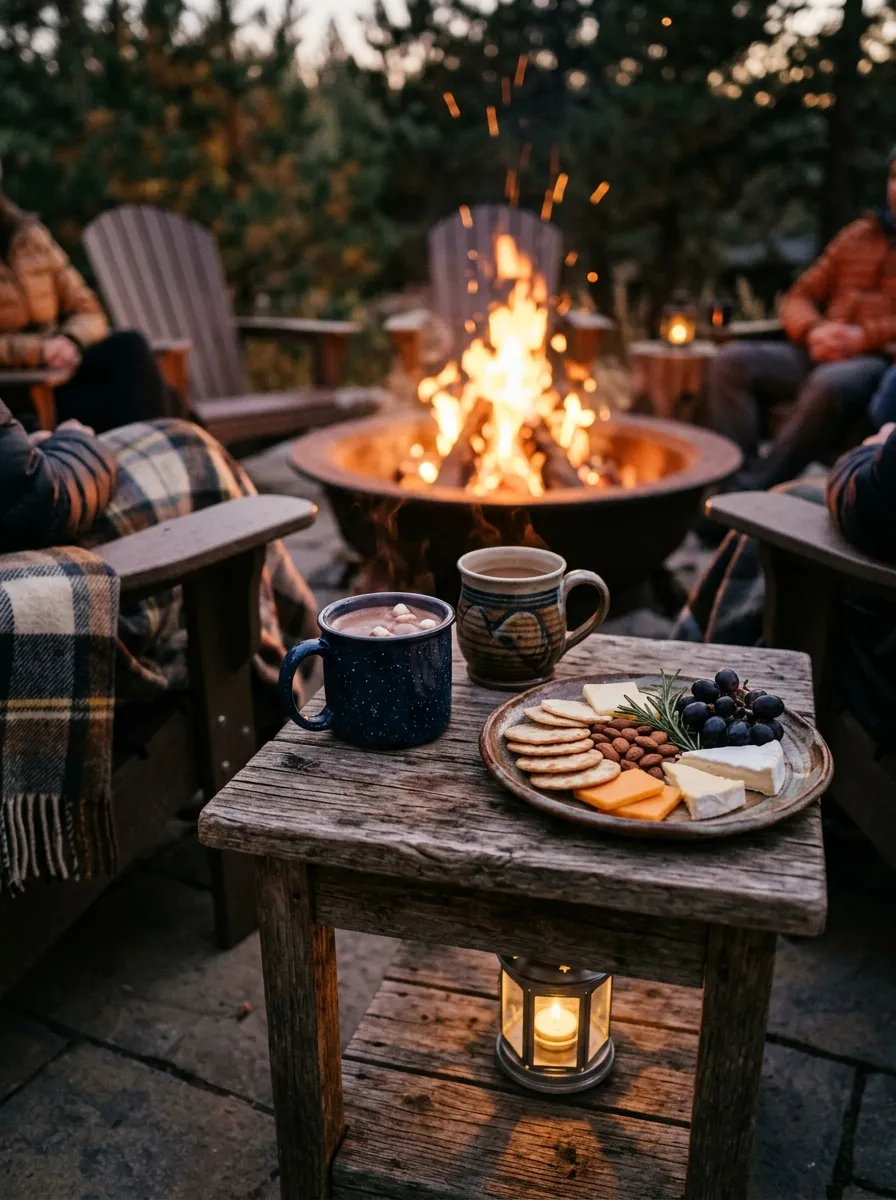
A small side table nearby solves the practical problem of where to set a drink or plate during a fire pit gathering, since balancing everything on your lap gets old fast. A simple wooden crate, a tree stump, or even a sturdy stool works fine as an impromptu table.
Position it within easy reach of the main seating area, but far enough from the fire that nobody worries about it catching a stray spark.
Weatherproof the surface with a coat of outdoor sealant if it will stay outside between uses.
Budget tip: thrift stores and yard sales often carry small side tables cheaply, since these pieces rarely sell for much secondhand.
This small addition makes extended evenings by the fire noticeably more comfortable and convenient for everyone gathered around it.
9. Build a Fire Pit Cooking Grate for S’mores and More
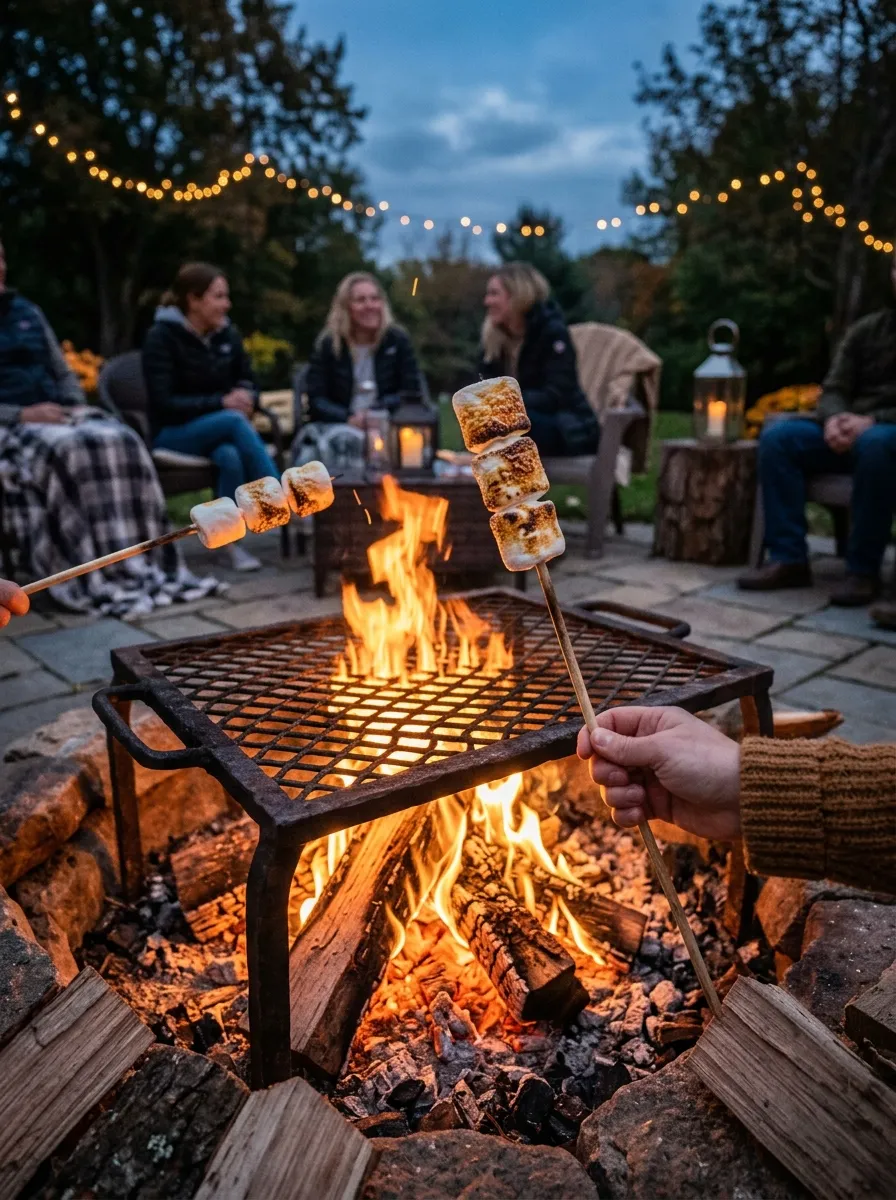
A simple grate turns your fire pit into a cooking surface, opening up options beyond just roasting marshmallows on a stick. Set a round or square metal grate across the top of your fire ring, adjustable in height if your design allows for it.
This works well for grilling foil-wrapped vegetables, toasting bread, or keeping a pot warm for cocoa on a cool evening.
Clean the grate after each use to prevent buildup, and store it somewhere dry between uses to avoid rust.
Budget tip: an old oven rack or a discarded grill grate, cleaned and reused, works just as well as a purchased fire pit grate.
This project adds real function to your fire pit beyond ambiance, making it a genuine gathering spot for food as well as conversation.
10. Create a Sunken Fire Pit Lounge
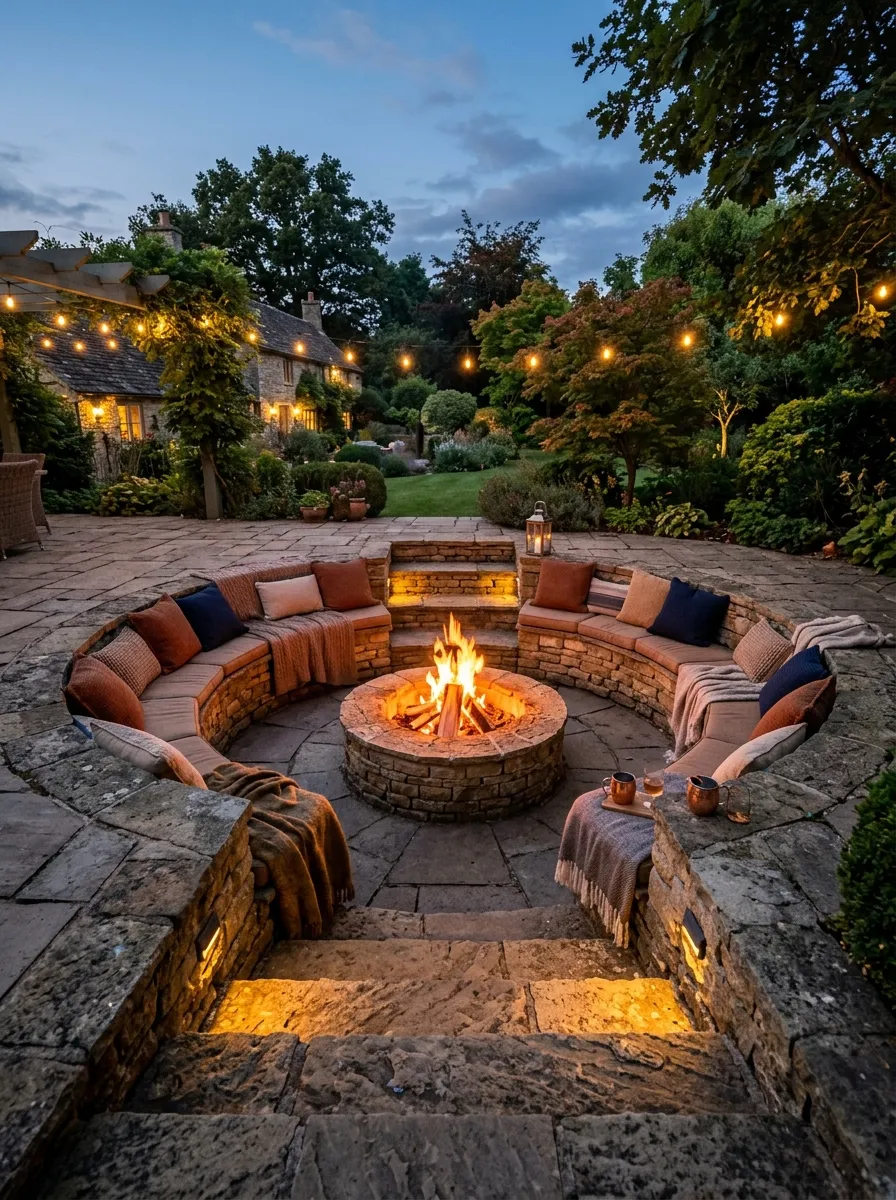
A sunken fire pit lounge sets the whole gathering area a step or two below the surrounding yard level, creating a natural sense of enclosure and intimacy. Dig out a circular area, build low retaining walls around the perimeter, and add a few steps down into the space.
This design blocks wind more effectively than an open, flat fire pit setup, which keeps flames steadier on breezy evenings.
Line the sunken walls with built-in bench seating for a cohesive, all-in-one lounge feel.
Budget tip: reclaimed stone or concrete block, stacked without mortar for walls under two feet tall, keeps this project affordable.
This build takes more effort than a simple ring, but it creates one of the most immersive, cozy gathering spots you can build in a backyard.
11. Add a Fire Pit Cover for Weather Protection
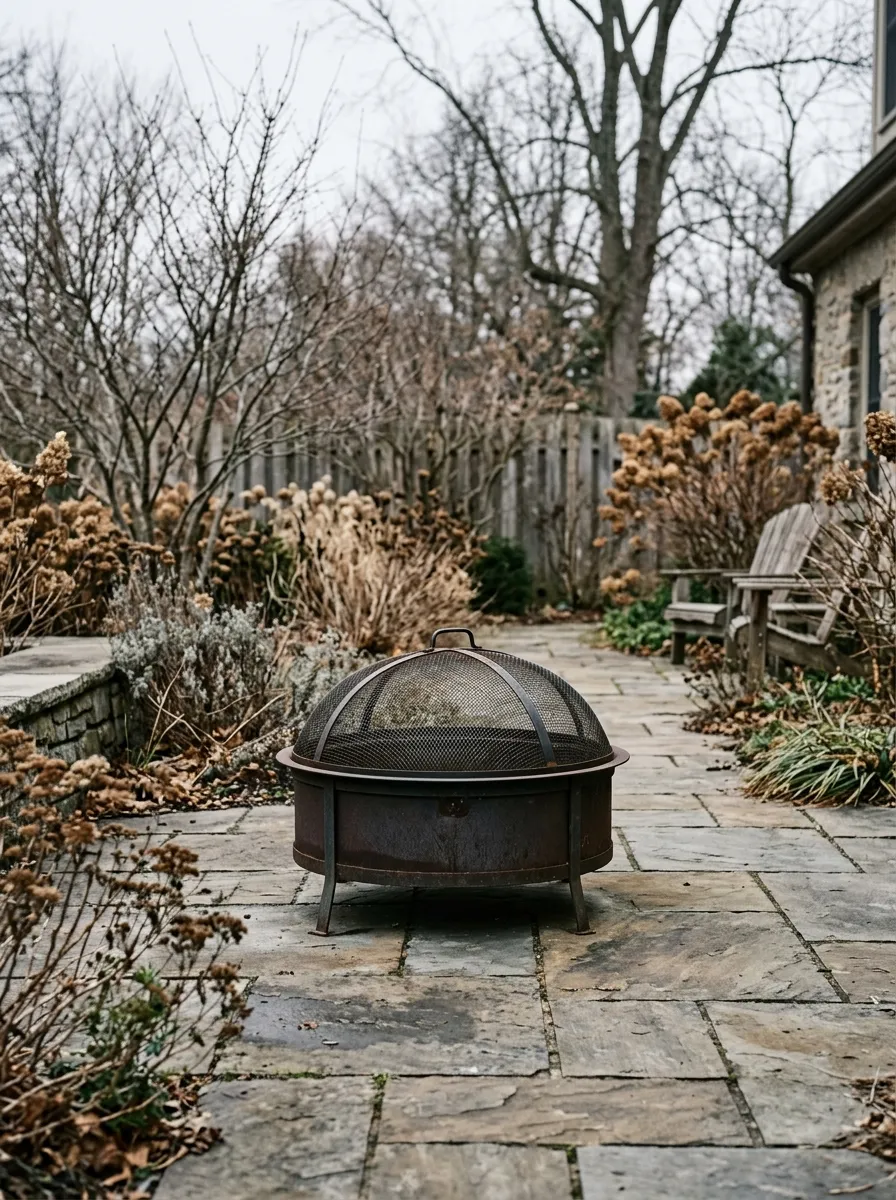
A simple cover keeps rain, leaves, and debris out of your fire pit between uses, extending the life of both metal inserts and stone construction. Fitted metal or heavy-duty fabric covers both work, depending on your pit’s shape and size.
This step matters most for metal fire rings, since standing water speeds up rust significantly compared to a dry, covered pit.
Remove the cover fully before lighting a fire, and store it somewhere safe and dry rather than leaving it crumpled nearby.
Budget tip: a large, sturdy trash can lid or a piece of plywood cut to size works as a budget cover for a simple stone pit.
This small habit extends the lifespan of your fire pit significantly, protecting your investment through rain, snow, and months of seasonal disuse.
12. Build a Fire Pit Surrounded by Raised Planters
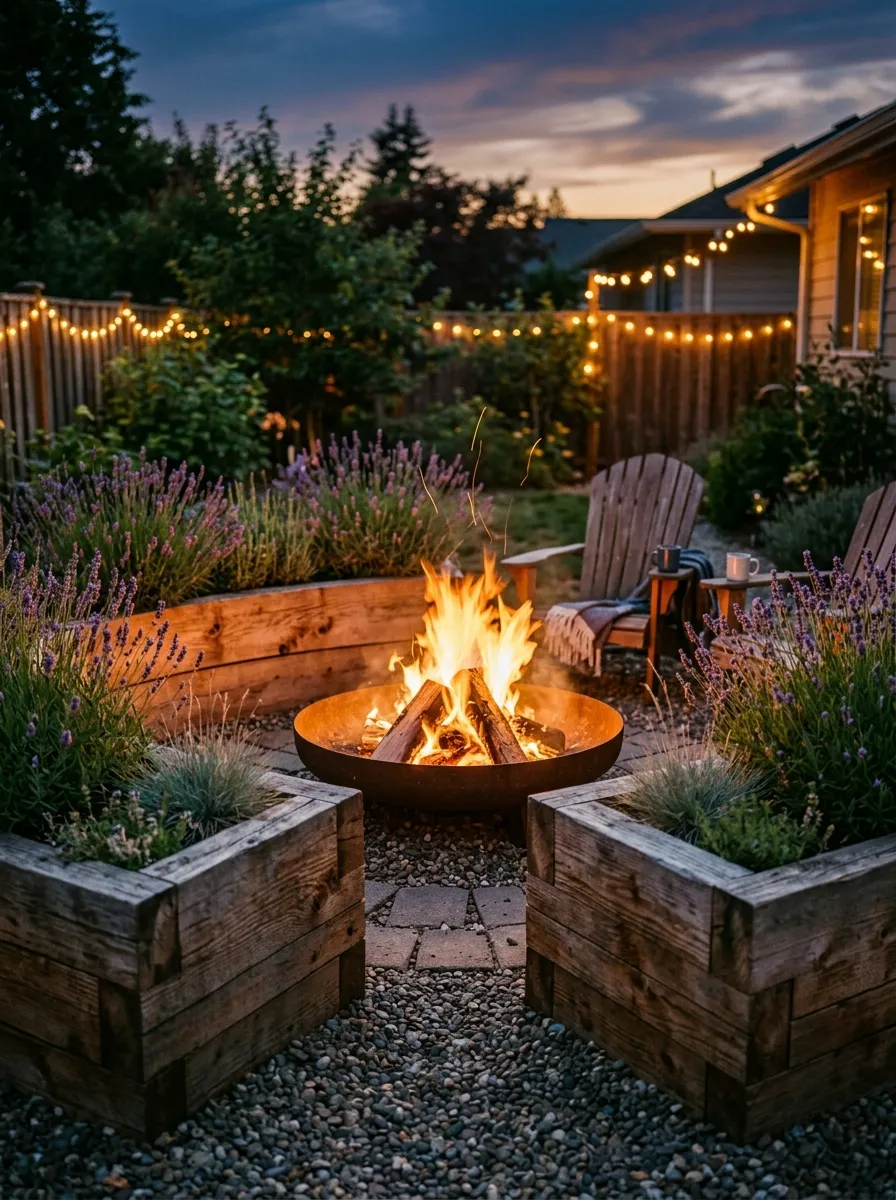
Raised planters positioned around a fire pit combine two backyard features into one cohesive space, softening the hard edges of stone or concrete with greenery. Build simple rectangular planter boxes from scrap wood, spaced just far enough from the fire that heat doesn’t stress the plants.
Choose heat-tolerant, low plants like lavender or ornamental grasses that won’t mind the occasional warm evening nearby.
Keep the tallest plants further from the fire and shorter, hardier options closest, so nothing overhangs directly above the flames.
Budget tip: leftover lumber from other yard projects covers most of the planter box material cost without needing a fresh purchase.
This project blends function and beauty, turning the fire pit area into a genuine garden feature rather than just a bare patch of gravel or patio.
13. Use Fire Glass Instead of Wood for a Modern Look
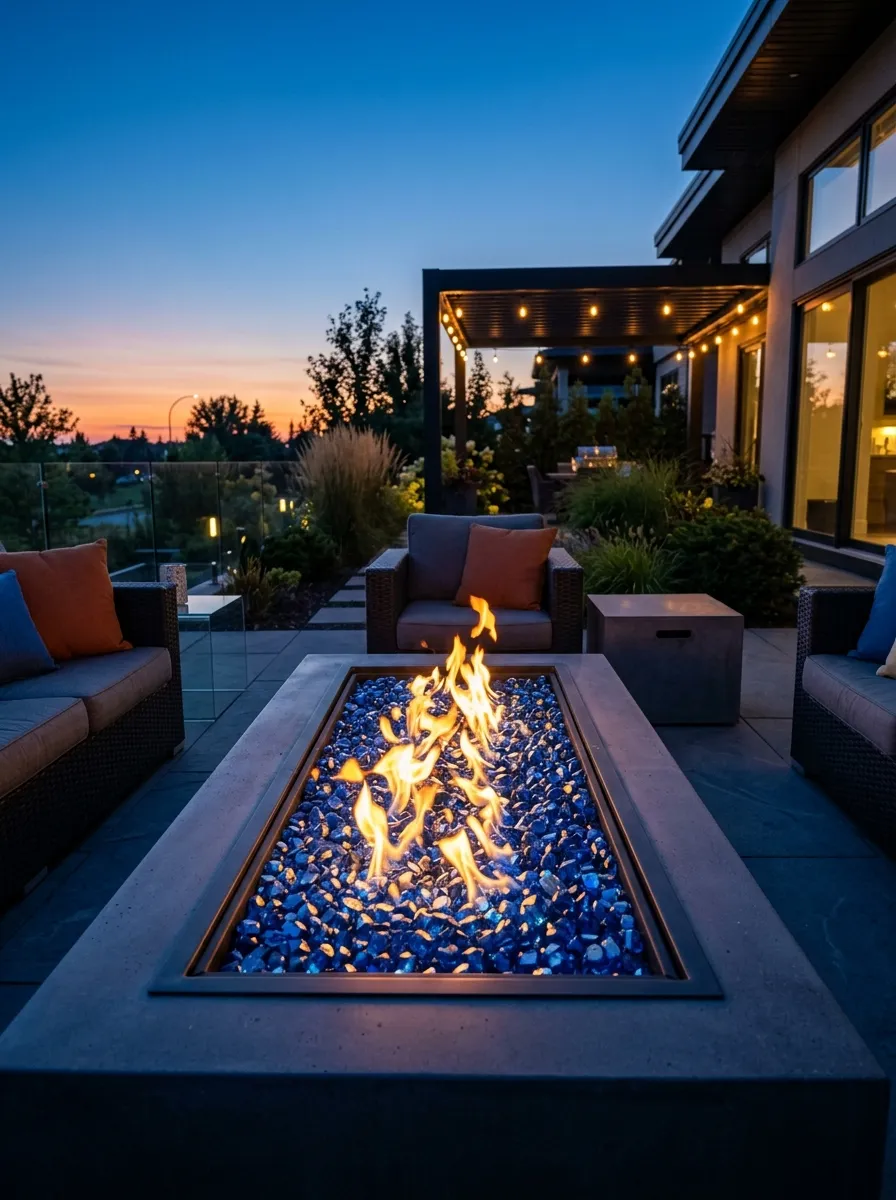
Fire glass gives a gas fire pit a sleek, modern look that plain lava rock or wood simply can’t match. The glass pieces reflect and refract the flame’s light, creating a shimmering effect that reads as more polished and contemporary.
This option only works with a gas fire pit setup, since fire glass isn’t designed for a traditional wood-burning pit.
Spread a layer about two inches deep across the burner, enough to cover the mechanism without smothering the flame’s airflow.
Budget tip: buy fire glass in bulk bags rather than small decorative containers, since the per-pound price drops significantly at larger quantities.
This upgrade transforms a basic gas fire pit into a genuine design centerpiece, especially effective for a patio with a more modern overall style. If you’re planning to give your entire outdoor space a contemporary feel, explore these modern garden ideas for more inspiration on creating a sleek, stylish, and cohesive garden design.
14. Build a Fire Pit With a Built-In Wood Storage Nook
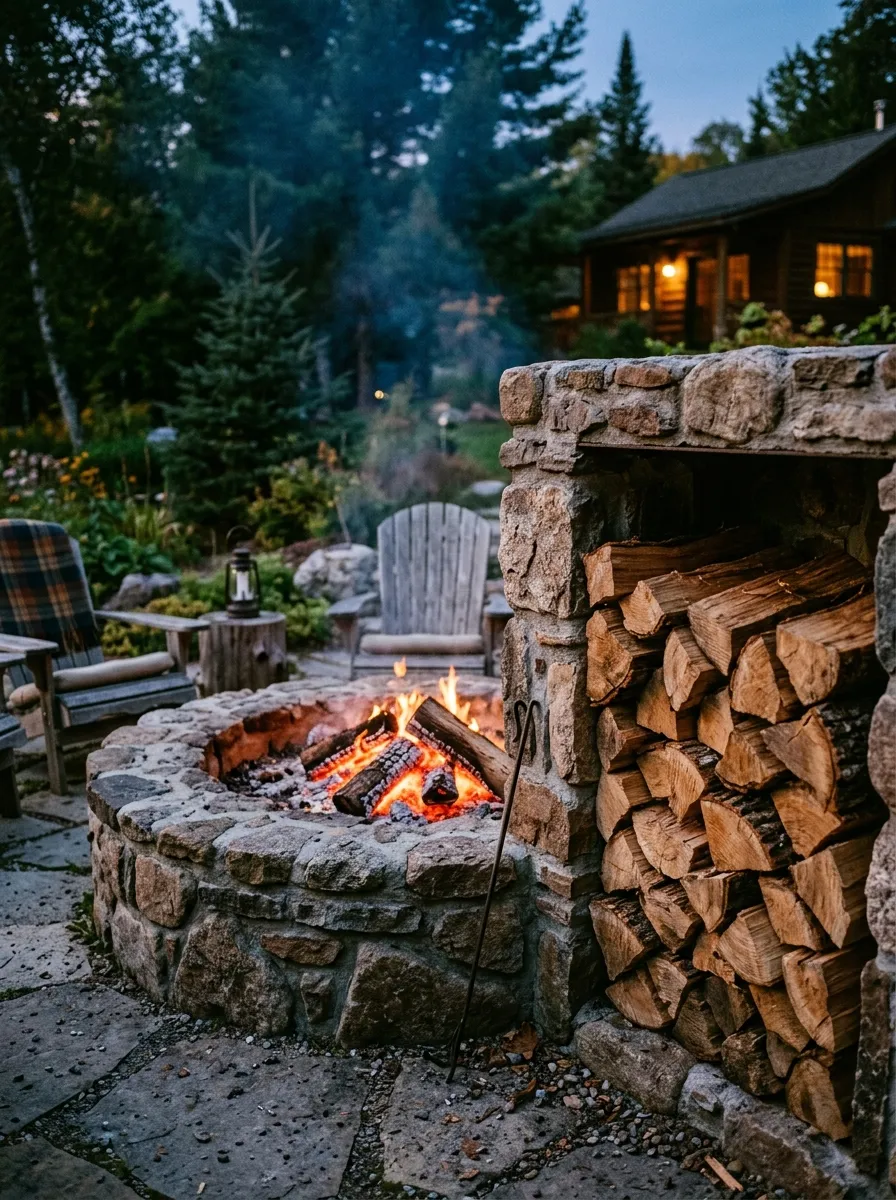
Keeping firewood close at hand solves the annoying mid-gathering trip back to the shed for more logs. Build a simple open nook into the base of your fire pit structure, or set a separate small rack right beside the seating area.
Stack wood loosely rather than tightly, since airflow helps keep logs dry and ready to burn even after a rainy stretch.
Cover the stacked wood with a simple lean-to style roof if it sits fully exposed to weather.
Budget tip: build the storage rack from leftover pallet wood instead of buying a purpose-made firewood rack.
This small addition keeps your fire pit gatherings running smoothly, without anyone needing to leave the circle just to keep the fire going.
15. Create a Fire Pit Patio With Mixed Materials
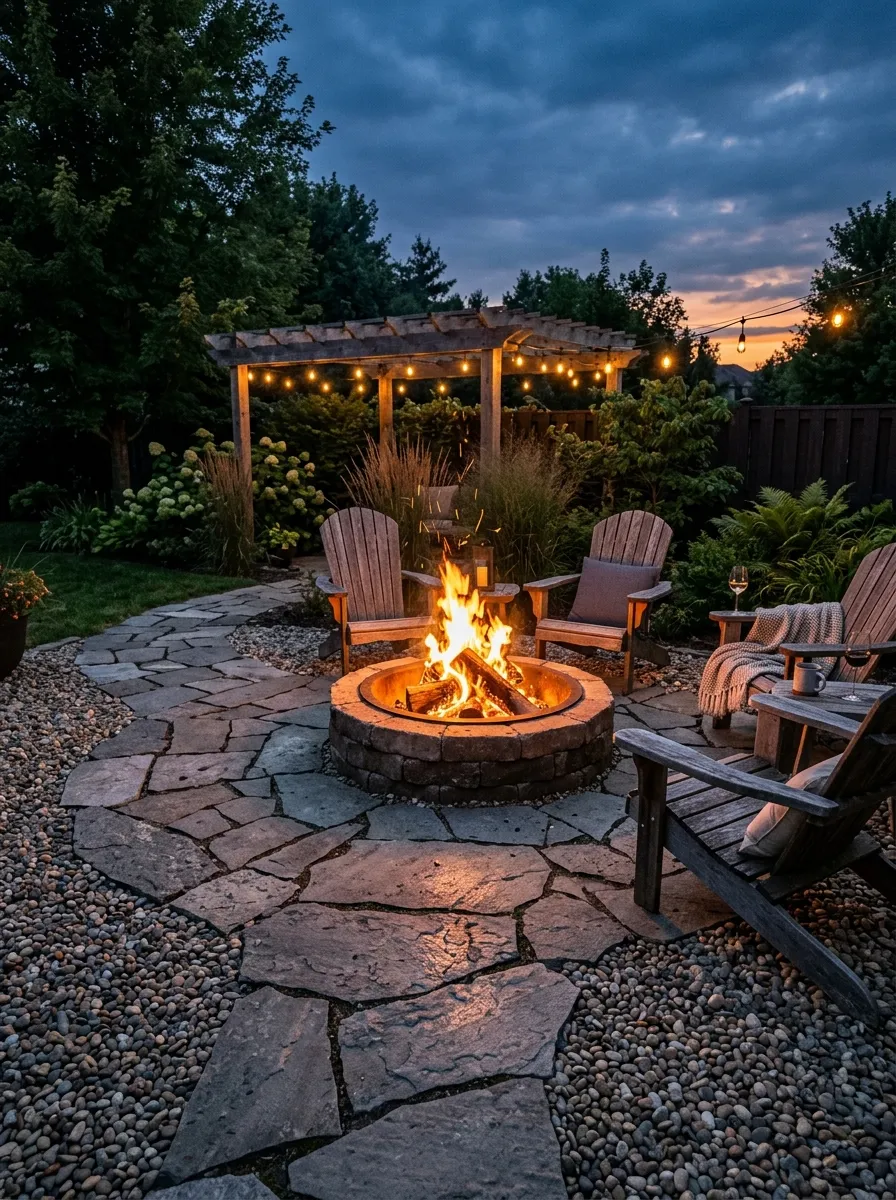
Mixing flagstone and gravel within the same patio space adds visual texture and breaks up what might otherwise be a single flat, uniform surface. Lay flagstone as a defined path or seating pad, then fill the surrounding space with gravel to soften the transition into the rest of the yard.
This combination also handles drainage well, since gravel lets rainwater filter through naturally rather than pooling on a solid poured surface.
Keep the flagstone sections closest to the fire pit itself, since it provides a more stable footing for chairs than loose gravel.
Budget tip: broken flagstone pieces, sold at a discount for having irregular shapes, work just as well as uniform cut stone for this kind of patchwork layout.
This project gives your fire pit area real texture and depth, avoiding the flat, single-material look of a standard poured patio.
16. Add a Privacy Screen Behind the Seating Area
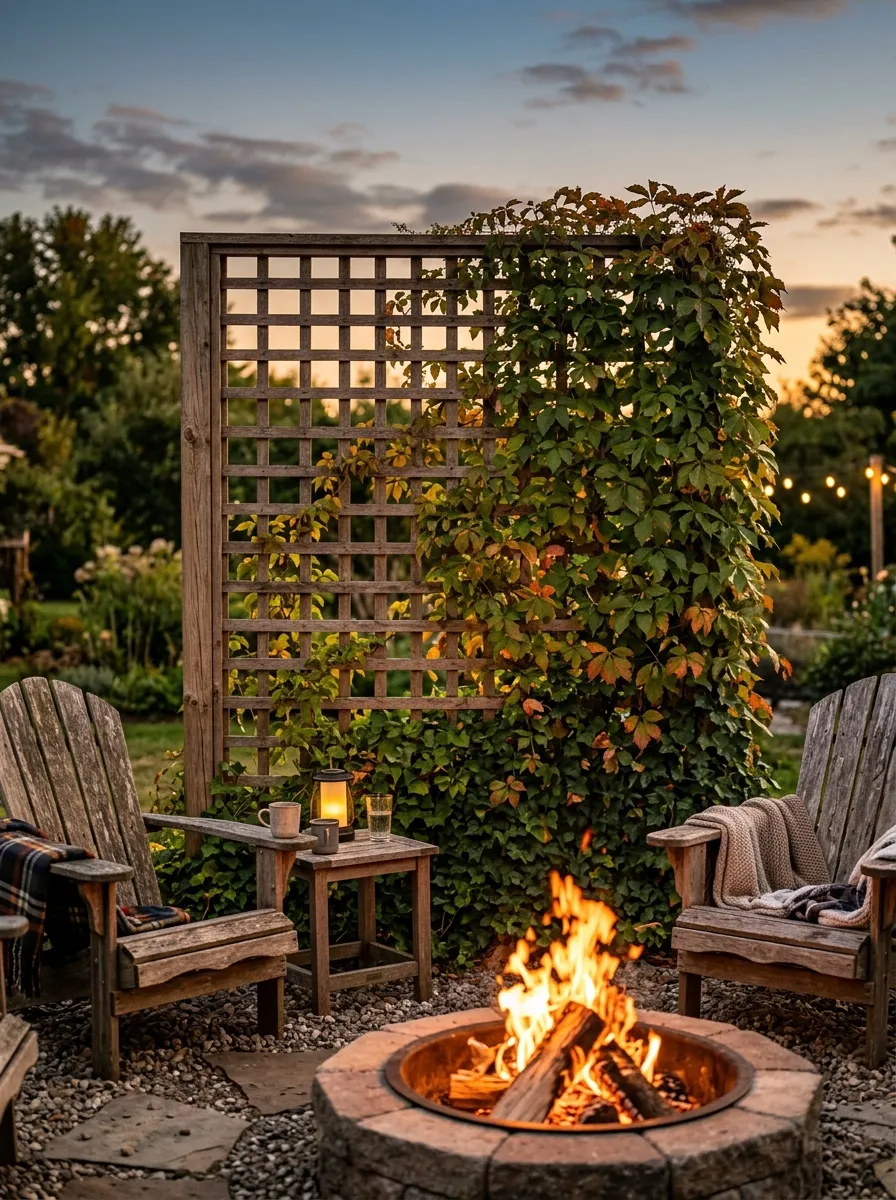
A privacy screen behind your fire pit seating blocks the view from a neighboring yard or street, making evening gatherings feel more secluded and relaxed. Build a simple lattice panel from wood strips, set into the ground with sturdy posts, positioned behind the main seating direction.
Plant a fast-growing vine like clematis or morning glory at the base, letting it fill in the lattice gaps with greenery over a season or two.
Position the screen based on where your neighbors or street view actually intrudes, rather than surrounding the whole area.
Budget tip: reclaimed fence panels, repurposed as a standalone screen, save you from building a full lattice frame from scratch.
This project creates a more private, enclosed feeling around your fire pit without the cost or commitment of a full privacy fence.
17. Build a Dry-Stacked Stone Fire Pit Wall
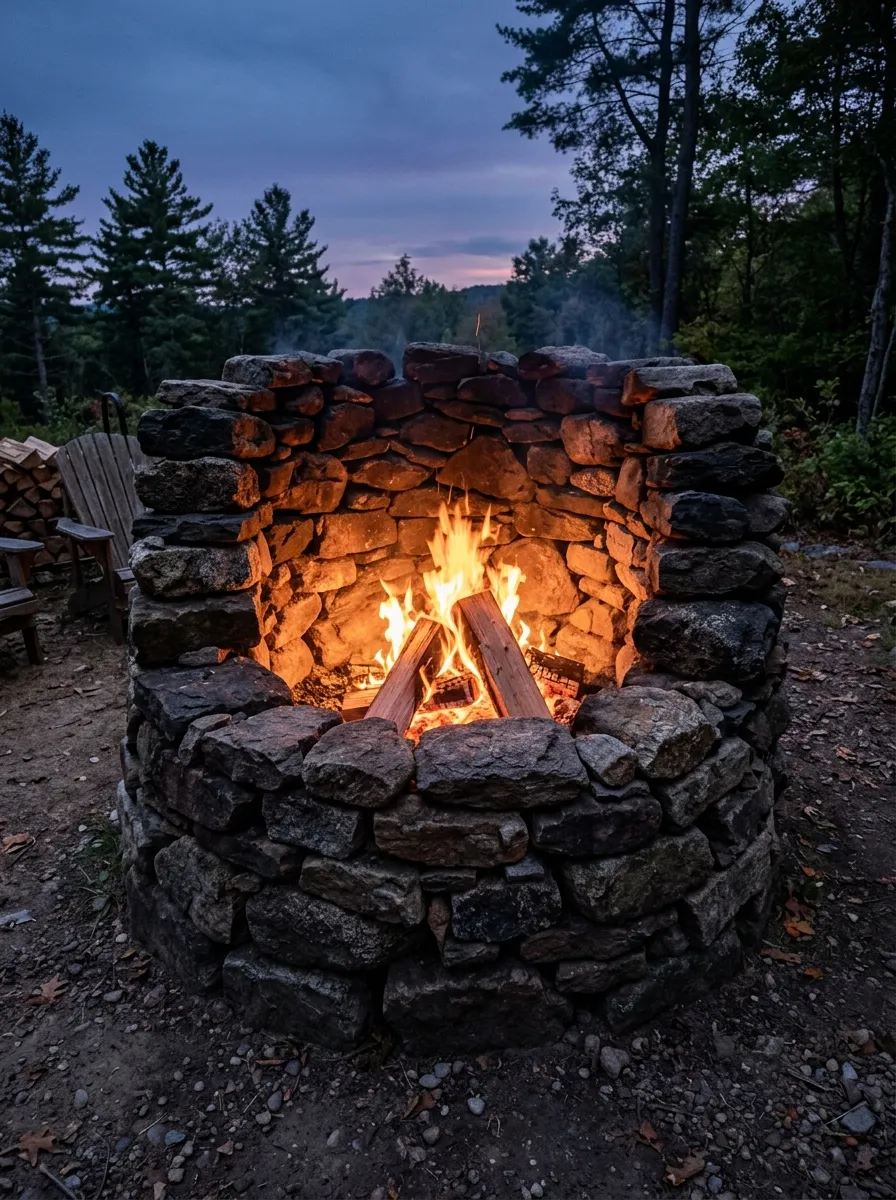
A taller dry-stacked stone wall, built without mortar, gives a fire pit real visual weight and a sense of permanence beyond a basic single-layer ring. Stack irregular stones in overlapping layers, staggering the joints between each row for stability, much like laying bricks.
Build the wall about knee height or slightly taller, tall enough to block wind and contain sparks without obstructing the view of the flames from a seated position.
Line the interior with a metal fire ring to protect the stone from direct, prolonged heat exposure.
Budget tip: fieldstone collected from your own property, or offered free by a neighbor clearing land, covers most of the material needed.
This project takes a full weekend but creates a substantial, lasting centerpiece that only looks better as the stone weathers over time.
18. Add a Simple Wind Break Panel
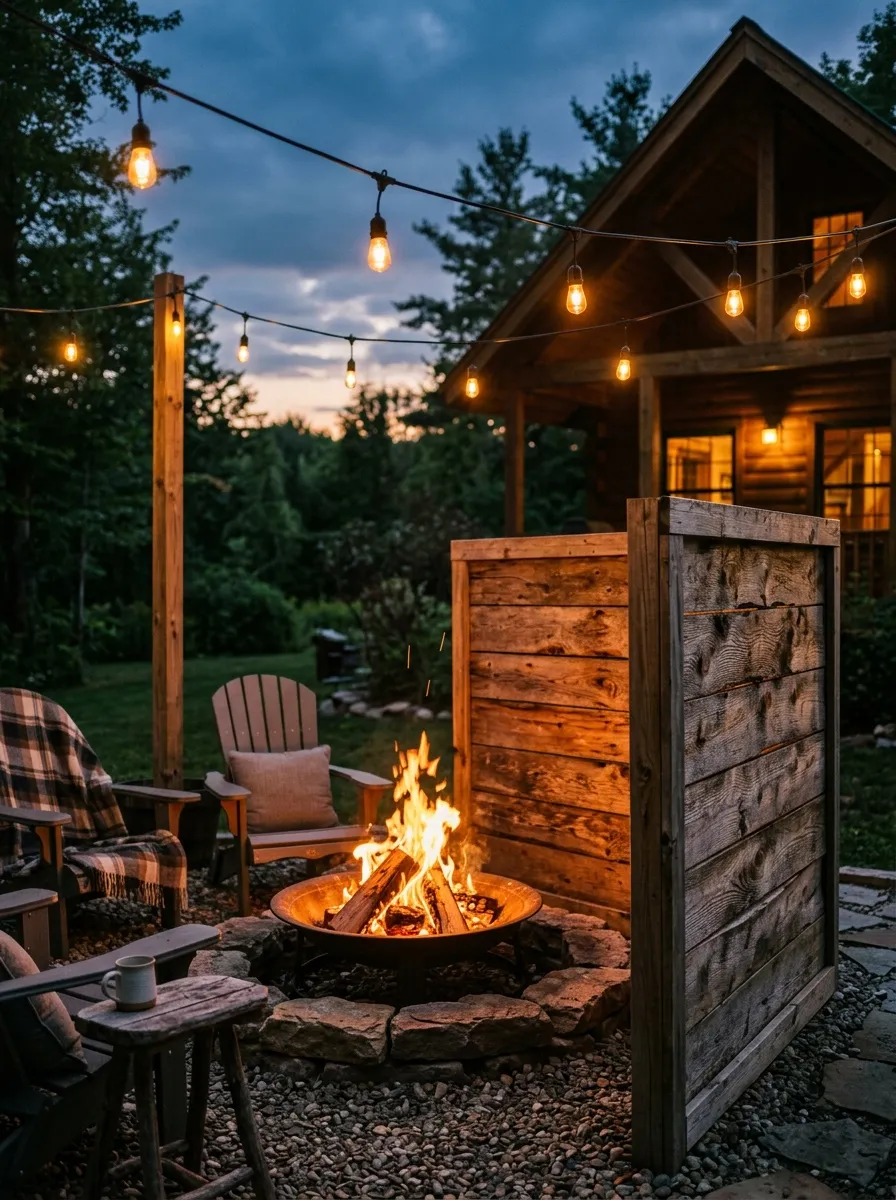
Wind can turn a peaceful fire into a smoky, uneven mess, and a simple wind break panel solves this without a full enclosure. Build a single flat panel from wood slats, mounted on two sturdy posts, and position it on the side where wind typically comes from in your yard.
This works especially well for yards with a consistent prevailing wind direction, since a single well-placed panel handles most of the problem.
Angle the panel slightly rather than setting it perfectly flat, which helps redirect wind up and over rather than pushing straight through.
Budget tip: leftover fence boards, assembled into a single freestanding panel, work fine instead of buying a purpose-made wind screen.
This small addition makes fire pit evenings noticeably more pleasant on breezy nights, keeping smoke from constantly shifting into your seating area.
19. Create a Fire Pit Seating Circle With Adirondack Chairs
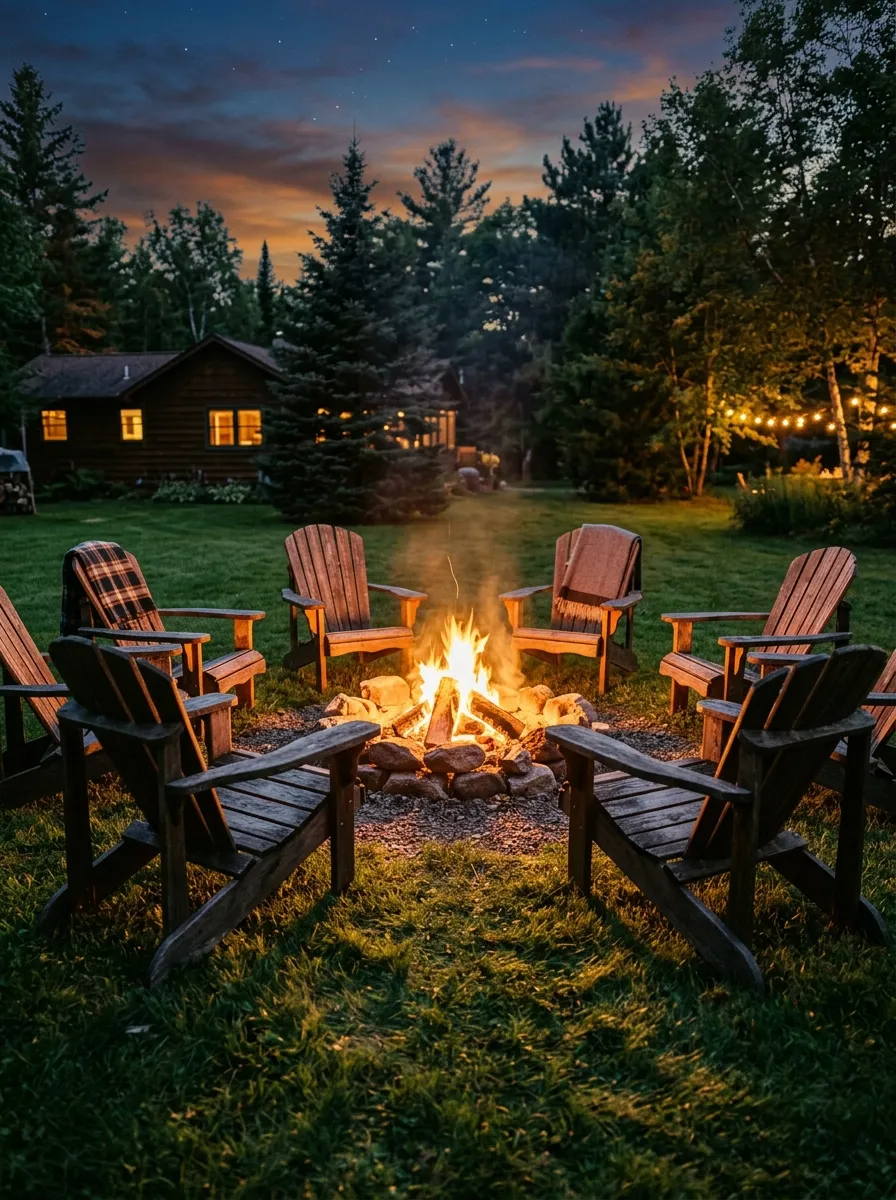
Adirondack chairs bring a classic, comfortable look to fire pit seating, with their wide armrests and slightly reclined design suited perfectly for long evenings outside. Arrange four to six chairs in a loose circle around the fire, leaving enough space for people to move in and out easily.
Unfinished wood versions can be built from a simple kit or plan if you’re comfortable with basic tools, saving significantly over pre-built retail versions.
Stain or paint the chairs to match your yard’s overall color scheme, and add weatherproof cushions for extra comfort.
Budget tip: secondhand Adirondack chairs show up often at yard sales, sometimes needing just a light sanding and fresh coat of paint.
This project gives your fire pit a genuinely comfortable, gathering-ready feel, the kind of seating that encourages people to stay for hours.
20. Build a Fire Pit With a Paver Patio Base
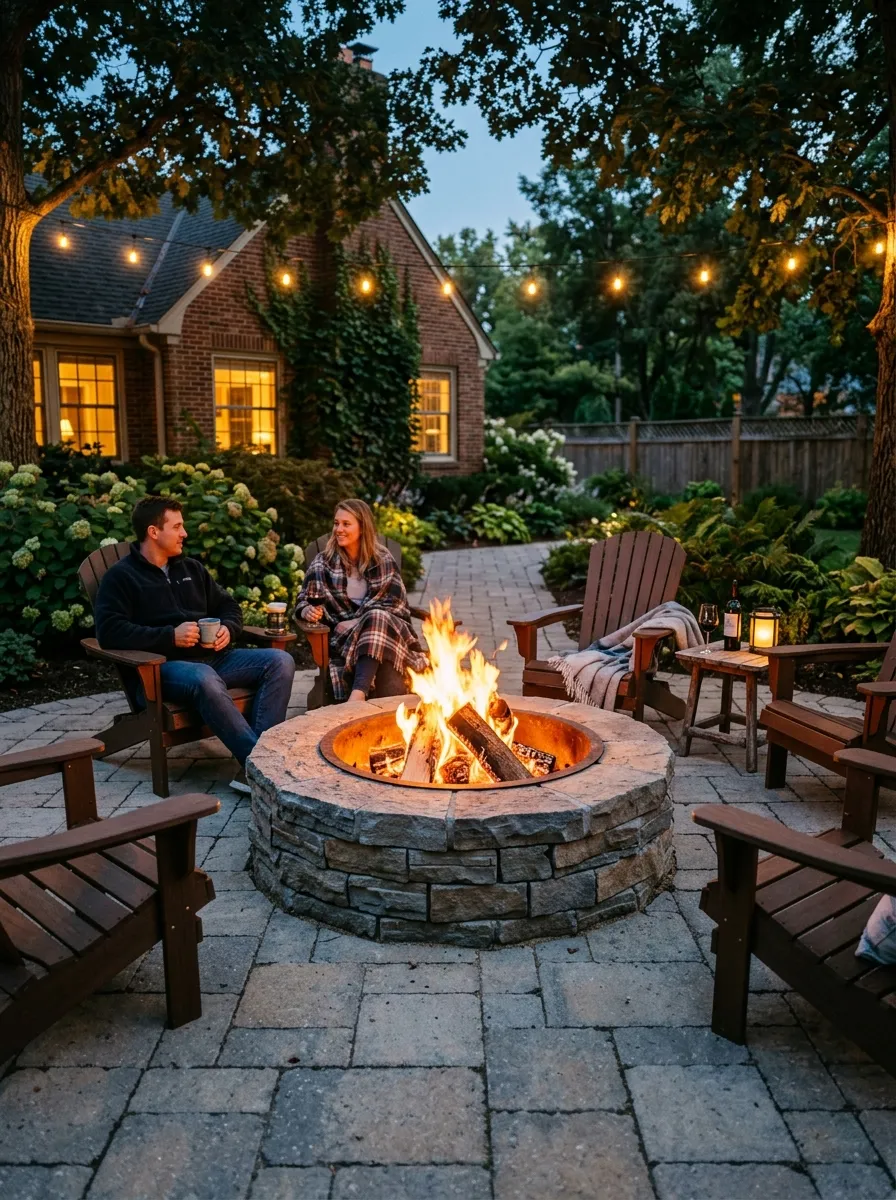
A paver base gives your fire pit a clean, level, and stable foundation, especially useful if your yard has uneven or sloped ground. Excavate the area to a consistent depth, add a layer of compacted gravel for drainage, then lay pavers in your pattern of choice across the leveled base.
This surface holds up far better than bare dirt or grass under heavy chairs and repeated foot traffic near the fire.
Leave a slight gap between pavers for natural drainage, and fill with polymeric sand to lock everything in place.
Budget tip: rent a plate compactor for a single day from a tool rental shop rather than buying one for a one-time project.
This project takes more effort upfront but creates a genuinely durable, professional-looking base that will outlast a simple gravel or grass surface by years.
21. Add a Fire Pit Table Combo for Small Spaces
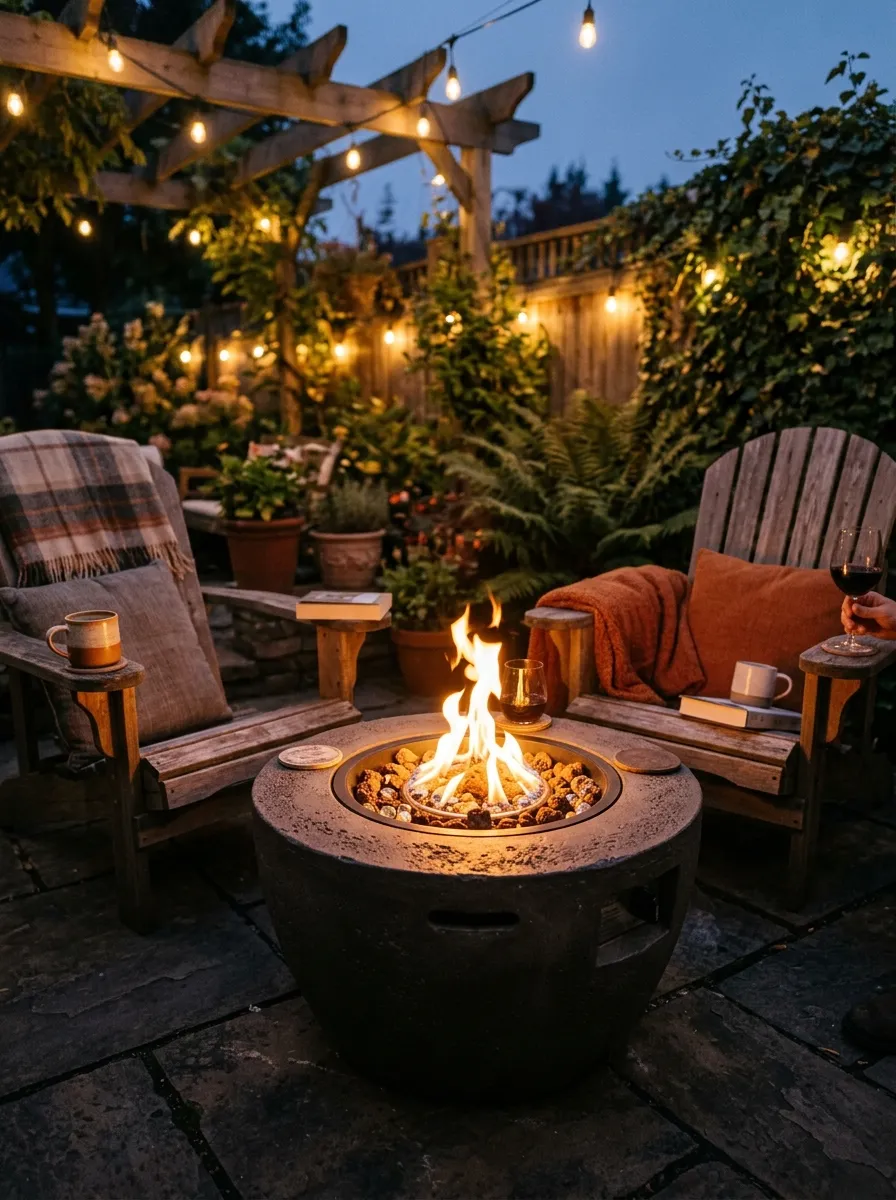
A fire pit table combines heat and a flat surface in one compact piece, ideal for small patios, balconies, or tight yards where a full-sized fire pit setup won’t fit. These typically run on propane, which lights instantly without needing kindling or a long burn-down time.
Position it centrally within your available seating so everyone can rest a drink on the surrounding rim while still enjoying the warmth.
Check local regulations on propane fire features first, since some apartment complexes or municipalities have specific rules around this type.
Budget tip: watch for end-of-summer clearance sales at home improvement stores, when patio fire tables often see substantial price drops.
This option brings the fire pit experience to spaces too small for a traditional in-ground or built-up pit, without sacrificing the cozy gathering feel.
22. Create a Fire Pit Surrounded by String Hammocks
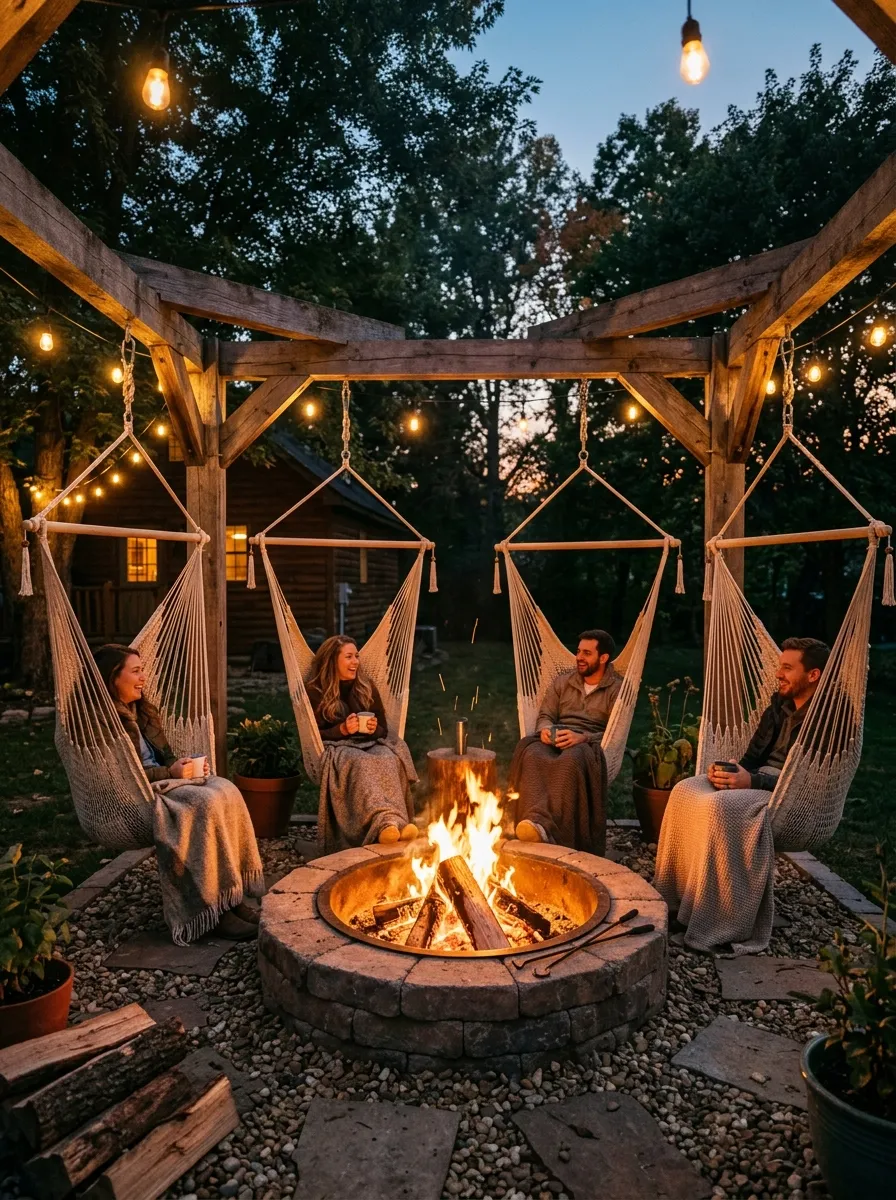
Swapping traditional chairs for a few string hammocks around your fire pit creates a more relaxed, laid-back gathering spot than standard seating. Build simple wooden frames or hang hammocks from sturdy existing trees positioned a comfortable distance from the flames.
This setup works especially well for a smaller group who wants to fully unwind rather than sit upright through a long evening.
Keep hammocks a safe distance back from the fire, since the fabric sits lower and closer to sparks than a standard chair would.
Budget tip: secondhand rope or fabric hammocks, found at yard sales or online marketplaces, cost far less than new versions.
This project turns a fire pit gathering into a genuinely relaxed lounge experience, swapping formal seating for something closer to an outdoor living room.
23. Add a Fire Pit Focal Point With a Chimenea
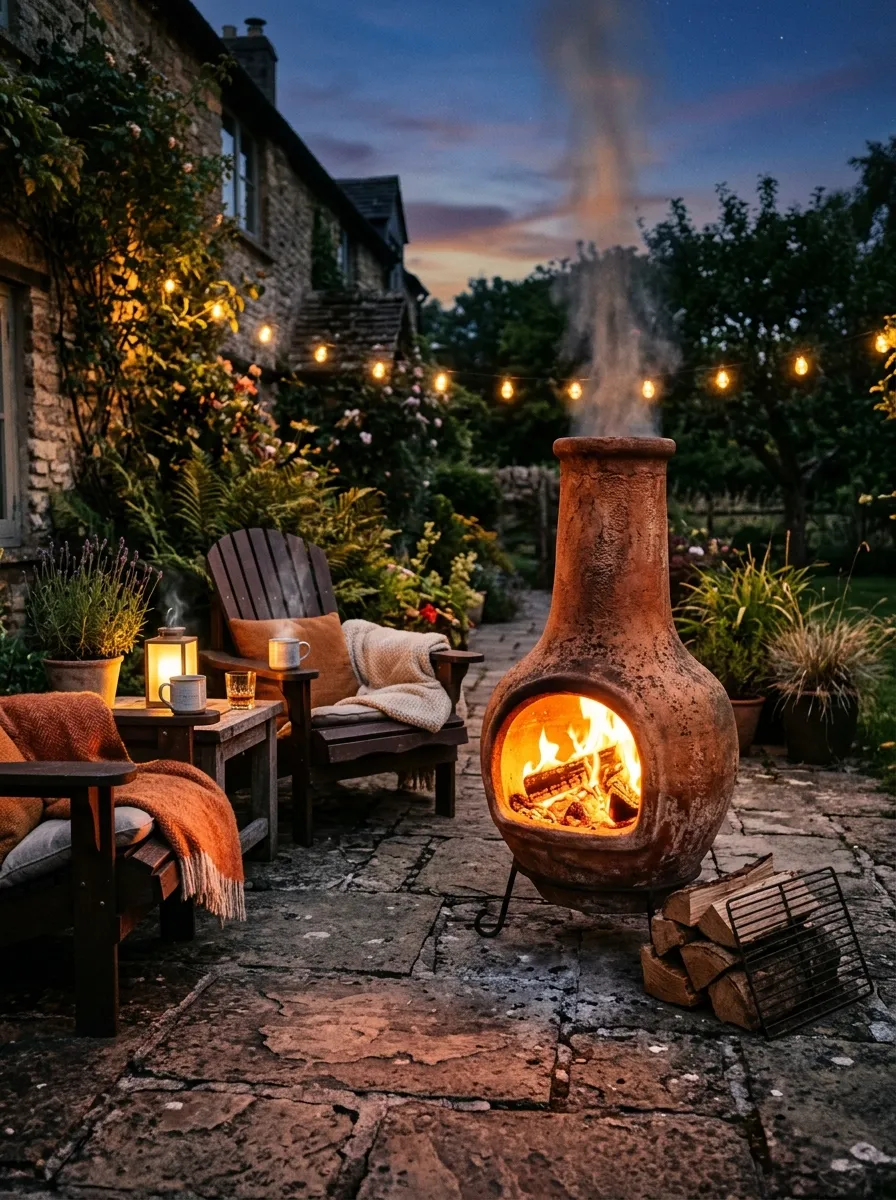
A chimenea offers an alternative to a ground-level fire pit, standing upright with a rounded body and a chimney that directs smoke away from seated guests. Traditional clay versions bring an earthy, handmade look, while cast iron options tend to hold up longer against weather and repeated use.
Place it on a stone or paver base rather than directly on grass or wood decking, since the base gets quite hot during use.
Keep a reasonable distance between the chimenea and any seating, since heat radiates differently than from an open pit.
Budget tip: secondhand chimeneas, even ones with hairline cracks in the clay, often still function fine and cost far less than a new one.
This project gives your yard a distinct fire feature with a different silhouette and smoke pattern than a standard ground-level pit, adding variety if you already have one elsewhere in the yard.
Conclusion
A fire pit works because it gives people a reason to stay outside a little longer, past dinner, past sunset, into the part of the evening that actually feels worth remembering. Whether you build a simple stacked stone ring or go further with built-in benches and a wind break, the goal stays the same: a warm, comfortable spot that pulls people together. Pick one or two ideas from this list that fit your yard and your budget, and start building the gathering spot your evenings have been missing.