
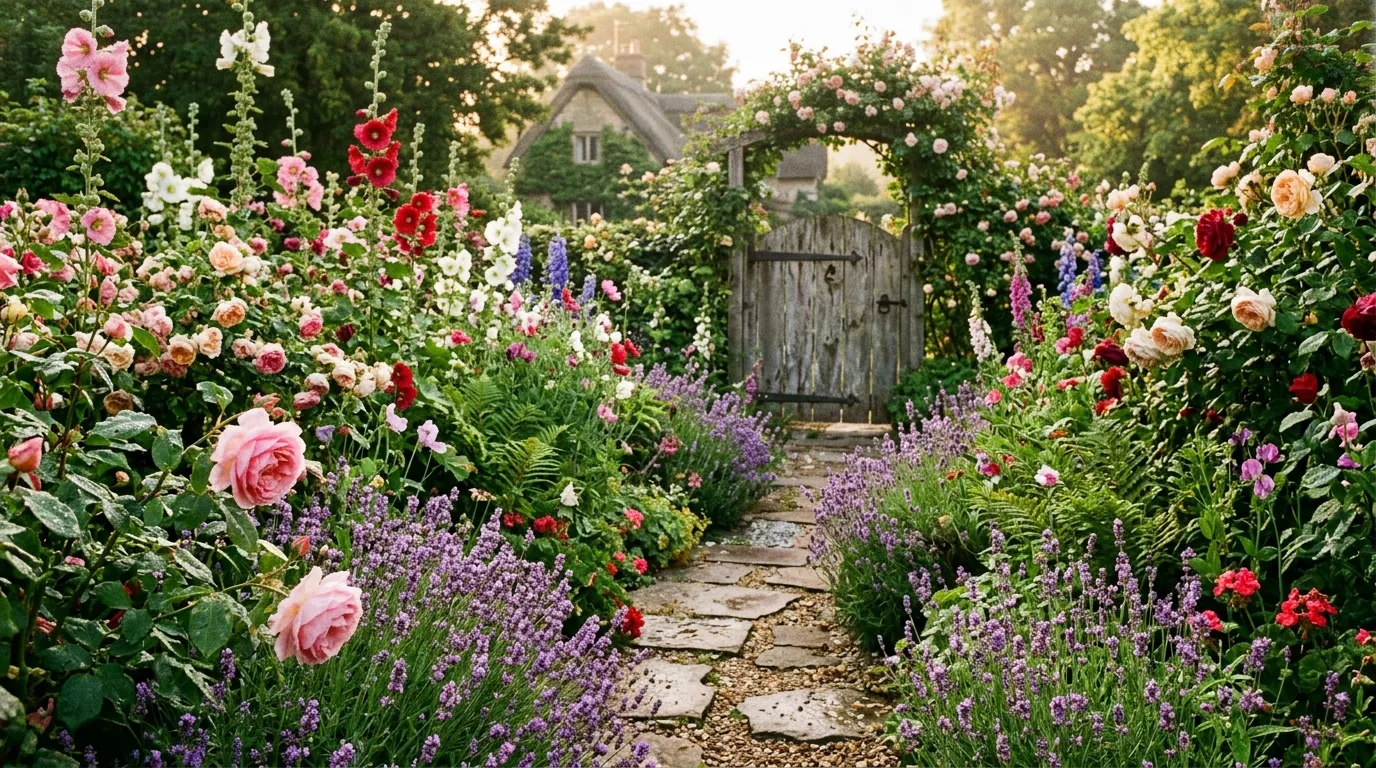
A path does more than get you from one side of the yard to the other. It sets the pace of a garden, slows visitors down, and gives even a small space a sense of destination. The right path turns a plain lawn into somewhere worth wandering, and it doesn’t require a professional installer or a big budget to pull off. This list covers creative, affordable ways to build a path with real personality, using materials you can source cheaply or already have on hand.
1. Lay Flagstone Stepping Stones in a Curve
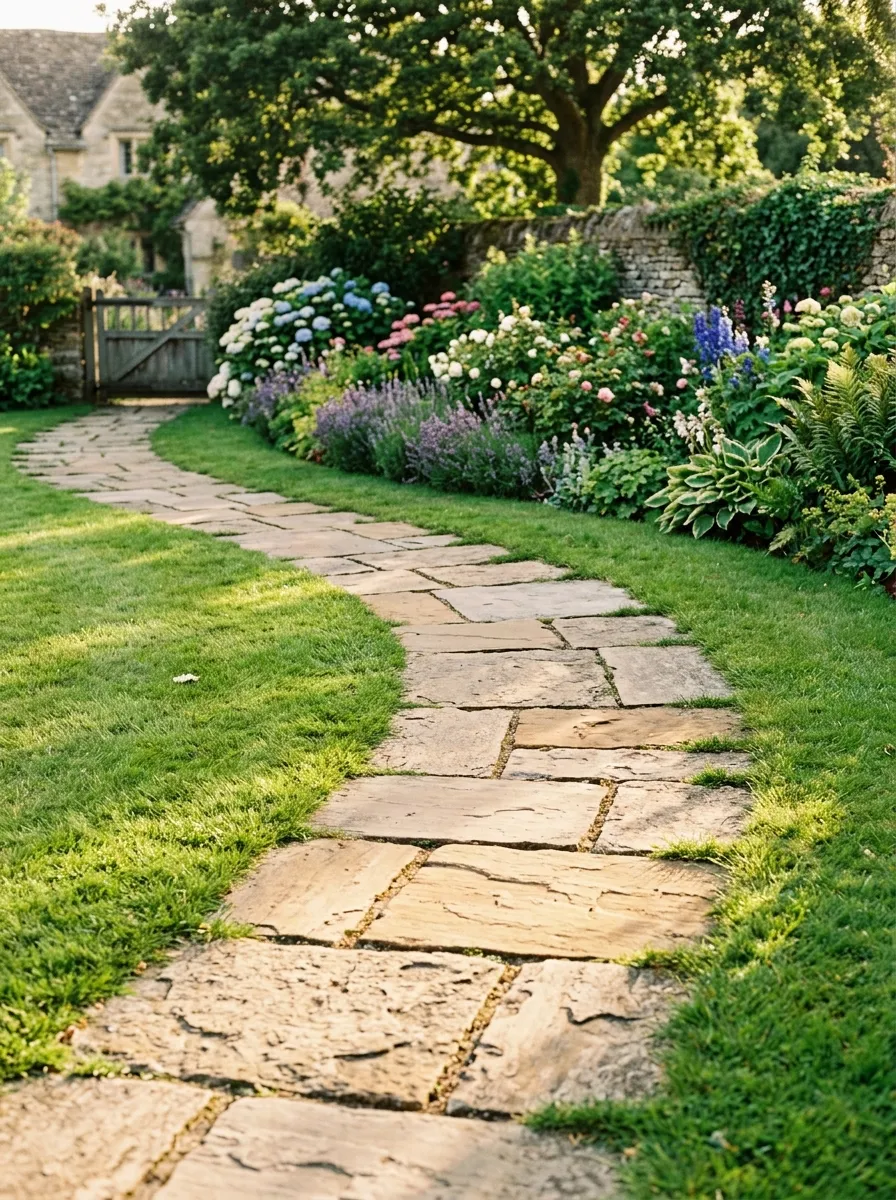
A curved stepping stone path feels more natural than a straight line and makes even a small yard seem larger by hiding the full view at a glance. Set irregular flagstones directly into the lawn, spaced a comfortable stride apart so mowing around them stays simple.
Dig a shallow indent for each stone so it sits flush with the grass rather than sticking up as a tripping hazard.
Curve the path around a tree, bed, or corner rather than cutting straight across open space.
Budget tip: broken concrete slabs from an old driveway or patio work just as well as quarried flagstone, often for free.
This project transforms a plain stretch of lawn into a guided, intentional walk, adding real character for the cost of just a bit of digging.
2. Create a Mulch Path Through a Wooded Area
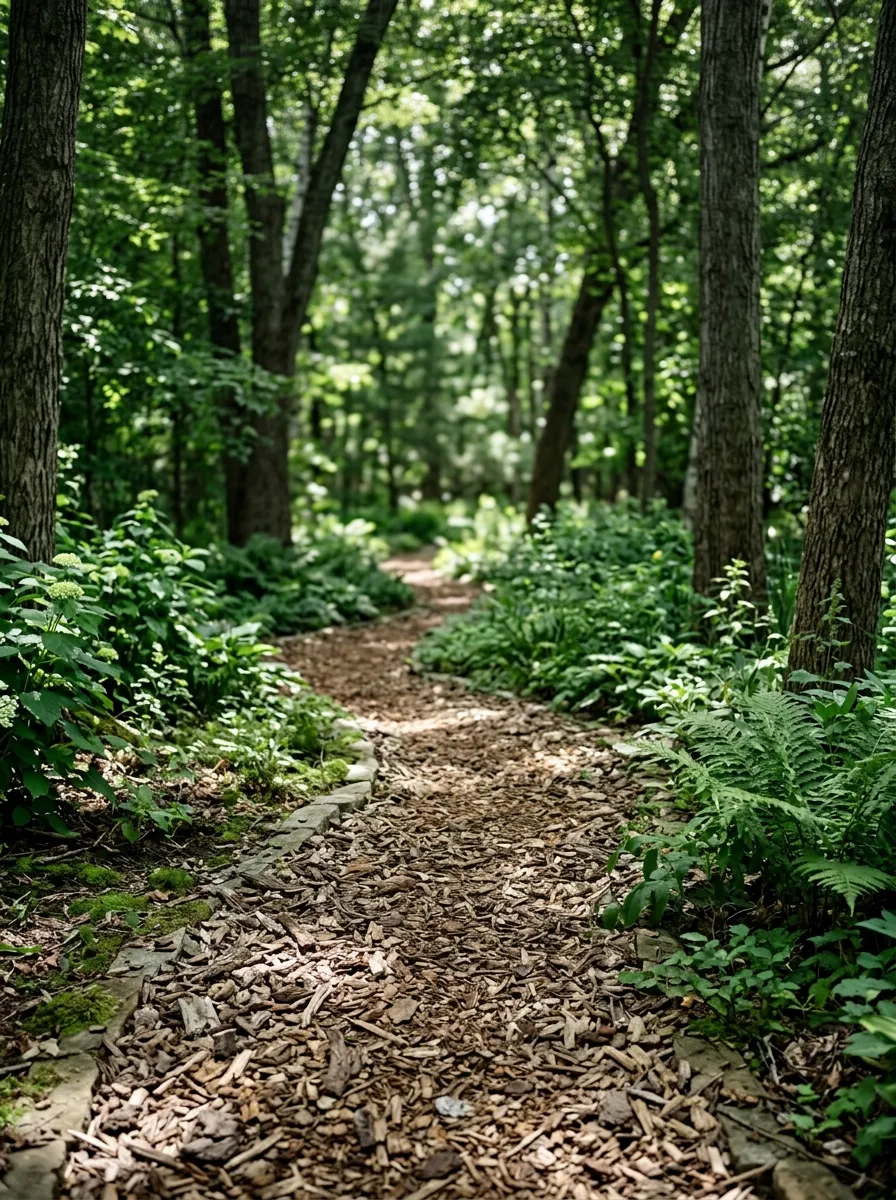
A mulch path works well through shaded or wooded sections of a yard where grass struggles to grow anyway. Mark the path’s edges with string or a garden hose, remove any weeds along the route, then spread a few inches of wood chip mulch across the marked area.
This surface stays soft underfoot and blends naturally into a woodland setting far better than stone or brick would.
Refresh the mulch layer once a year or two as it breaks down and compresses into the soil beneath.
Budget tip: many municipalities and tree services give away wood chips for free, so check local listings before buying bagged mulch.
This project turns an awkward, hard-to-maintain shaded area into a usable, walkable part of your yard for very little cost.
3. Build a Pebble Mosaic Path
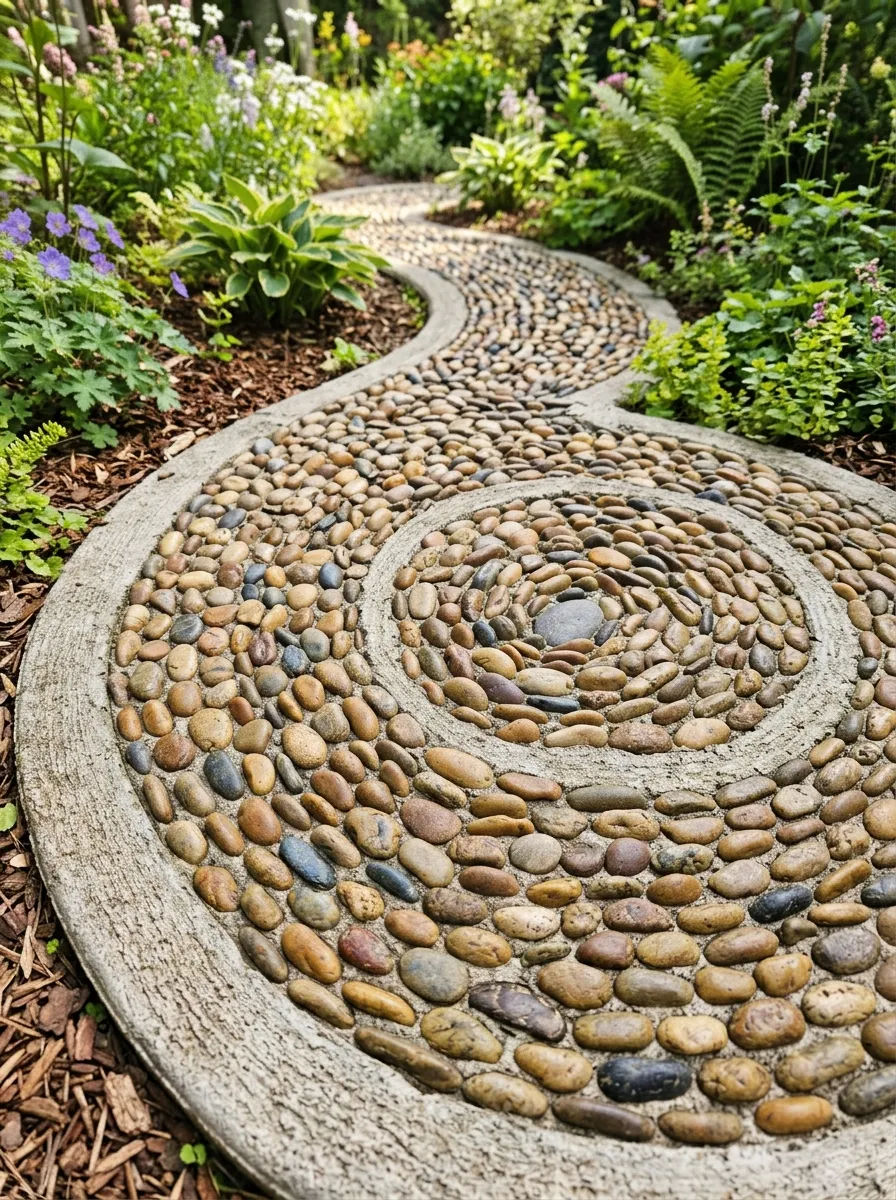
A pebble mosaic path turns a functional walkway into a piece of art underfoot. Pour a shallow layer of concrete or mortar into your path’s frame, then press smooth river pebbles into the wet surface in a pattern of your choosing—spirals, waves, or simple rows.
Work in small sections at a time, since concrete sets faster than you might expect and rushing leads to uneven results.
Let each section cure fully before walking on it, usually a day or two depending on the weather.
Budget tip: river pebbles are sold cheaply in bulk at landscaping suppliers, and leftover bags from other projects often work fine too.
This project takes patience but creates a genuinely one-of-a-kind path that store-bought pavers simply can’t replicate. If you’d like more guidance before getting started, check out this step-by-step guide to making a pebble mosaic pathway for helpful tips on creating your own decorative garden path.
4. Add a Brick Herringbone Pattern Walkway
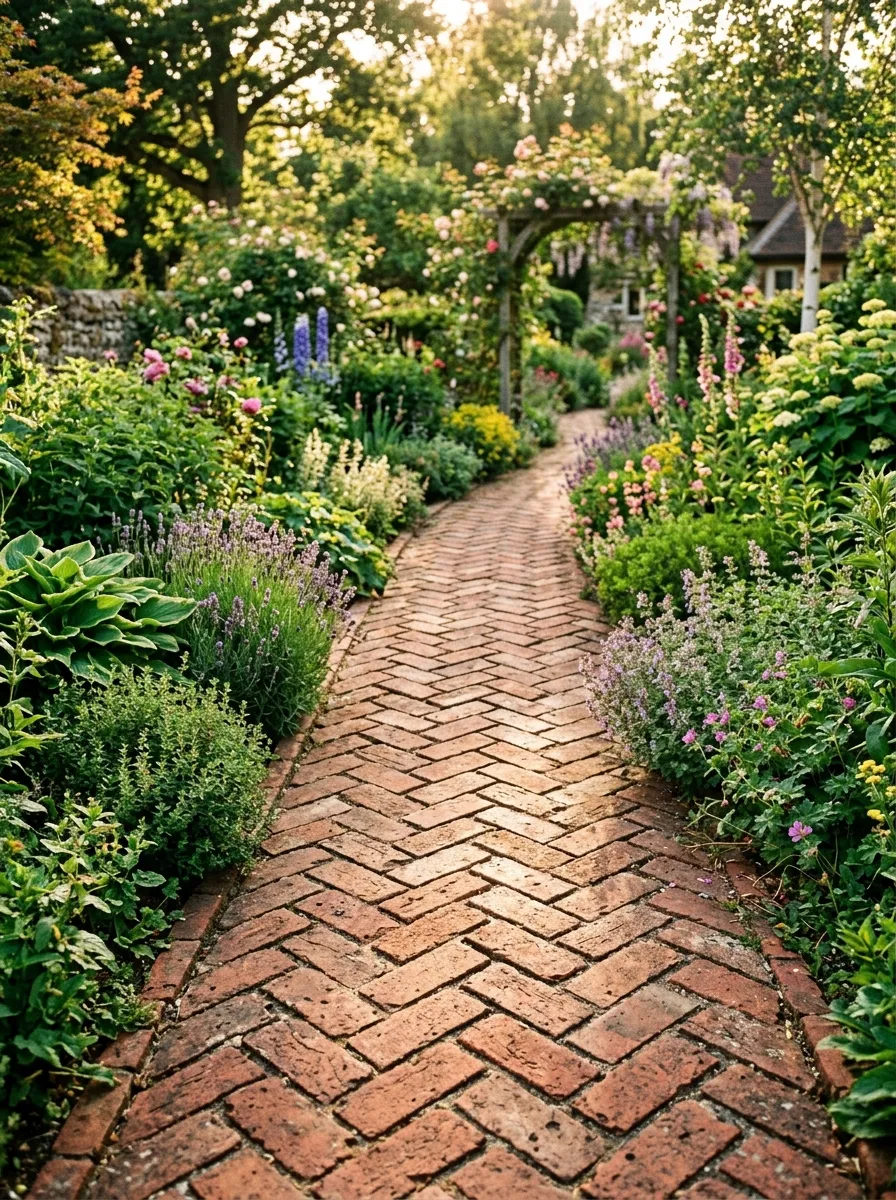
A herringbone pattern gives a brick path a classic, slightly formal look without much added difficulty over a simple straight-line layout. Lay bricks at consistent angles, each one tucked against its neighbor to form the zigzag pattern.
Set the bricks into a bed of sand rather than concrete for an easier installation. Sand allows for small adjustments as you go and lets water drain naturally through the joints.
Sweep additional sand into the gaps once the pattern is complete to lock everything in place.
Budget tip: reclaimed bricks from a demolition site or a neighbor’s old patio teardown often cost nothing beyond the labor to clean and lay them.
This project gives your yard a defined, structured walkway that still allows plenty of room for a relaxed garden style on either side.
5. Line a Path With Solar Lantern Stakes
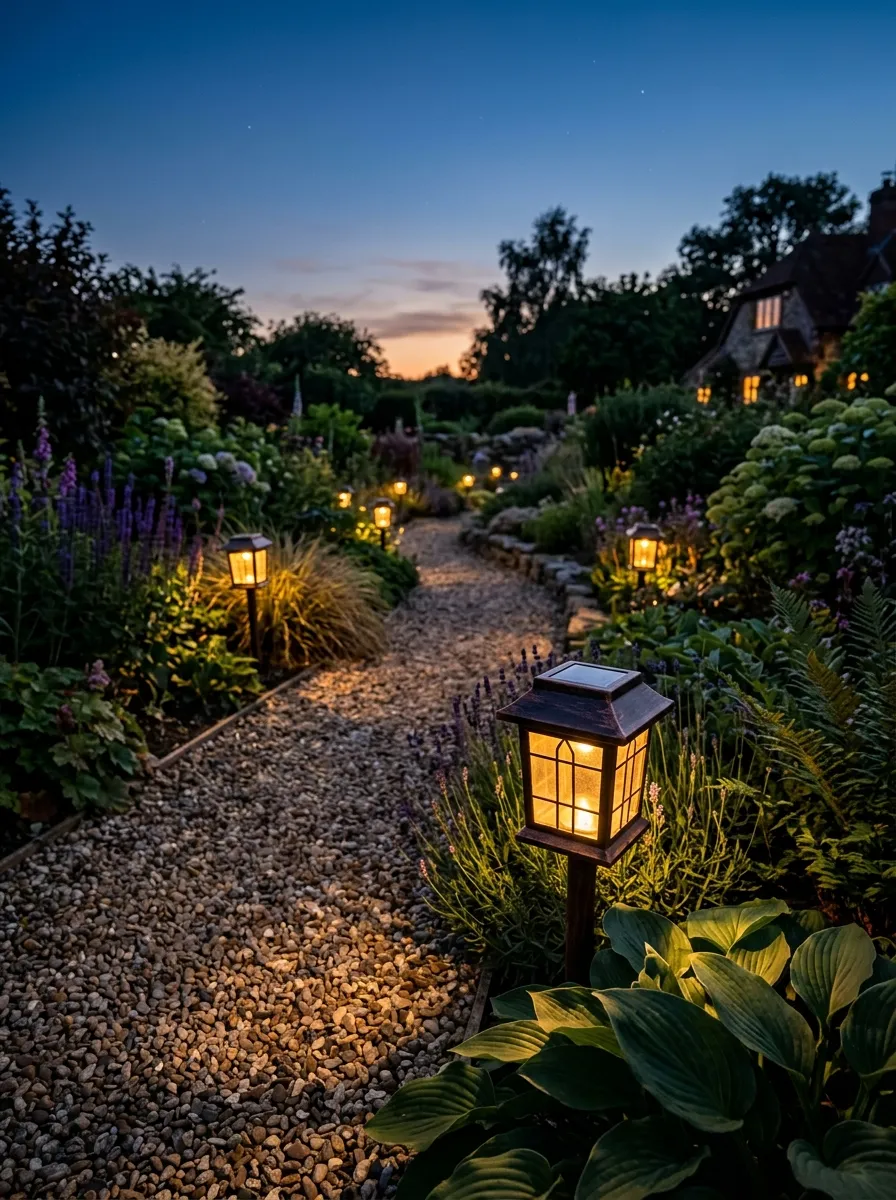
Lighting a path extends how much you can actually use your yard, letting you walk it comfortably after dark without tripping over uneven ground. Solar lantern stakes need no wiring or outlet access, since they charge automatically during the day and switch on at dusk.
Space the stakes evenly along the path’s edge, close enough that the light pools slightly overlap for consistent illumination.
Wipe the solar panels occasionally to keep them charging efficiently, especially if they collect dust or fallen leaves.
Budget tip: buy multi-packs during end-of-season clearance sales, when garden centers often discount outdoor lighting heavily.
This project makes any path usable well into the evening, adding both safety and a warm, magical glow without any electrical work involved.
6. Create a Grass Path Through a Wildflower Meadow
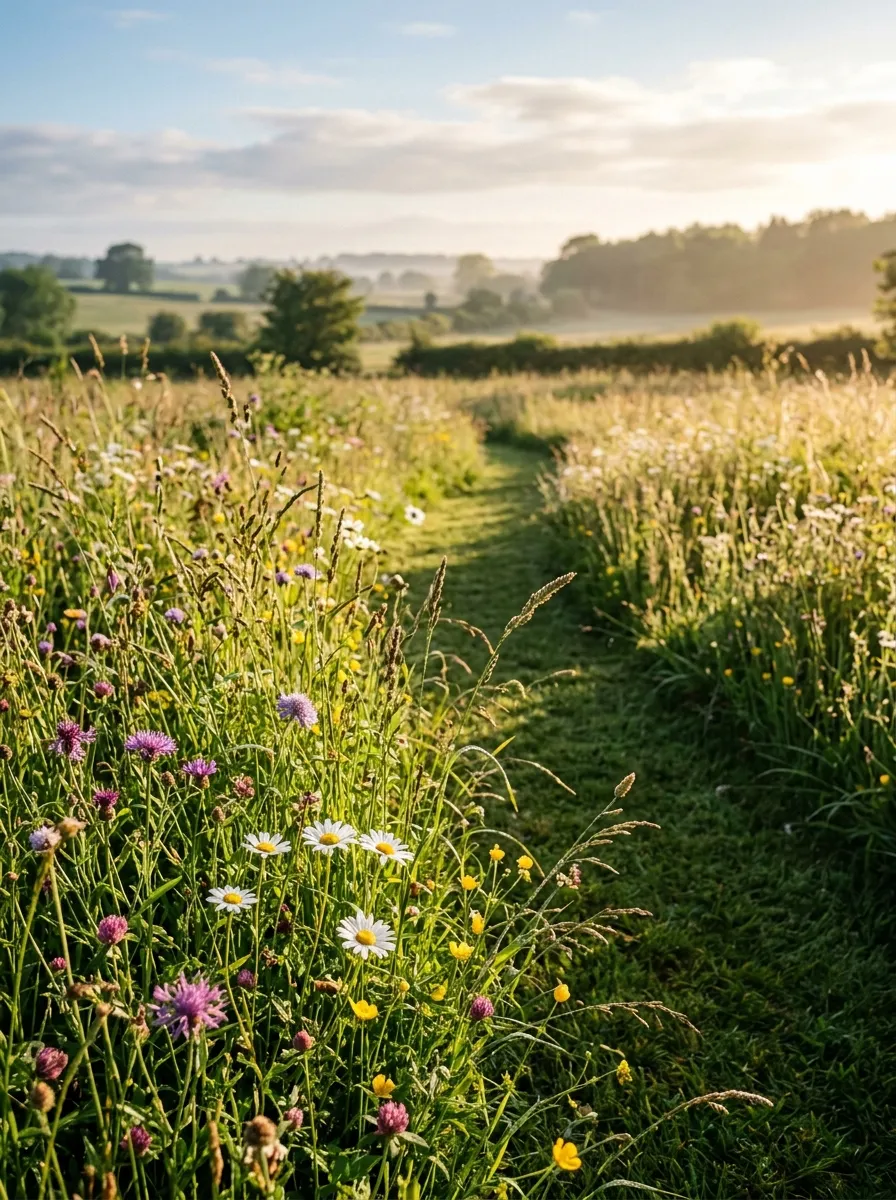
Letting part of your lawn grow wild with wildflowers, then mowing a single path straight through the middle, creates a striking contrast between structure and untamed growth. This approach also supports far more pollinators than a fully mowed lawn ever could.
Mow the path weekly to keep it clearly defined, while letting the surrounding area grow and bloom naturally through the season.
Cut the whole meadow section back once in late fall to reset it for the following spring’s growth.
Budget tip: this project costs nothing beyond the mower you likely already own, since it simply changes your mowing pattern rather than adding new materials.
This project turns basic lawn maintenance into a design feature, giving your yard a wilder, more magical feel with almost no added effort.
7. Add a Wooden Boardwalk Over a Wet Area
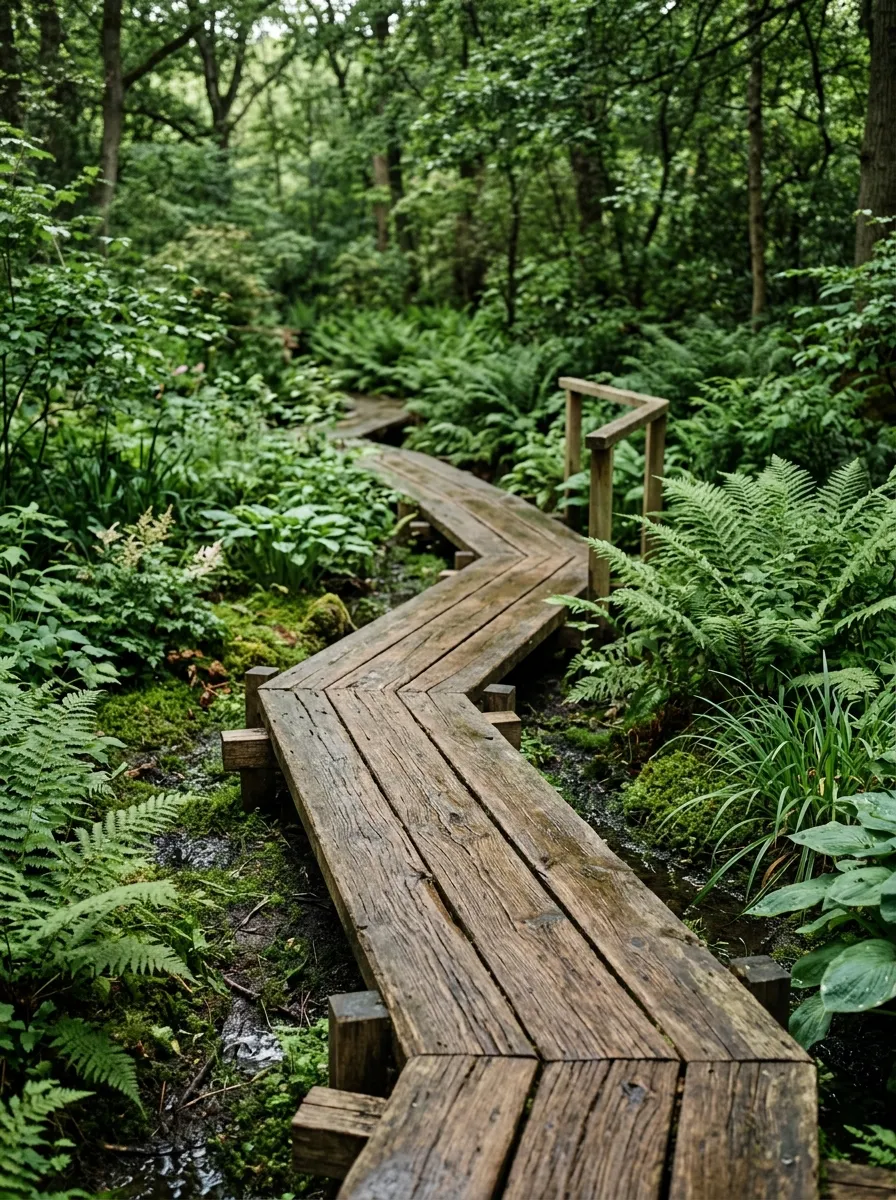
A low spot that stays muddy after every rain becomes a design opportunity instead of a problem once you build a simple raised boardwalk over it. Set pressure-treated joists on concrete blocks, then screw deck boards across the top, leaving small gaps between boards for drainage.
Keep the boardwalk just a few inches off the ground, enough to stay above standing water without needing railings or steps.
Plant moisture-loving ferns and hostas along the sides, since they’ll thrive in exactly the damp conditions that made this area tricky to walk through before.
Budget tip: reclaimed deck boards from a torn-out deck project cover most of the material cost for a short boardwalk section.
This project solves a genuine drainage problem while adding an interesting textural element that a standard gravel or stone path wouldn’t provide.
8. Build a Stepping Stone Path With Moss-Filled Gaps
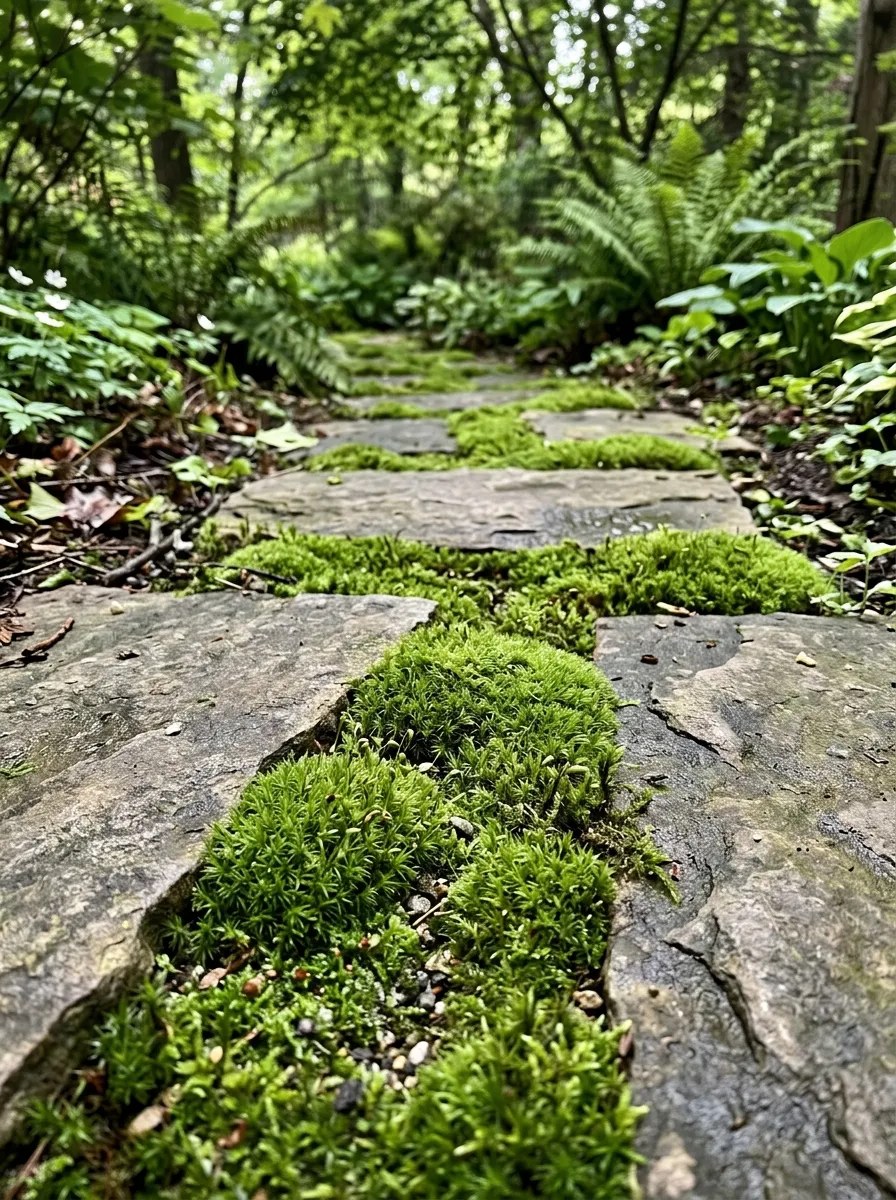
Moss filling the gaps between stepping stones gives a path an aged, storybook quality that takes years to develop naturally, though you can speed the process along yourself. Set flat stones with small gaps between them in a shaded, consistently damp area, since moss needs both shade and moisture to establish.
Transplant small moss patches into the gaps, or encourage growth by brushing a mix of buttermilk and water onto the bare soil between stones.
Keep the area consistently moist while the moss establishes, especially during its first few weeks.
Budget tip: moss often already grows somewhere in a shaded corner of your own yard, so transplanting it costs nothing beyond a little digging.
This project creates one of the most enchanting path styles on this list, especially suited to a shaded woodland or cottage garden setting.
9. Create a Circular Patio Path Junction
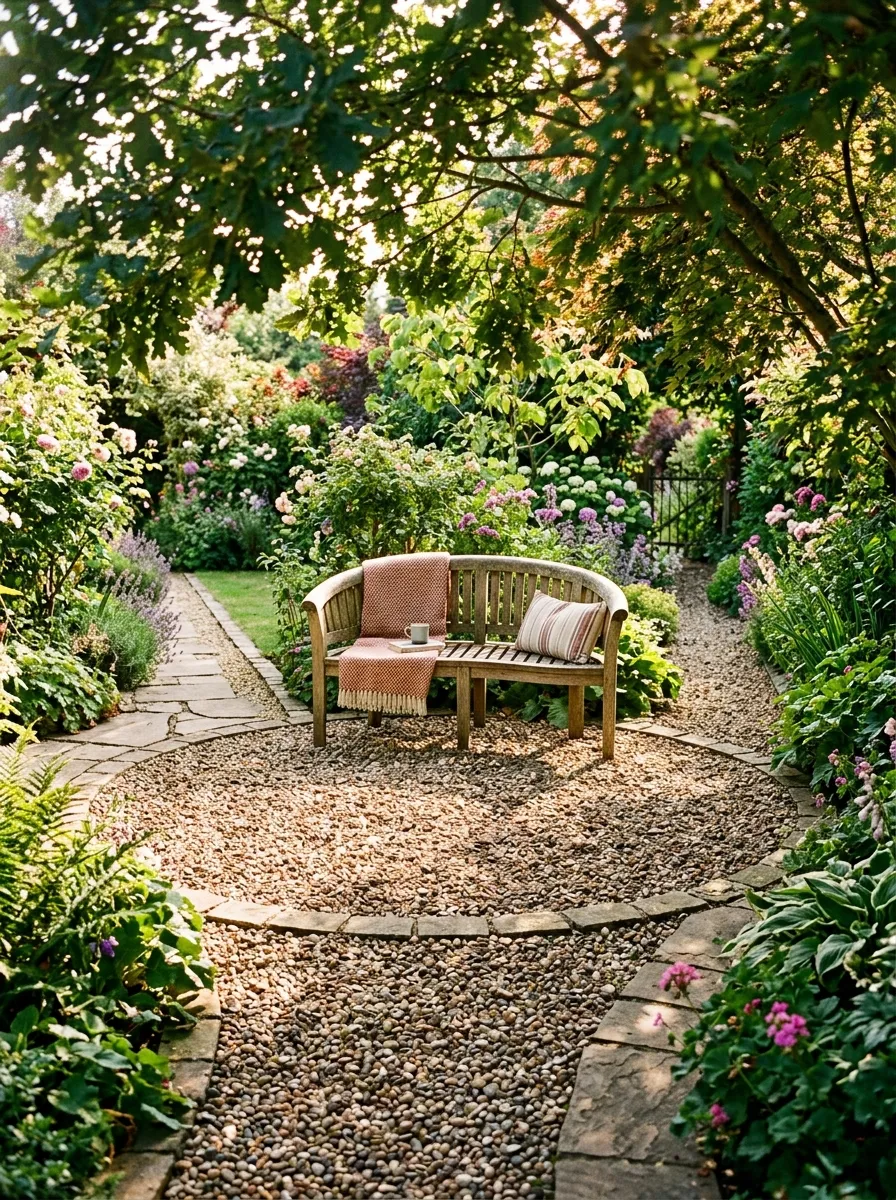
A circular junction gives multiple paths somewhere to meet, turning a simple crossing point into a small destination in its own right. Mark out a circle where two or more paths intersect, then fill it with gravel, pavers, or brick in a radial pattern.
Add a small bench or a single potted plant at the center to give the space a clear focal point rather than leaving it as bare, empty ground.
This works especially well in larger yards where several paths naturally converge near a shed, garden bed, or seating area.
Budget tip: the same materials used for your main paths, gravel, brick, or stone, extend easily into this circular junction without needing anything new.
This project gives your yard’s layout a sense of intention, turning a random crossing point into a small, deliberate stop along the way.
10. Add Edging With Rope or Twisted Branches
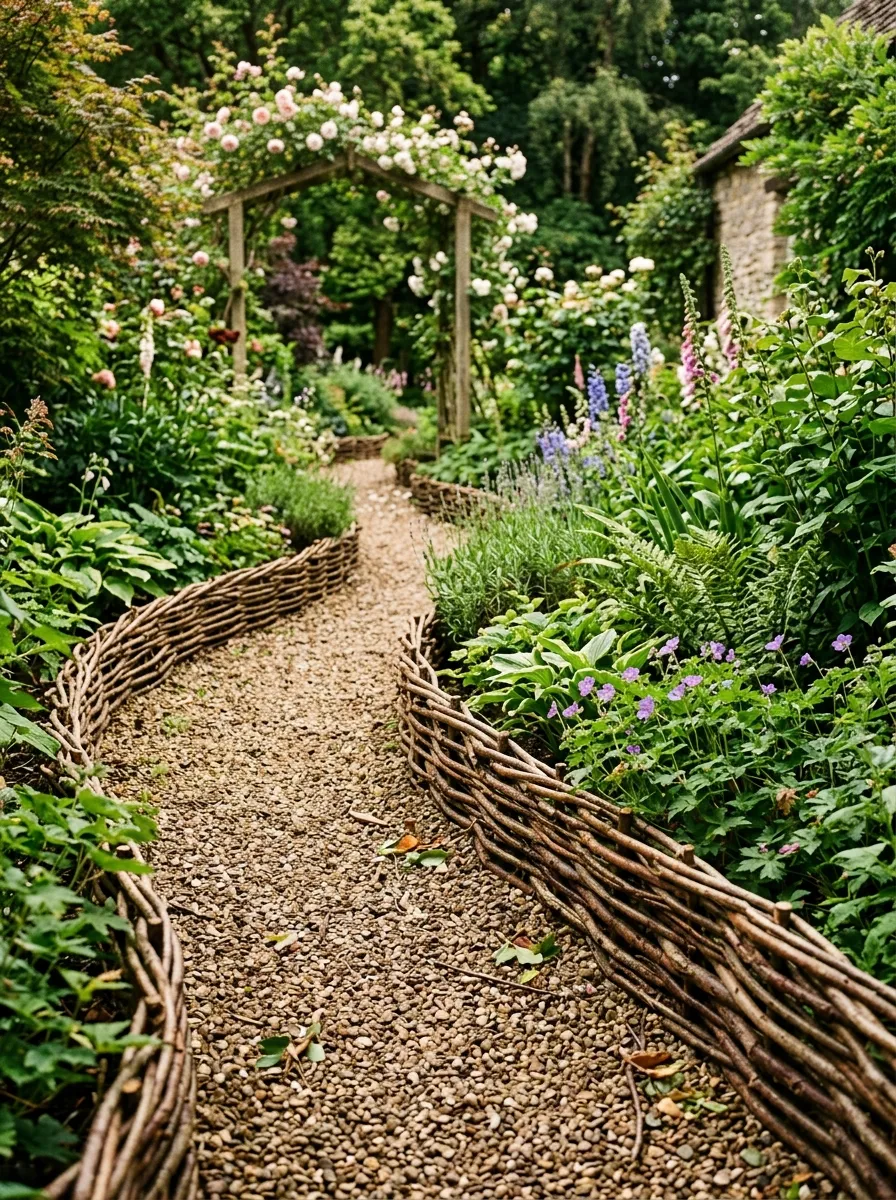
Soft, natural edging materials like twisted branches or thick rope give a path a handmade, slightly whimsical border without the hard lines of plastic or metal edging. Weave flexible branches like willow between short stakes, or coil thick rope along the path’s border and secure it with garden staples.
This kind of edging holds gravel or mulch in place while still looking like it grew there naturally rather than being installed.
Replace branch edging every few years as it weathers and breaks down, since this material isn’t meant to be permanent.
Budget tip: many yards already have flexible branches available after a seasonal pruning, so this material often costs nothing at all.
This project adds a rustic, storybook charm to path borders for the cost of a little weaving time and some garden stakes.
11. Build a Raised Timber Path Through a Slope
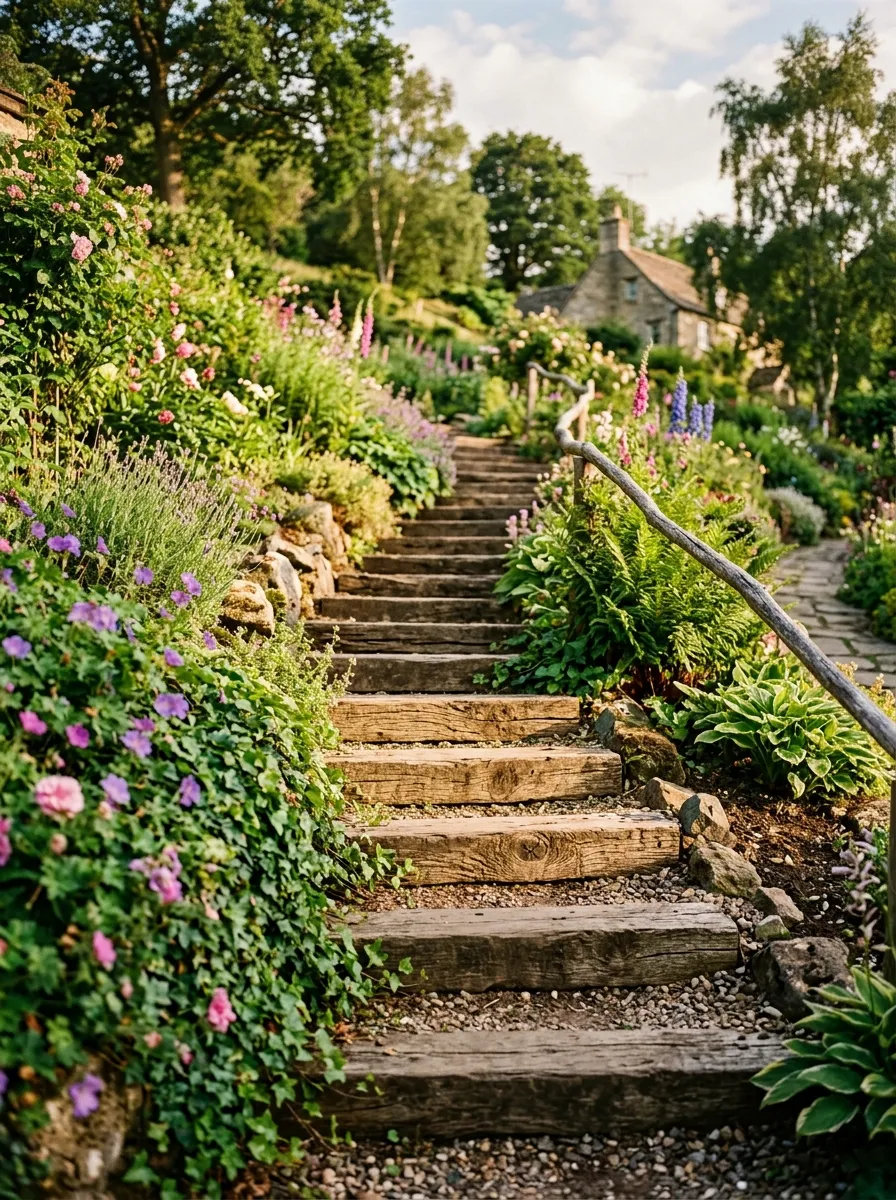
A sloped yard presents a real challenge for a flat, simple path, but timber steps solve the problem while adding structure to an otherwise tricky area. Cut pressure-treated timbers to length, then set them into the slope at even intervals, backfilling behind each one with soil or gravel to create a stair-step effect.
Space the steps to match a natural, comfortable stride, since steps that are too shallow or too tall become awkward and even unsafe to use regularly.
Plant low, spreading groundcover along the edges of each step to soften the transition between wood and soil.
Budget tip: reclaimed railroad ties or landscape timbers, often sold used at lower cost, work well for this kind of stepped path.
This project turns a difficult slope into a usable, attractive part of your yard instead of a section everyone avoids walking through.
12. Line a Path With Repurposed Wine Bottles
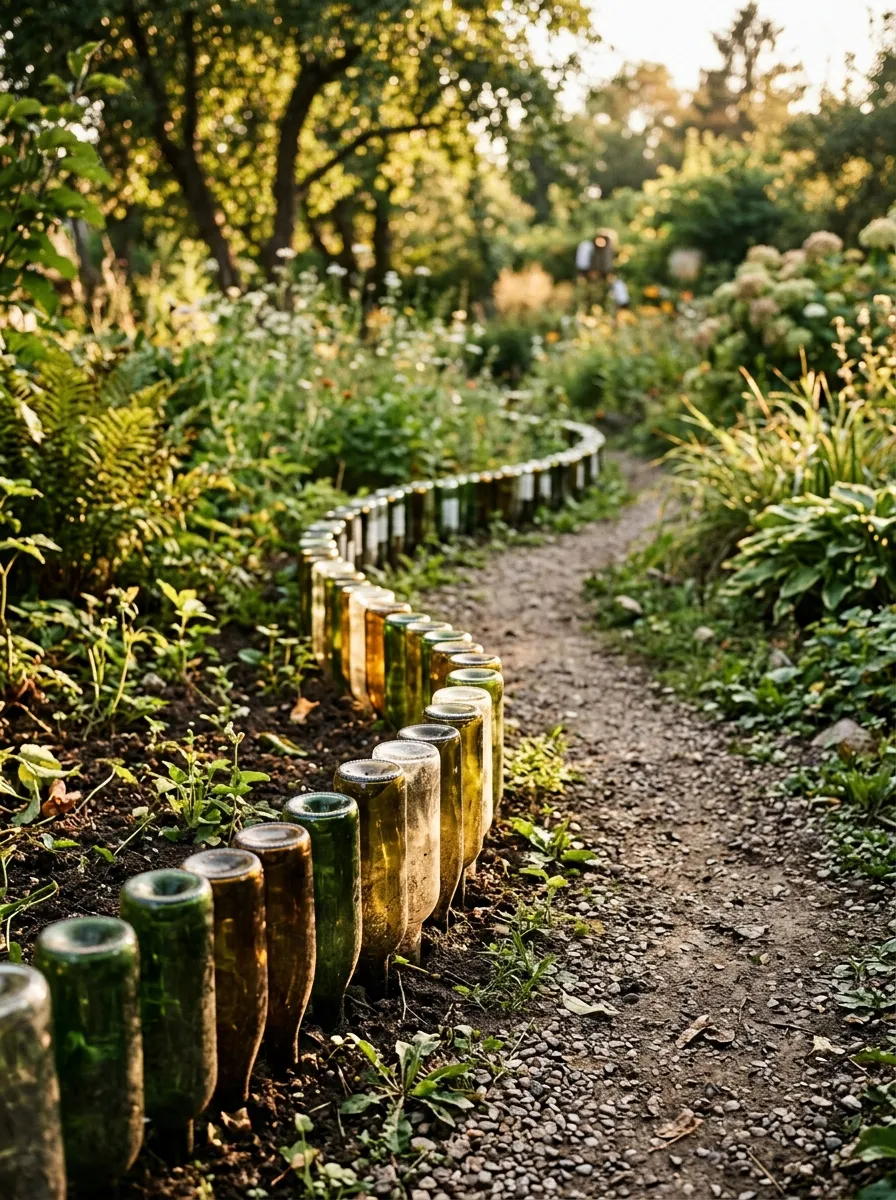
Empty wine bottles make a surprisingly sturdy and decorative path border. Dig a shallow trench along the path’s edge, then push bottles neck-down into the soil so only the rounded bottoms show above ground, forming a continuous glass border.
The glass catches sunlight throughout the day, adding a subtle shimmer that plastic or wood edging can’t match.
Mix different bottle colors for a patchwork look, or stick with a single color for a cleaner, more uniform line.
Budget tip: ask friends, restaurants, or your own recycling bin, since collecting enough bottles for a full path border takes only a few weeks.
This project turns household recycling into a genuinely charming design feature, adding sparkle and texture to a path’s edge for almost no cost.
13. Create a Checkerboard Path With Grass and Pavers
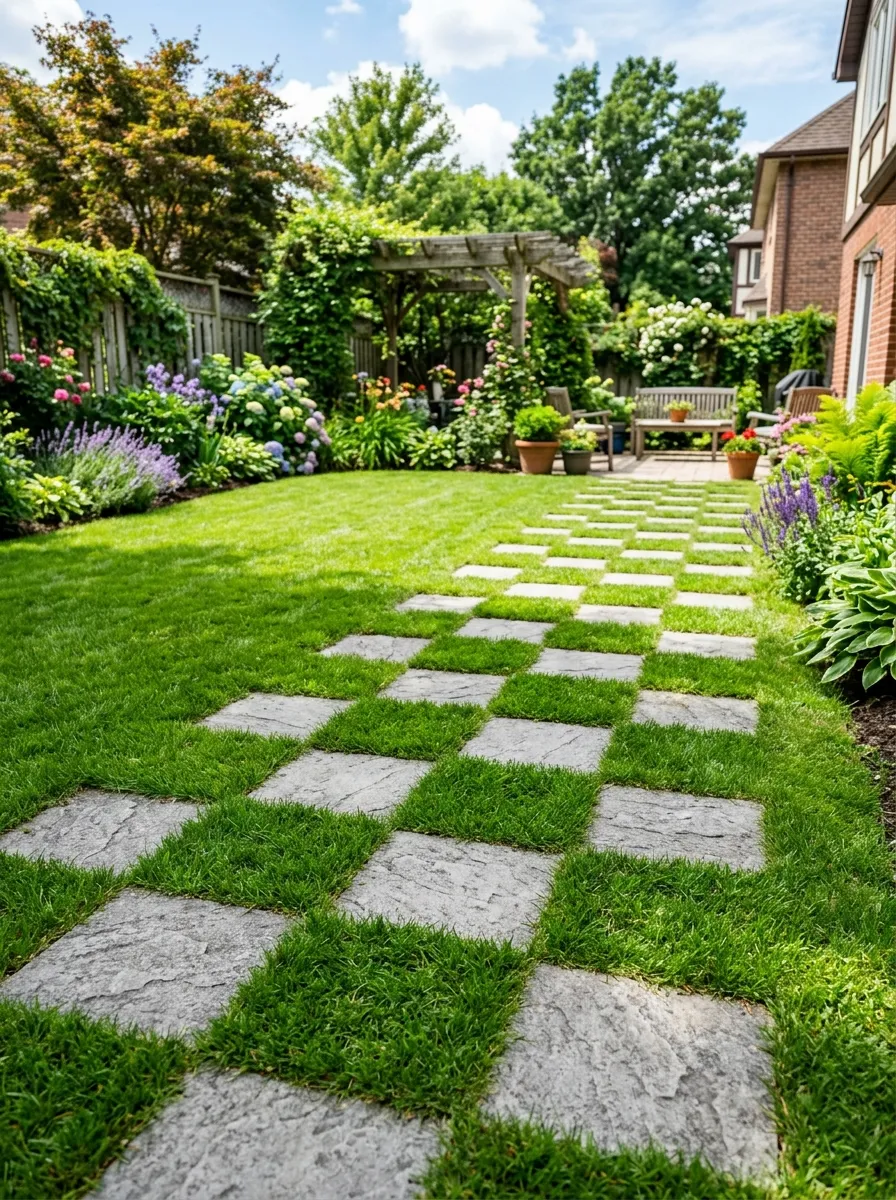
Alternating pavers with small grass squares gives a path visual rhythm while keeping most of the ground still permeable and green. Lay square or rectangular pavers in a checkerboard pattern, leaving equal-sized gaps of soil between them for grass to grow.
Seed or sod the gaps once the pavers are set, and keep the grass squares slightly recessed so mower blades clear the paver edges safely.
This pattern works especially well connecting a patio to a garden bed, since it feels less rigid than a solid paved surface.
Budget tip: discounted or slightly irregular pavers from a hardware store’s clearance section work fine for this pattern, since small imperfections blend into the overall checkerboard look.
This project balances hard and soft materials in a single path, giving your yard structure without losing the natural feel of grass.
14. Add a Meandering Path Through Tall Ornamental Grasses
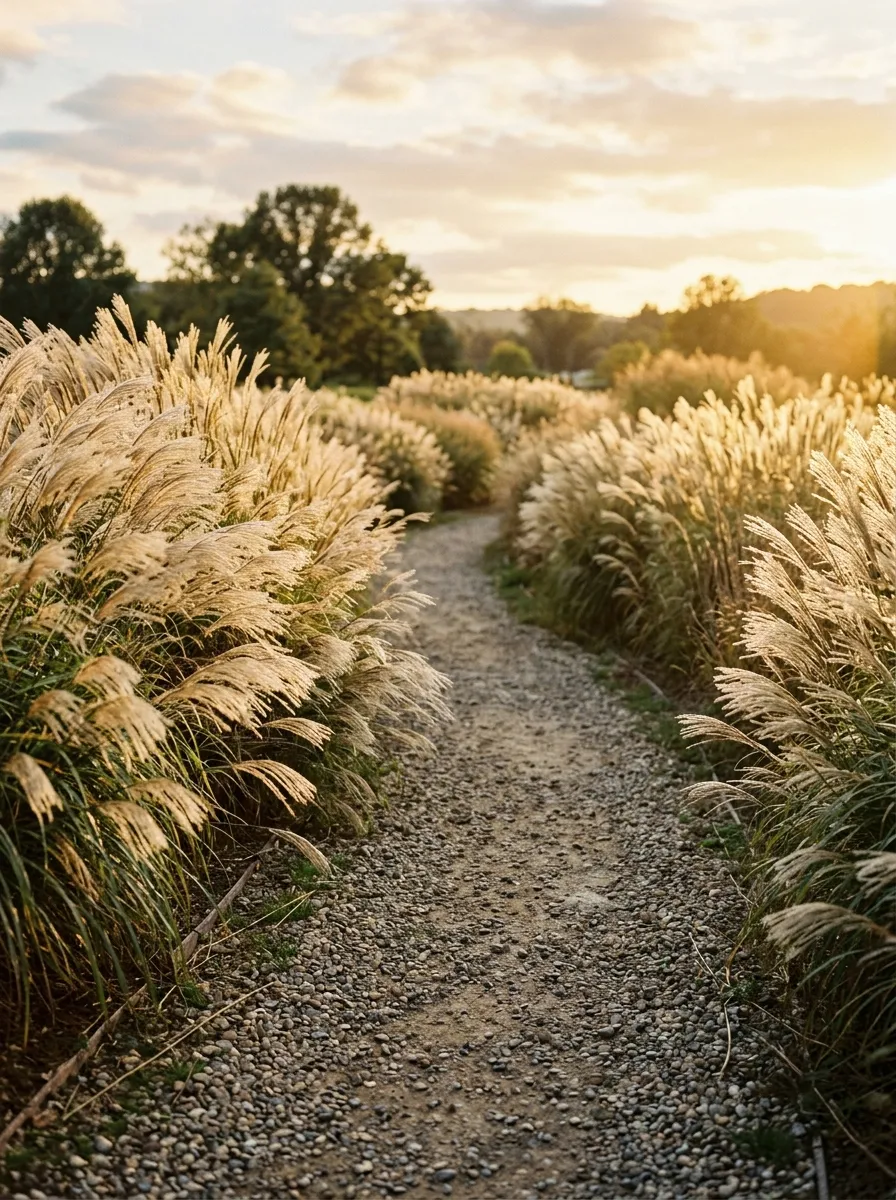
Tall ornamental grasses planted along both sides of a narrow path create a sense of movement and enclosure as you walk through, almost like a corridor of soft, swaying texture. Choose varieties like feather reed grass or fountain grass, which grow tall enough to brush against you without blocking the path entirely.
Keep the path itself narrow, just wide enough for one person, since the intimacy of the space is part of the charm.
Cut grasses back once a year in late winter, before new growth starts, to keep the planting looking fresh each season.
Budget tip: ornamental grasses divide easily every few years, so a single established clump can eventually fill an entire pathway border for free.
This project adds motion and sound to your yard, since grasses rustle in even a light breeze, giving the path a genuinely immersive feel.
15. Build a Simple Crushed Shell Path
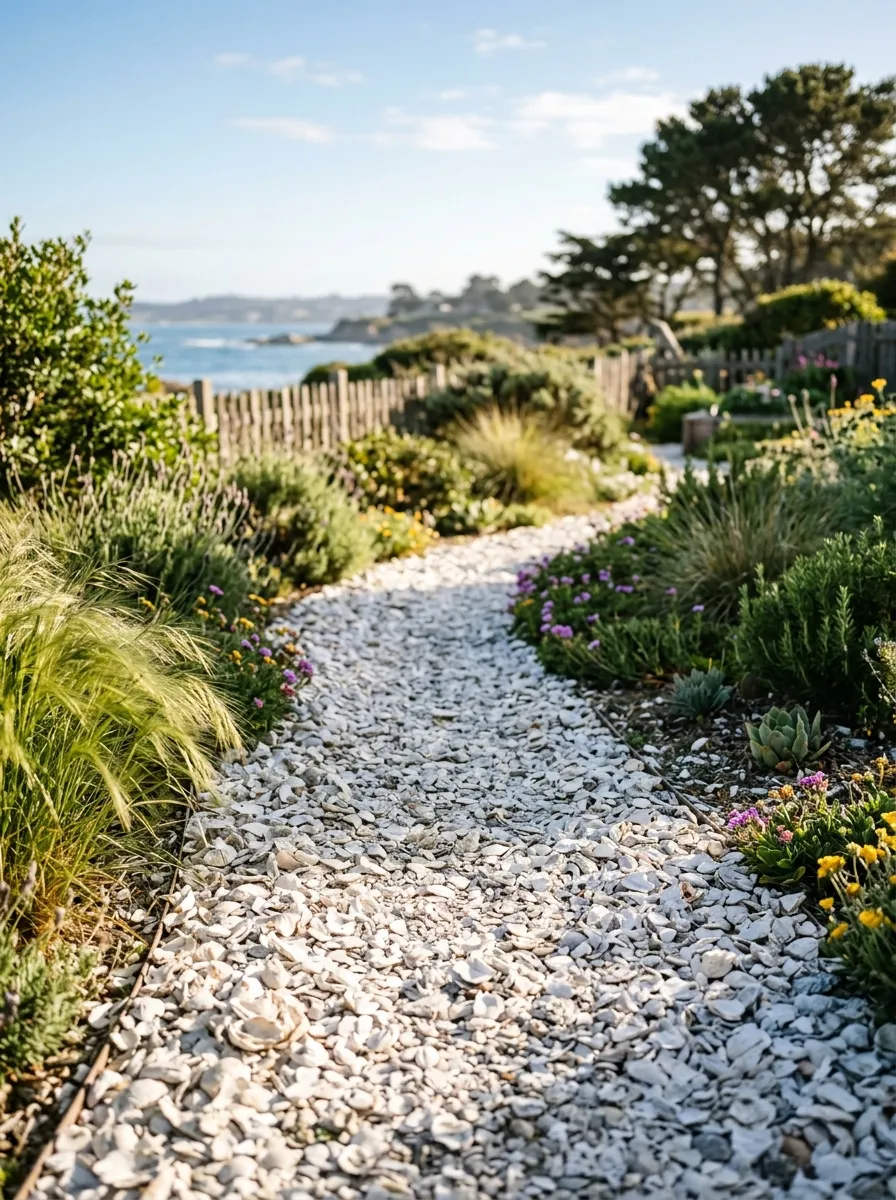
Crushed shell makes a bright, textured path surface that works especially well in coastal-style or beach-inspired gardens. Lay landscape fabric down first to block weeds, then spread a few inches of crushed shell across the marked path area.
The light color reflects sunlight, which can brighten a shaded corner of the yard that darker gravel or mulch might otherwise leave feeling dim.
Rake the surface occasionally to keep it looking fresh, since shell fragments can shift and settle unevenly with heavy foot traffic.
Budget tip: crushed shell is often available in bulk at coastal landscaping suppliers for a similar price to standard gravel.
This project gives a path a distinctive, sun-bright look that stands out from the more common gravel or mulch options most yards use.
16. Add a Path Bordered by Low Boxwood Hedges

Low boxwood hedges give a path a clean, structured look, framing the walkway with consistent green on both sides. Plant small boxwood starts a foot or so apart along the path’s edge, and trim them into a low, even line as they establish over the following seasons.
This style suits a more formal garden design better than a loose, cottage-style planting, so consider your yard’s overall aesthetic before committing to this look.
Water consistently during the first year while roots establish, then boxwood becomes fairly low-maintenance going forward.
Budget tip: buy small, young boxwood starts rather than mature plants, since they cost significantly less and fill in within just a couple of seasons.
This project gives a path real definition and structure, turning a simple walkway into a clear, intentional design feature within the yard.
17. Create a Rustic Log Slice Path
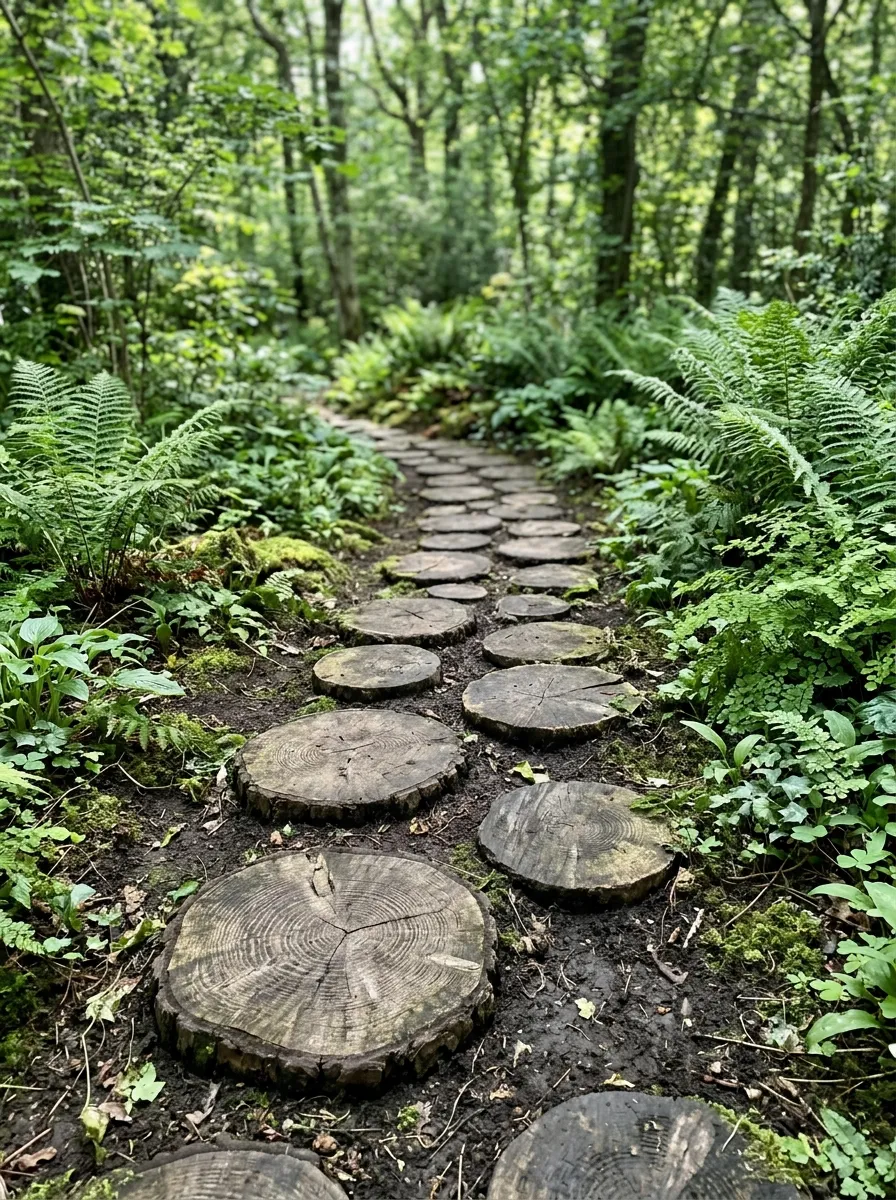
Cross-cut log slices make an unusual, rustic stepping path that suits a woodland or naturalistic garden particularly well. Cut a fallen tree trunk into rounds about two inches thick, then set them into the ground at comfortable stride intervals, surrounded by mulch or soil.
Treat the wood with a sealant to slow rot, though keep in mind these slices will eventually break down and need replacing every few years, which is part of their natural charm.
Space them slightly irregularly rather than in a perfectly even line for a more organic feel.
Budget tip: a fallen tree on your own property, or a neighbor’s tree removal project, often provides more than enough material for a full path.
This project turns tree removal waste into a genuinely charming, temporary path feature that fits beautifully into a naturalistic garden setting.
18. Add a Path Illuminated by Glow-in-the-Dark Pebbles
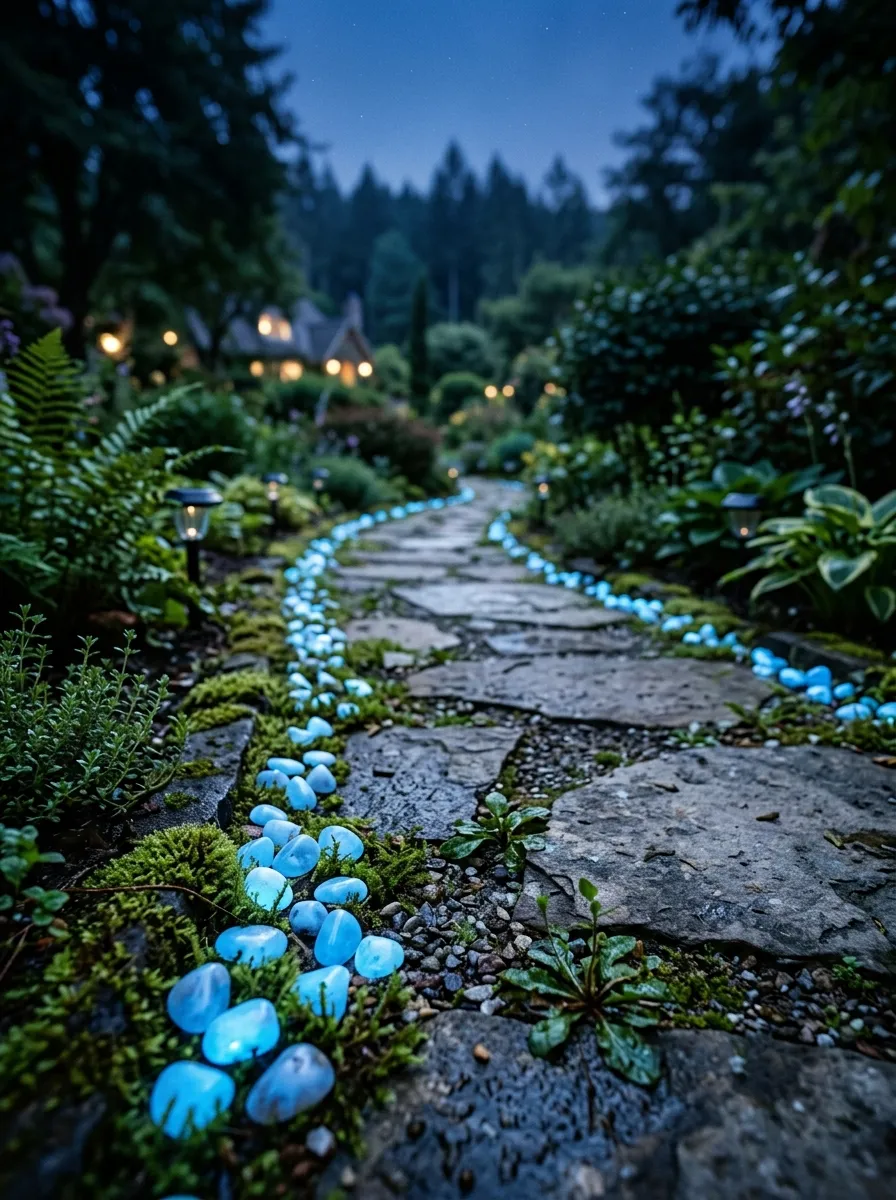
Glow-in-the-dark pebbles charge during the day and release a soft glow after dark, giving a path a genuinely magical quality without any electrical wiring or batteries. Mix them in among regular gravel or set them along the path’s border for a subtle glowing line.
The effect works best in areas that get decent direct sunlight during the day, since these pebbles rely entirely on solar charging to glow at night.
Combine with solar lanterns for a stronger overall light source if the glow alone feels too faint for practical nighttime use.
Budget tip: small bags of glow pebbles cost relatively little and go a long way when mixed sparingly into a standard gravel path.
This project genuinely earns the word magical, giving your yard a soft, otherworldly glow that guests will notice the moment the sun goes down. For more ideas on creating a cozy atmosphere after dark, explore these garden fire pit ideas for outdoor features that add warmth, light, and a welcoming gathering spot to your yard.
19. Build a Two-Toned Gravel Path With a Pattern
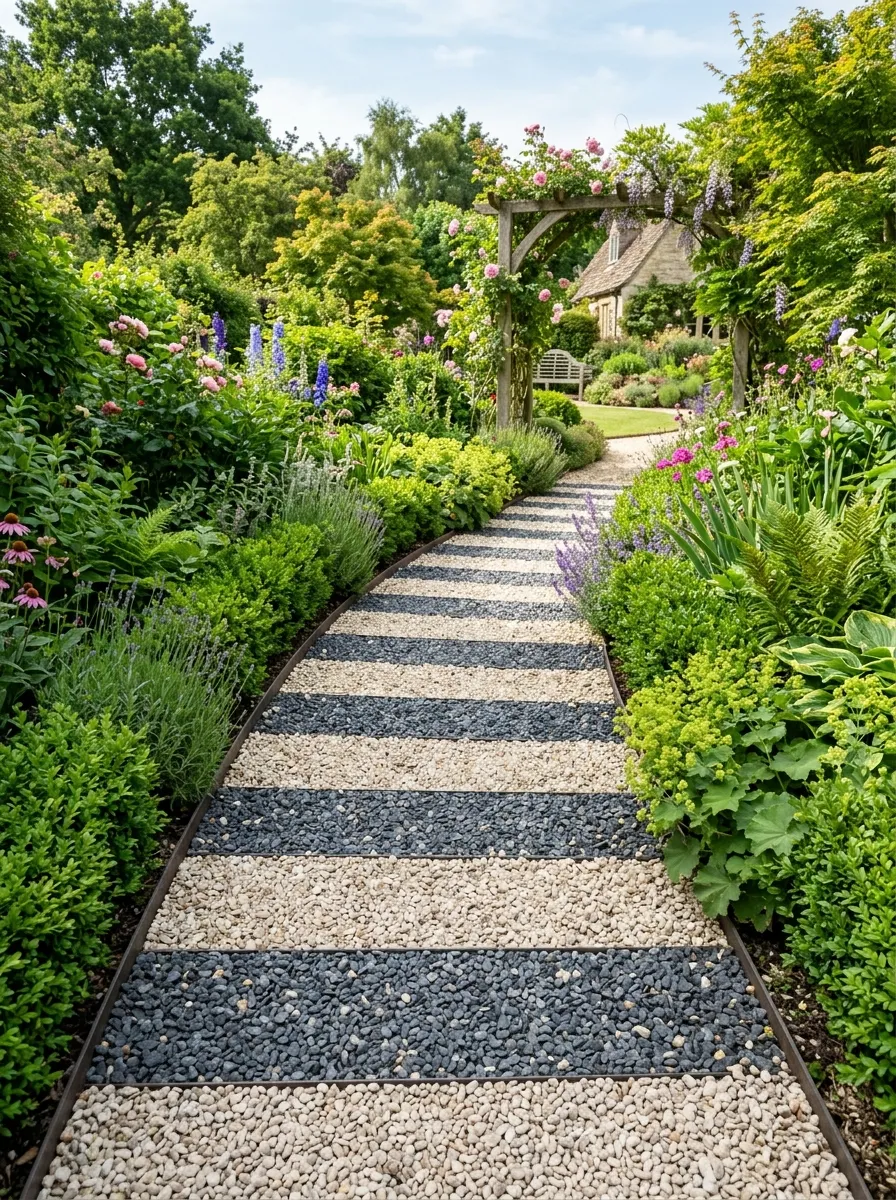
Two different gravel colors let you create a striped, checkered, or bordered pattern within a single path, adding visual interest without any change in material cost beyond the gravel itself. Lay one color as the main path surface, then use a contrasting color to mark the borders or create a repeating pattern down the center.
Keep the pattern simple, straight stripes or a bordered edge work better than anything overly intricate, since gravel naturally shifts and blurs sharp lines over time.
Rake the pattern back into place periodically as foot traffic moves stones out of position.
Budget tip: many landscaping suppliers sell smaller bags of a second gravel color specifically for accent use, so you don’t need to buy two full bulk loads.
This project adds a distinctive, patterned look to a path using nothing more than a thoughtful gravel color combination.
20. Create a Path Framed by Espaliered Fruit Trees
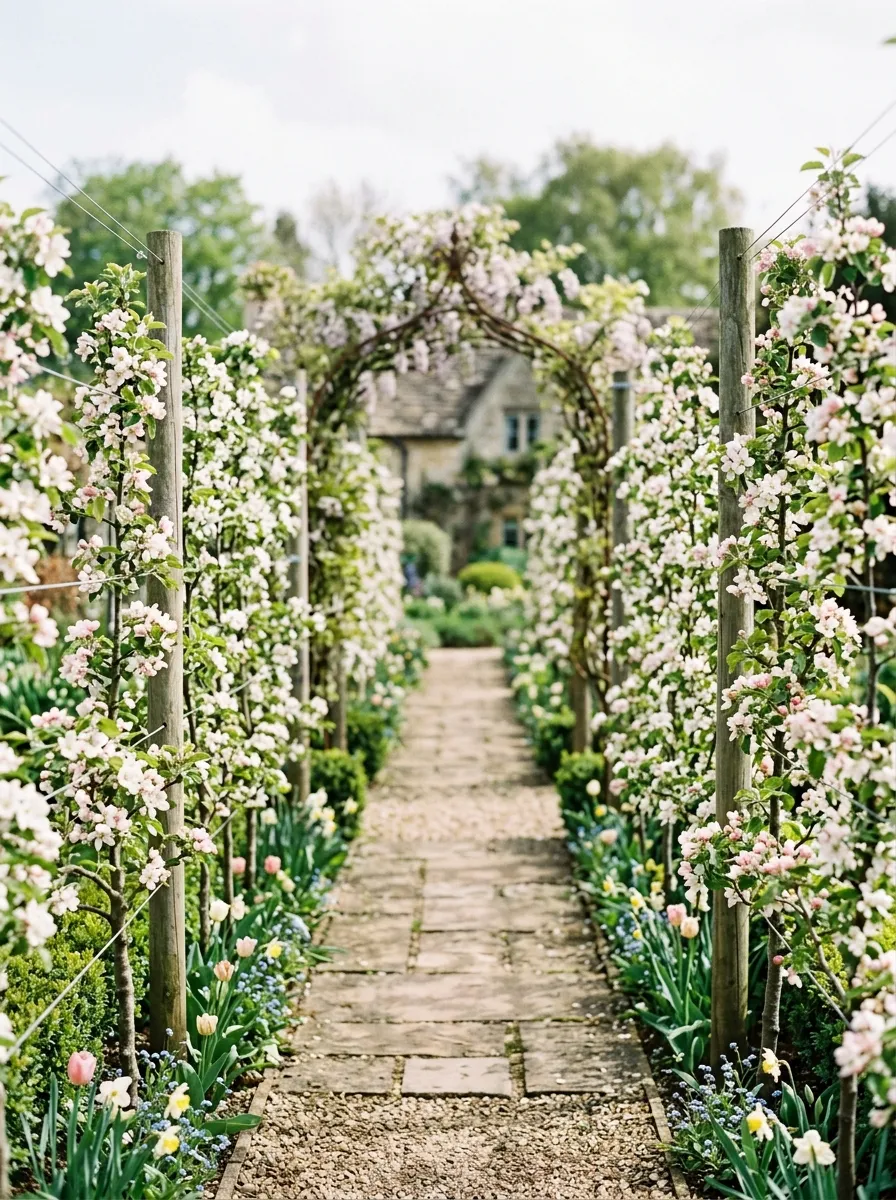
Espaliered fruit trees, trained flat against a support structure, line a path with living greenery while taking up very little actual ground space. Plant young trees like apple or pear along both sides of the path, then train branches horizontally along wire supports as they grow.
This technique takes a few seasons of patient pruning and tying, but the payoff is a path framed by blossoms in spring and fruit in fall, all within a narrow footprint.
Choose dwarf rootstock varieties, which stay more manageable in size and suit this training method better than full-sized trees.
Budget tip: bare-root fruit trees, sold in late winter, cost significantly less than potted, established trees and adapt just as well to espalier training.
This project turns a simple path into a productive, seasonal feature, offering both visual charm and actual fruit over time.
21. Add a Sunken Path With Retaining Wall Borders
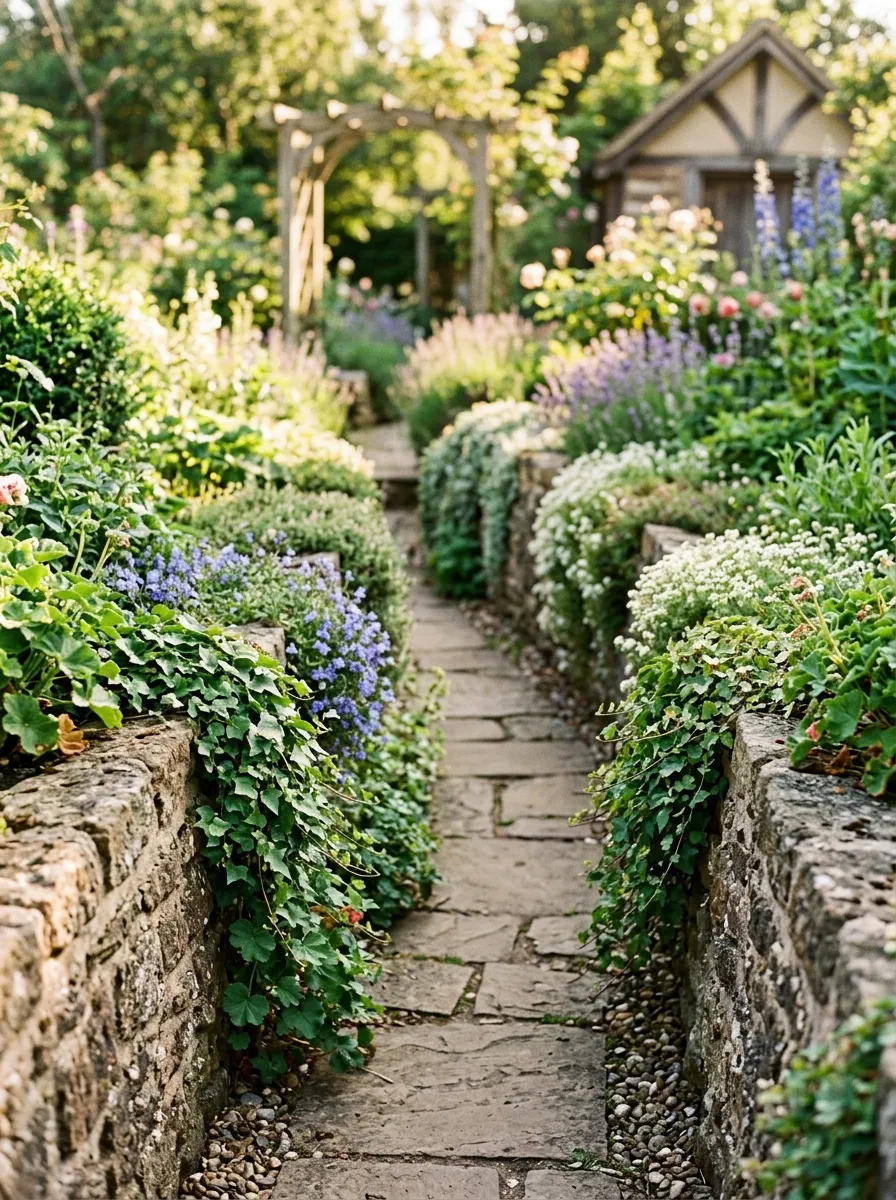
A sunken path, set a few inches below the surrounding garden bed level, creates a subtle sense of depth and enclosure as you walk through. Dig the path area down slightly, then build a low retaining wall from stacked stone or brick along each side to hold back the surrounding soil.
Let trailing plants spill over the wall edges into the path space, softening the transition between the sunken walkway and the raised beds beside it.
This technique works especially well connecting two areas at slightly different elevations, since it doubles as a practical grading solution.
Budget tip: broken concrete chunks or reclaimed stone stacked without mortar work fine for a low retaining wall under a foot in height.
This project adds real dimension to a flat yard, giving the path a sense of journey rather than just a flat surface underfoot.
22. Build a Path That Leads to a Hidden Garden Nook
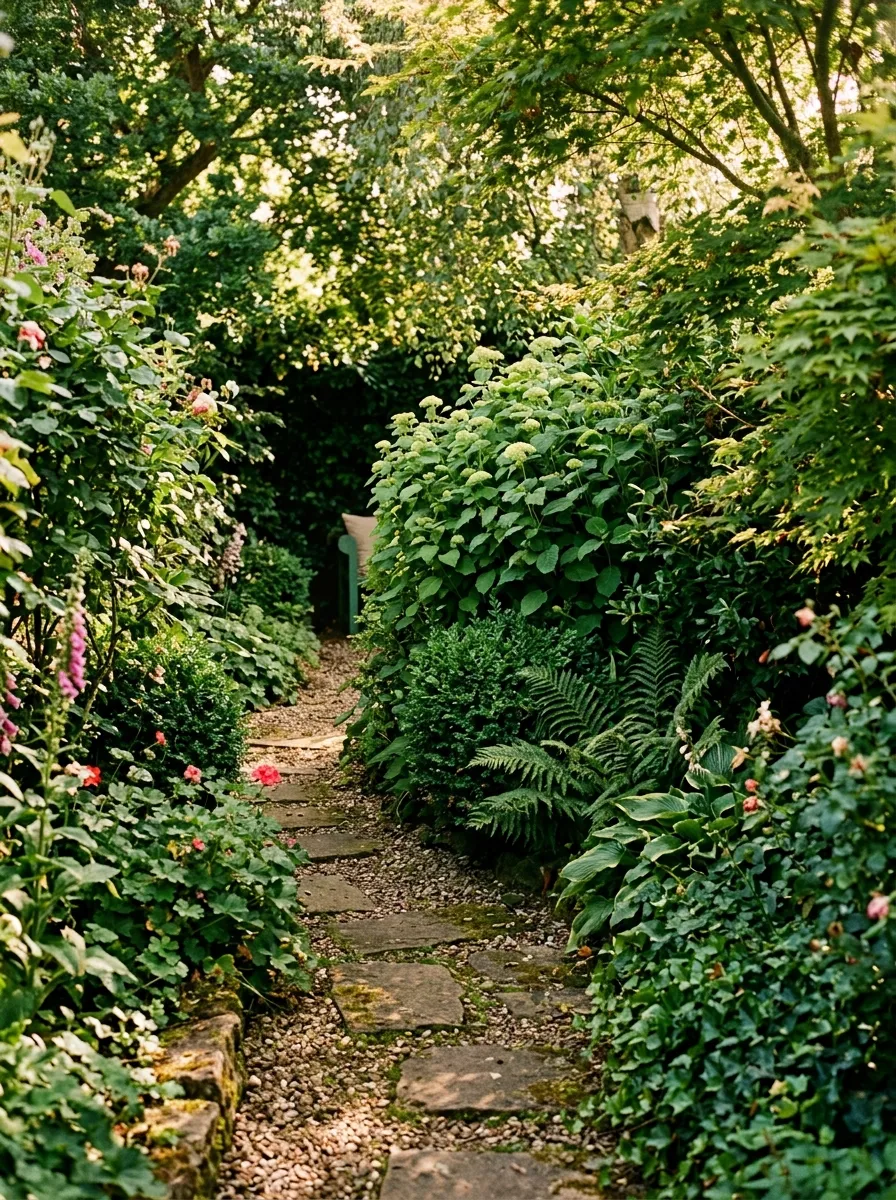
A path that curves out of sight before reaching its destination creates genuine anticipation, one of the simplest tricks for making a small yard feel larger and more interesting. Plant dense shrubs or tall grasses along a curve in the path so the end point stays hidden until you round the bend.
Reveal something worth the walk at the end, a small bench, a birdbath, or a cluster of favorite flowers, so the payoff matches the buildup.
This works in yards of any size, though it’s especially effective in smaller spaces where every sightline usually gets revealed at a glance.
Budget tip: fast-growing shrubs or tall perennials, rather than expensive mature plants, fill in a screening curve within a season or two.
This project turns a simple walk into a small adventure, the kind of detail that makes a garden feel genuinely magical rather than just landscaped.
Conclusion
A path shapes how a garden actually feels to walk through, not just how it looks from a window. Whether it’s flagstone set into grass, a curve of gravel disappearing behind tall shrubs, or a border of old wine bottles catching the afternoon light, small material choices add up to real character. Pick one stretch of your yard that could use a clearer sense of direction, choose a project from this list that fits your budget, and start laying the groundwork for a garden that feels like an actual journey, not just a lawn.