
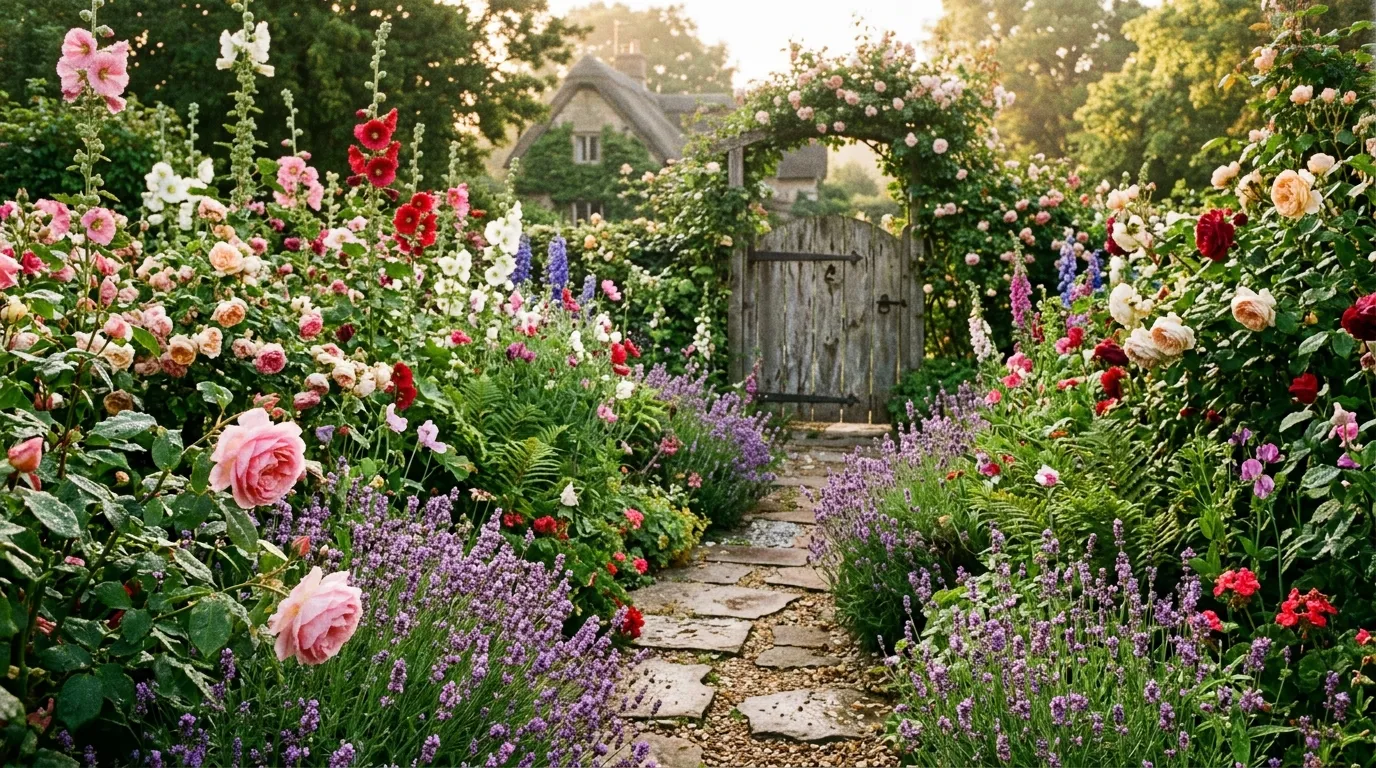
A cottage garden feels like something out of a storybook, all tangled blooms, worn stone paths, and a sense that nature was allowed to do most of the decorating. The good news is that look doesn’t require acres of land or years of expertise. It comes from a handful of simple, repeatable choices: dense planting, soft edges, and a mix of old and new materials. This list walks through affordable ways to bring that relaxed, romantic style into your own yard, no matter how small the space or tight the budget.
1. Plant in Dense, Overlapping Clusters

The signature look of a cottage garden comes from plants growing close together, almost spilling over each other, instead of neat rows with visible gaps. Skip the wide spacing recommended on most seed packets and plant a little closer than usual.
This creates a lush, full look faster and also naturally crowds out weeds, since there’s less bare soil for them to take root in.
Mix flower heights and shapes freely. A cottage bed thrives on variety rather than a matched, uniform pattern.
Budget tip: grow from seed instead of nursery starts, since seed packets let you plant far more densely for a fraction of the cost.
This approach gives you that famously overgrown, romantic look within a single season, and it requires nothing more than a willingness to skip the usual spacing rules.
2. Add a Weathered Wooden Gate
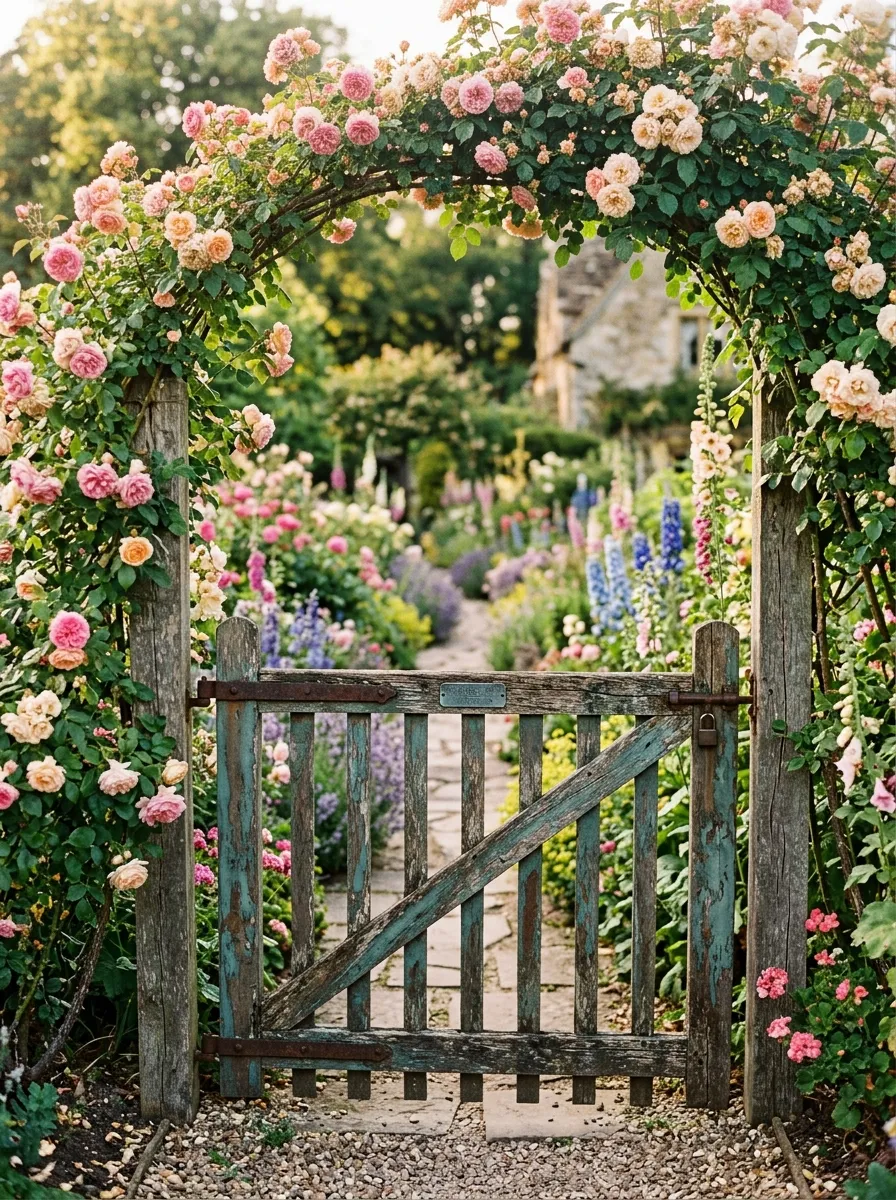
A gate marks the entrance to your garden and signals that you’re stepping into somewhere a little different from the rest of the yard. It doesn’t need to be new or fancy. A simple wooden frame with a few crossbars does the job.
Let the wood weather naturally, or speed up the look with a light sanding and a thin coat of white or pale blue paint that’s meant to look worn.
Plant a climbing rose or clematis at the base so it grows up and over the frame within a season or two.
Budget tip: check salvage yards or online marketplaces for old garden gates, since many people replace them during renovations and give the originals away.
This small addition creates a strong sense of arrival and makes even a modest garden feel like a destination worth walking into.
3. Grow Roses Along a Fence or Trellis
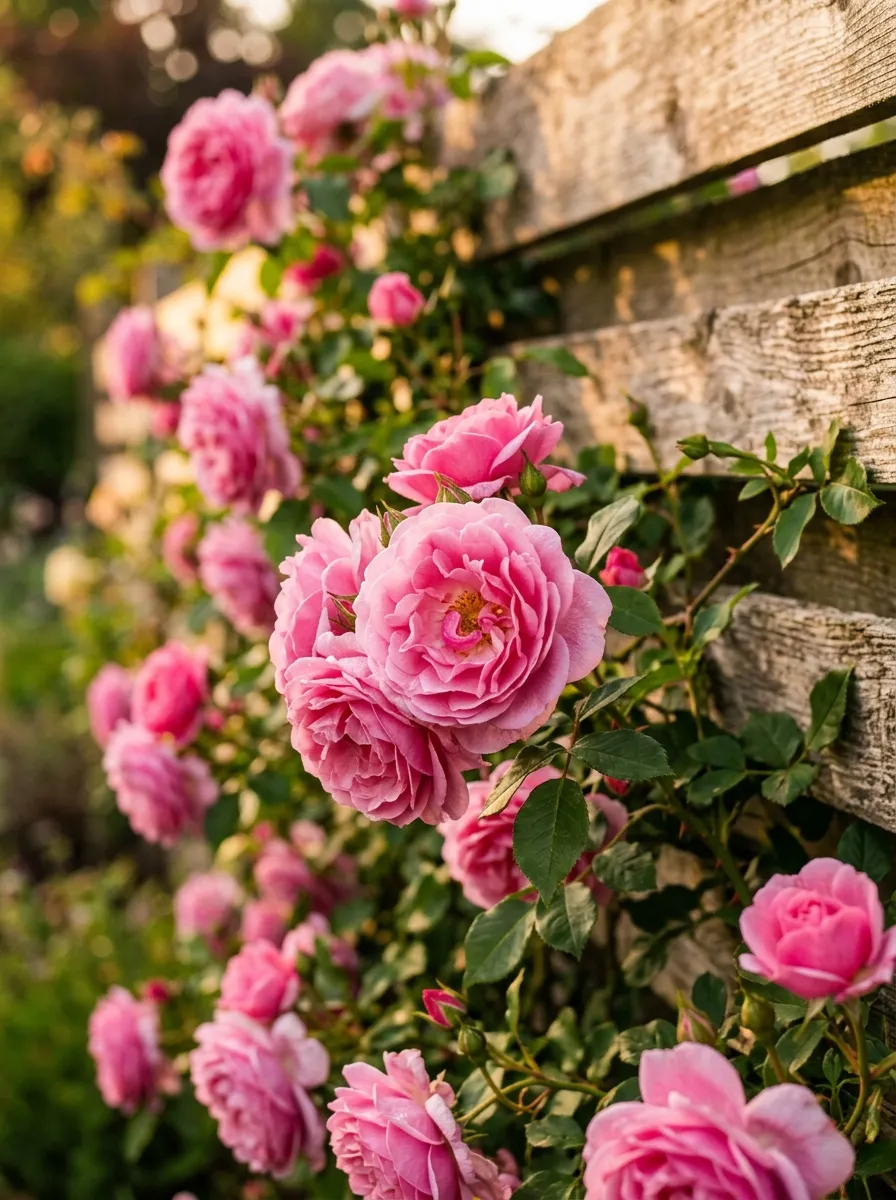
Few plants say cottage garden louder than roses climbing a fence or trellis. Choose a climbing variety, plant it at the base of a support structure, and loosely tie new growth to the frame as it develops through the season.
Roses need decent sun, at least six hours daily, and consistent watering during their first year while roots establish. After that, they become fairly self-sufficient.
Prune lightly each late winter to remove dead wood and shape growth, rather than heavy cutting that can set the plant back.
Budget tip: bare-root roses, sold in late winter, cost significantly less than potted rose bushes and establish just as well.
This project takes patience over a season or two but rewards you with the exact billowing, romantic look that defines the entire cottage style.
4. Use a Mix of Reclaimed and Mismatched Edging
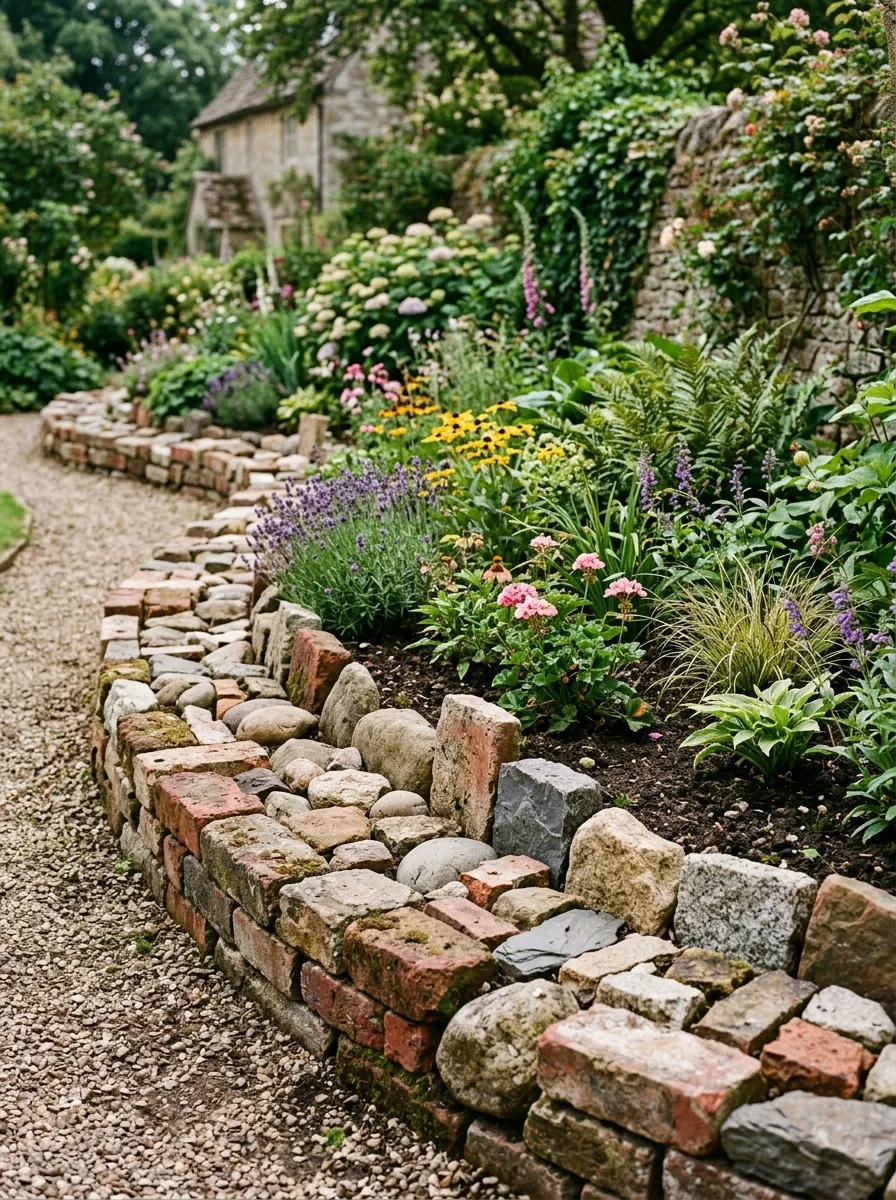
Perfectly matched, store-bought edging looks too polished for a cottage garden. Mismatched materials—old bricks, broken pavers, and found stones—create the irregular, handmade border that defines the style instead.
Lay pieces in a loose, slightly uneven line rather than a perfectly straight edge. Gaps and variation in height actually help sell the relaxed, collected-over-time look.
This also gives you a practical use for construction leftovers or broken pieces you’d otherwise throw away.
Budget tip: ask around at demolition sites or home renovation projects, since broken brick and stone often get discarded and given away for free.
This project costs very little and adds an authentic, lived-in charm to bed edges that new, uniform edging simply can’t replicate. If you’re looking for more creative ways to enhance your garden walkways, explore these garden path ideas for charming designs that complement cottage-style borders and outdoor spaces.
5. Add a Rustic Birdbath as a Focal Point
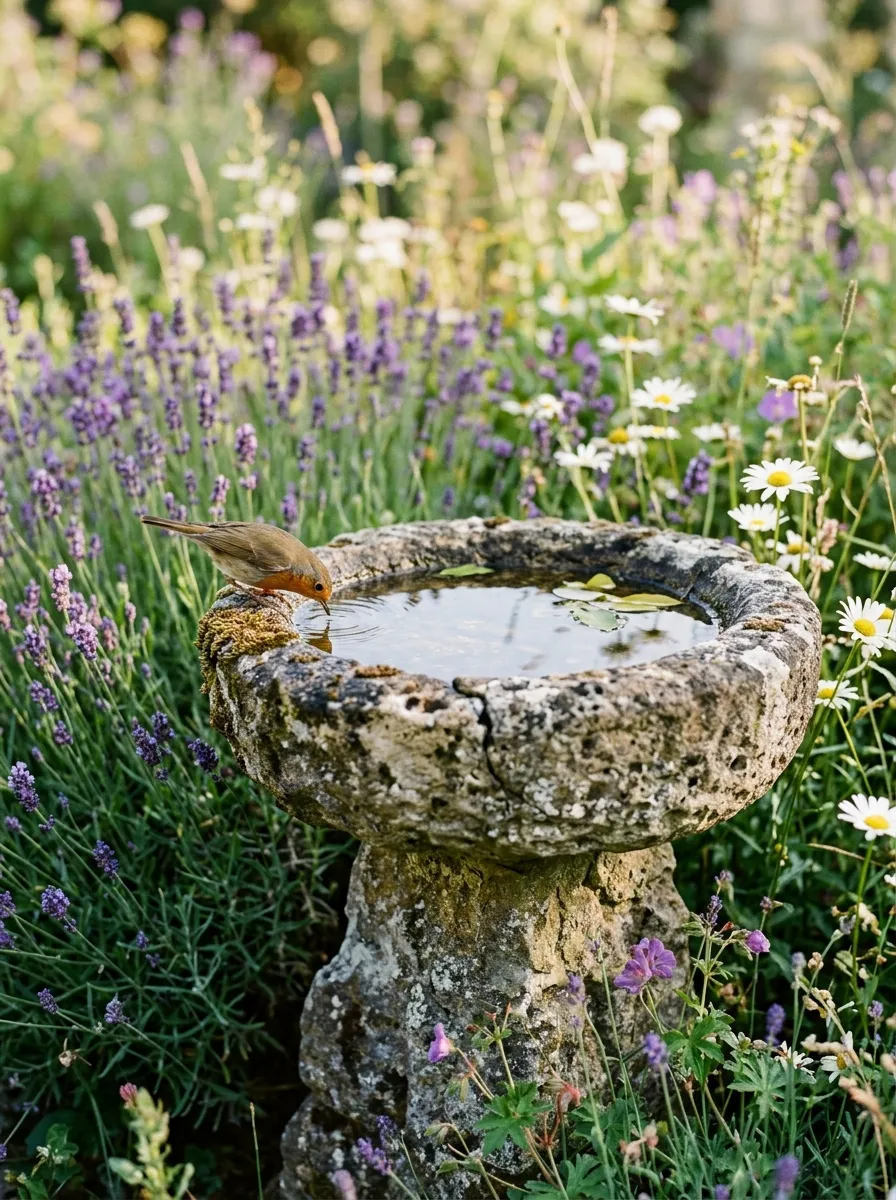
A birdbath gives your garden a central point for the eye to rest on, tucked among the surrounding flowers. Concrete or stone versions develop a naturally weathered patina over time, which fits the cottage aesthetic better than anything shiny or new.
Set it slightly off-center in a bed rather than in the exact middle, since asymmetry reads as more natural and less formal.
Keep the water fresh every few days to attract birds and prevent mosquitoes from breeding in standing water.
Budget tip: secondhand shops and yard sales often carry older concrete birdbaths for a fraction of new retail prices, and the weathering only adds character.
This small addition brings movement and life to your garden while giving the whole bed a clear anchor point among the surrounding blooms.
6. Plant Self-Seeding Flowers for a Wild Look

Self-seeding flowers like poppies, cornflowers, and foxgloves drop seed at the end of the season and return the following year without any replanting effort. This creates the slightly wild, unplanned look that’s central to cottage style.
Scatter seeds loosely across a bed instead of planting in neat rows. Let the plants find their own spacing naturally as they grow, which mimics how they’d spread in the wild.
Resist the urge to deadhead every spent bloom in late summer, since the seed heads are what guarantee next year’s flowers.
Budget tip: one seed packet often reseeds itself for several years running, so the upfront cost covers multiple seasons of blooms.
This approach reduces your workload each spring while keeping the garden’s appearance loose, informal, and a little different every year.
7. Build a Simple Arbor Bench Seat
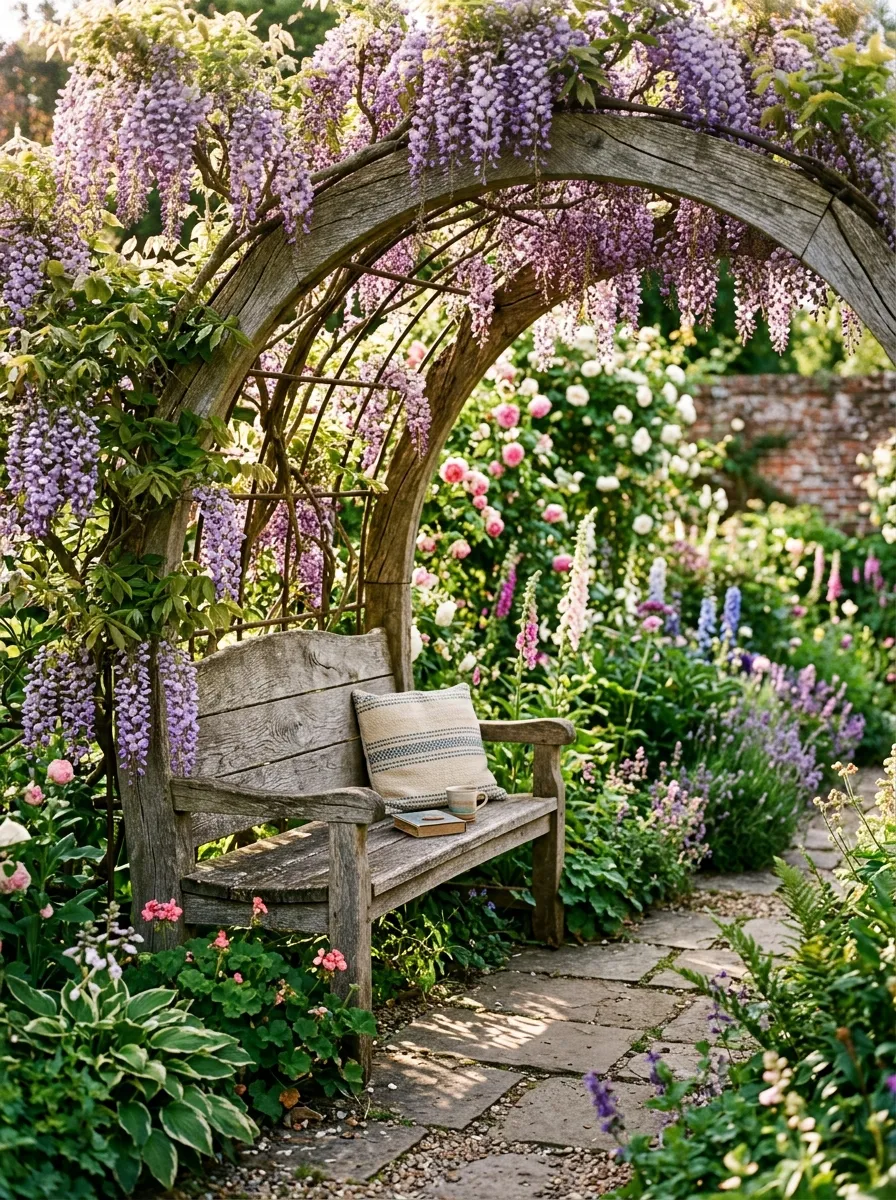
An arbor bench combines seating with a climbing plant structure, giving you a shaded, flower-framed spot to sit within the garden itself rather than just viewing it from a patio. Build a simple bench, then add an arched frame overhead using bent wood or metal conduit.
Plant a fast climbing vine like wisteria or morning glory at the base of each side, and train it up and over the frame as it grows.
Position the bench facing into the garden rather than out toward the yard, so the view stays focused on the blooms.
Budget tip: repurpose an old bench you already own rather than building one from scratch, and focus your budget on the arbor frame instead.
This project creates an immersive little retreat within your garden, exactly the kind of dreamy escape the cottage style is known for.
8. Layer Lavender Along Pathway Edges
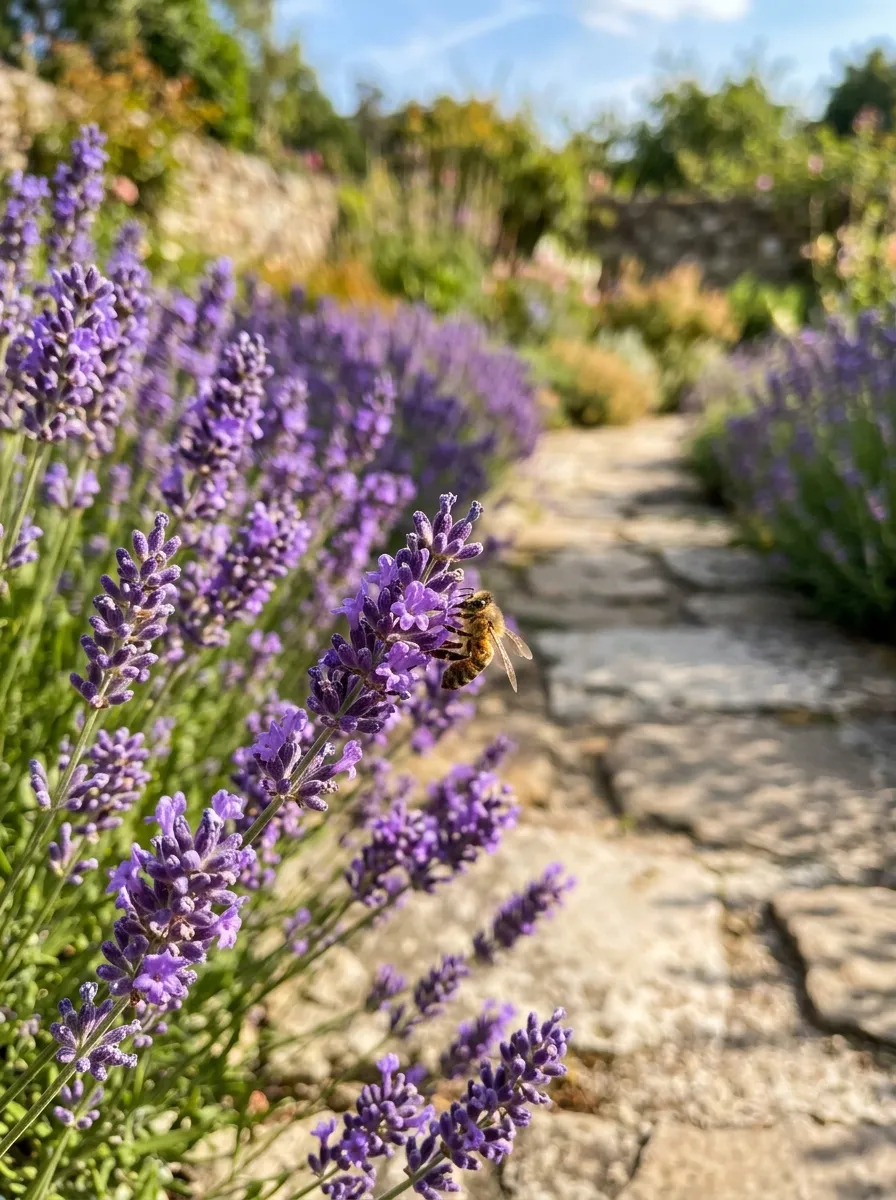
Lavender along a path edge does double duty, adding soft purple color while brushing gently against legs as you walk by and releasing its scent. Plant it in a well-draining spot, since lavender struggles in soil that stays consistently wet.
Space plants about a foot apart so they’ll fill in and touch each other as they mature, creating a continuous soft border rather than isolated clumps.
Trim lightly after the first bloom flush to encourage a second round of flowers later in the season.
Budget tip: lavender grows readily from cuttings, so a few stems from a friend’s established plant can start an entire border for free.
This project adds fragrance and color at very low effort, since lavender needs little water or attention once it’s established in the right spot.
9. Use Vintage Containers as Planters
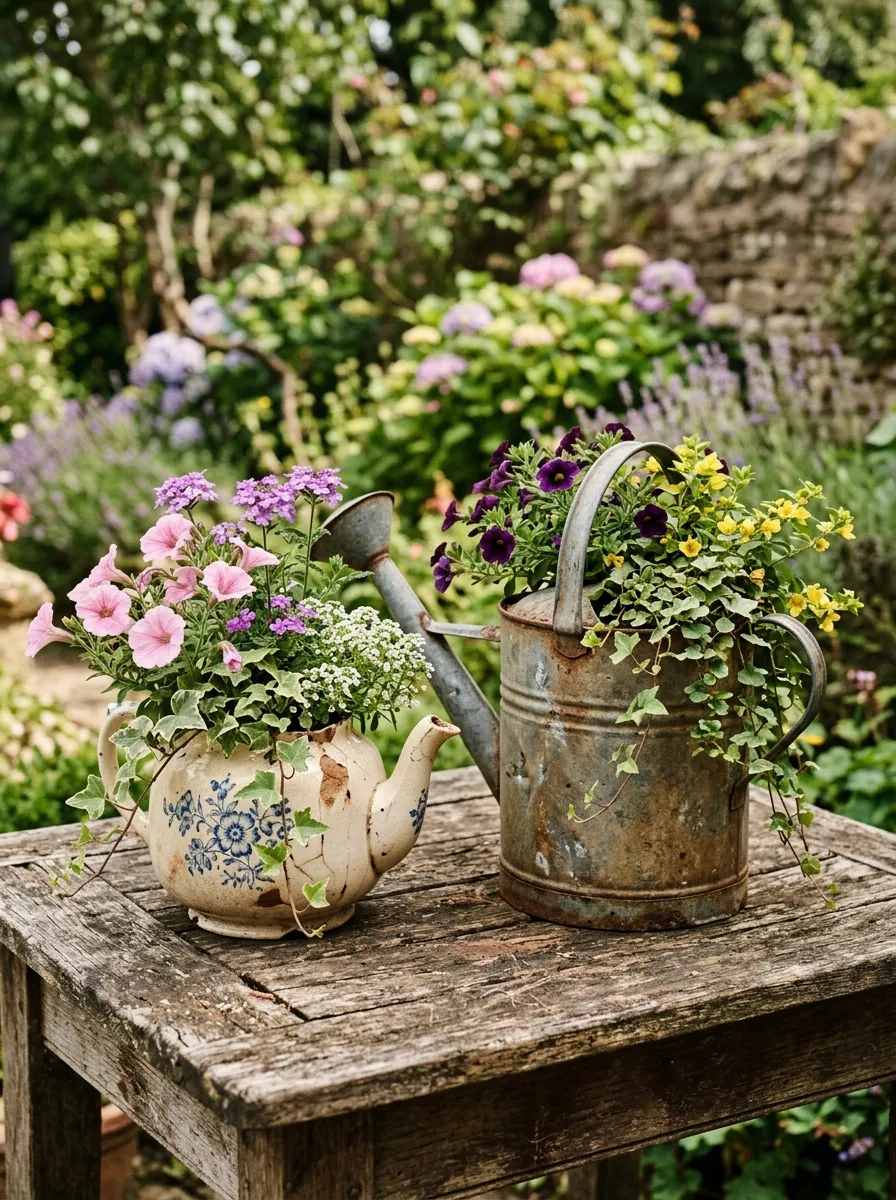
Old watering cans, teapots, wash basins, and wheelbarrows all make charming planters once their original use has worn out. The slightly rusted or chipped look actually adds to the cottage feel rather than detracting from it.
Drill a few drainage holes in the bottom if the container doesn’t already have any, then fill with potting soil and something trailing, like sweet alyssum or ivy geranium, that will spill over the edges.
Group a few different vintage containers together for a collected, layered display.
Budget tip: thrift stores and estate sales are reliable sources for cheap, characterful containers that would otherwise sit unused in someone’s shed.
This project turns forgotten household objects into garden features, giving your space personality that a matched set of new planters never quite achieves.
10. Create a Gravel Path Lined With Flowers
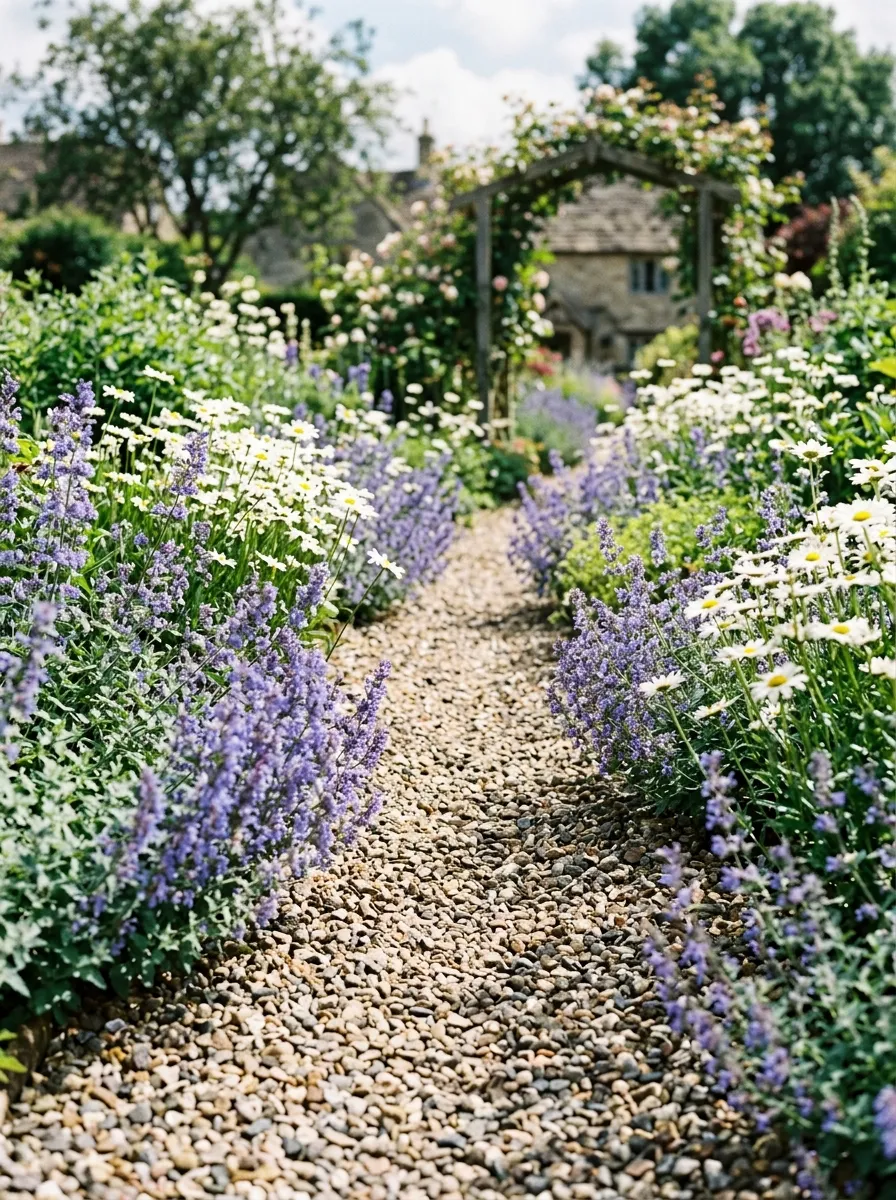
A gravel path gives you a way to walk through your garden without trampling the plants, while still keeping the loose, informal look cottage gardens are known for. Lay landscape fabric down first, then spread a few inches of pea gravel over the top.
Let flowers along the edges spill slightly over the gravel rather than keeping a hard, clean line between bed and path. This soft overlap is part of what makes the style feel relaxed instead of manicured.
Curve the path gently rather than running it straight, which suits the informal style better.
Budget tip: buy gravel in bulk from a landscape supplier rather than in small retail bags, since bulk pricing runs far cheaper.
This project makes your garden walkable while keeping the wild, overflowing character intact right up to the path’s edge.
11. Add a Rustic Picket Fence Section
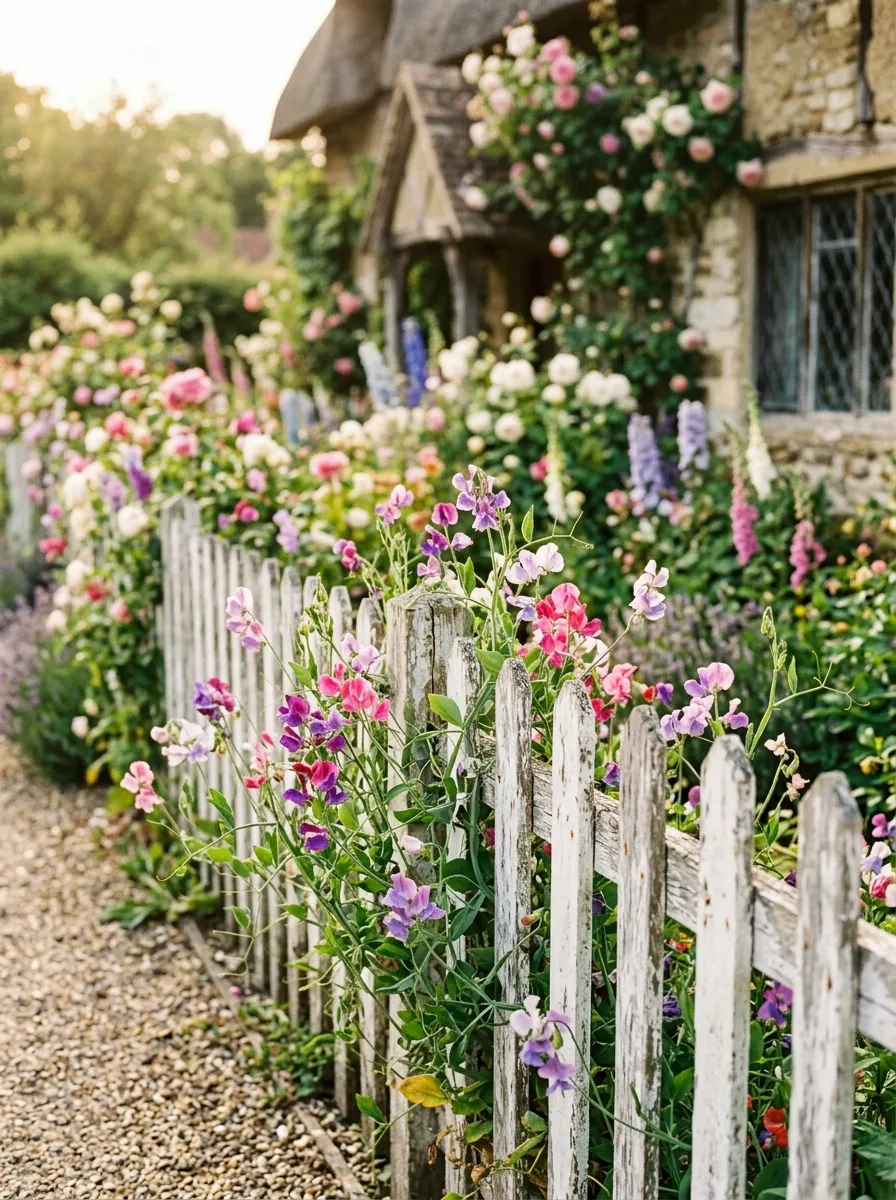
A short stretch of picket fencing doesn’t need to enclose your whole yard to read as cottage style. Even a small section framing one bed or marking a boundary between lawn and garden adds the right kind of charm.
Build simple pickets from scrap wood, spaced with small gaps between each board, and set them into the ground with sturdy stakes. A coat of white or pale paint, slightly distressed, completes the look.
Let a climbing plant like sweet peas or morning glory twist through the gaps as it grows.
Budget tip: reclaimed fence pickets from a torn-down section elsewhere often cost nothing beyond the labor to repaint and reset them.
This project defines your garden’s edges without a heavy, closed-off feeling, keeping the space open while still framing it clearly.
12. Grow a Mix of Herbs Among the Flowers
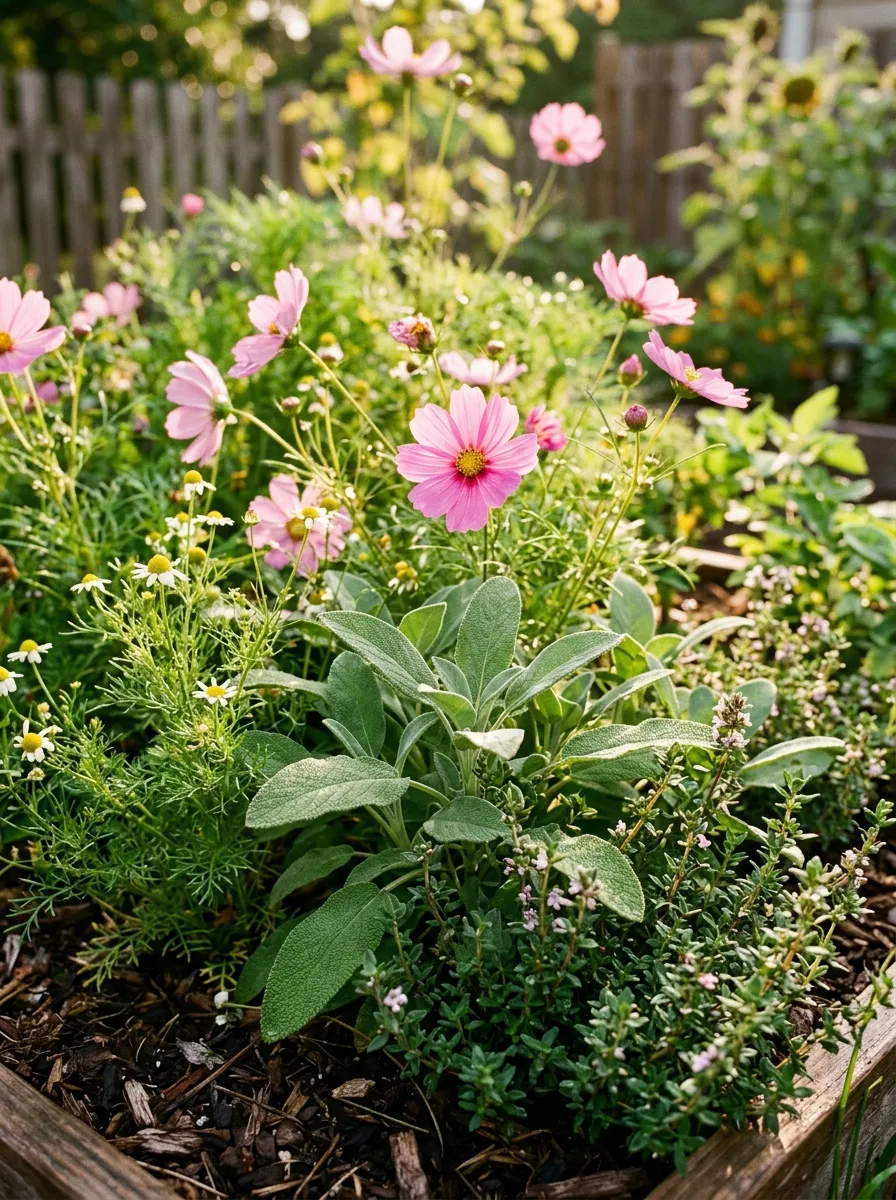
Cottage gardens traditionally mixed herbs right in among the flowers rather than separating them into a dedicated bed, since the original gardens needed to be both beautiful and useful. Tuck sage, chamomile, or thyme between your flowering plants instead of keeping them apart.
This mix also brings in more pollinators, since flowering herbs like chamomile attract bees just as effectively as ornamental blooms.
Harvest herbs regularly for cooking or tea, which also keeps them from overtaking their flowering neighbors.
Budget tip: herb seeds are inexpensive and often produce enough plants to mix throughout several beds from a single packet.
This approach adds practical value to a purely ornamental space and echoes the genuinely functional roots of the cottage garden tradition. For even more inspiration, explore these herb and flower combinations for containers to see how edible herbs and colorful blooms can work beautifully together in small spaces.
13. Add a Weathered Trellis for Climbing Sweet Peas
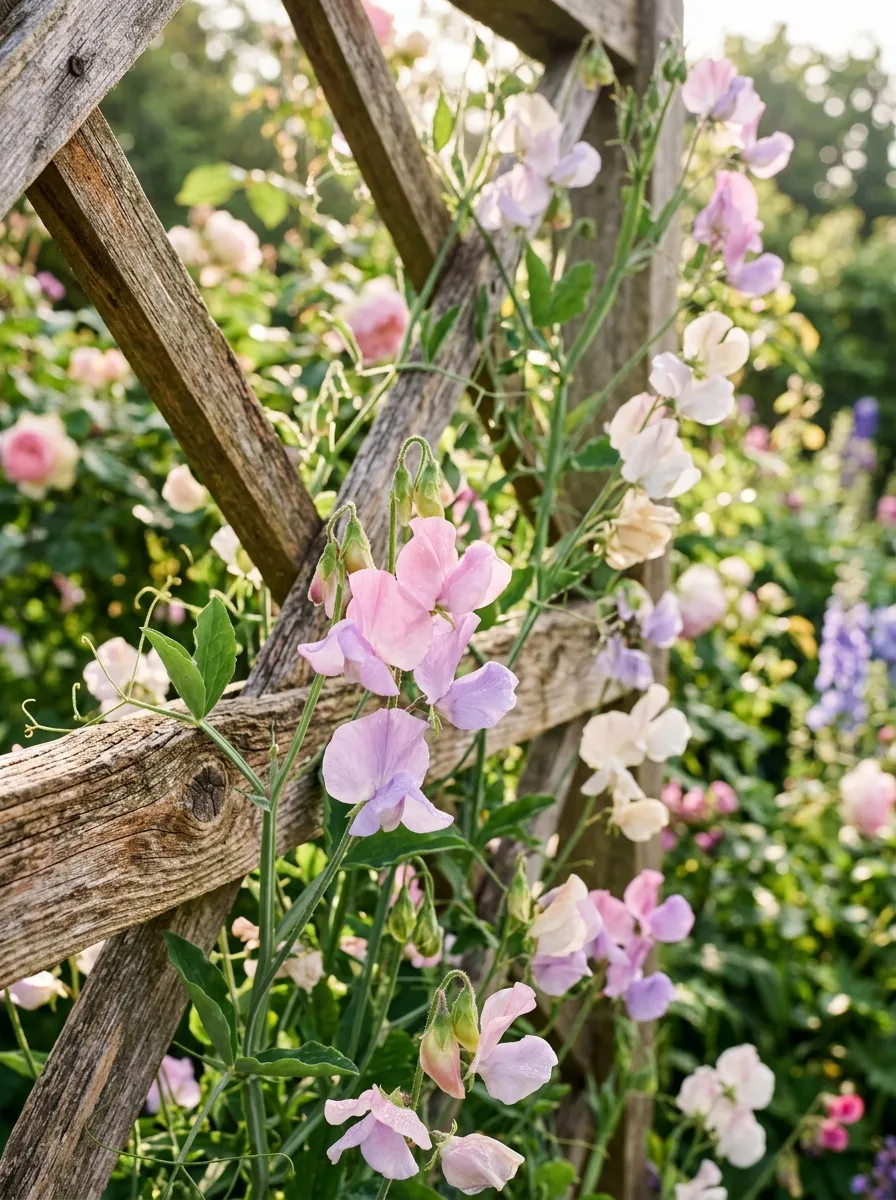
Sweet peas climb quickly and bloom generously through spring and early summer, making them a reliable choice for adding vertical color. A simple trellis of crossed wooden stakes or leftover branches gives the vines something to grip.
Plant seeds directly at the base of the trellis after the last frost, and keep the soil consistently moist while seedlings establish.
Pick blooms regularly, since sweet peas that go to seed tend to stop flowering earlier in the season.
Budget tip: fallen branches from your own yard, tied together in a simple lattice pattern, work as well as a purchased trellis.
This project adds height, color, and fragrance to a vertical space that would otherwise sit empty, all from one of the easiest climbing flowers to grow.
14. Use Terracotta Pots for a Classic Look
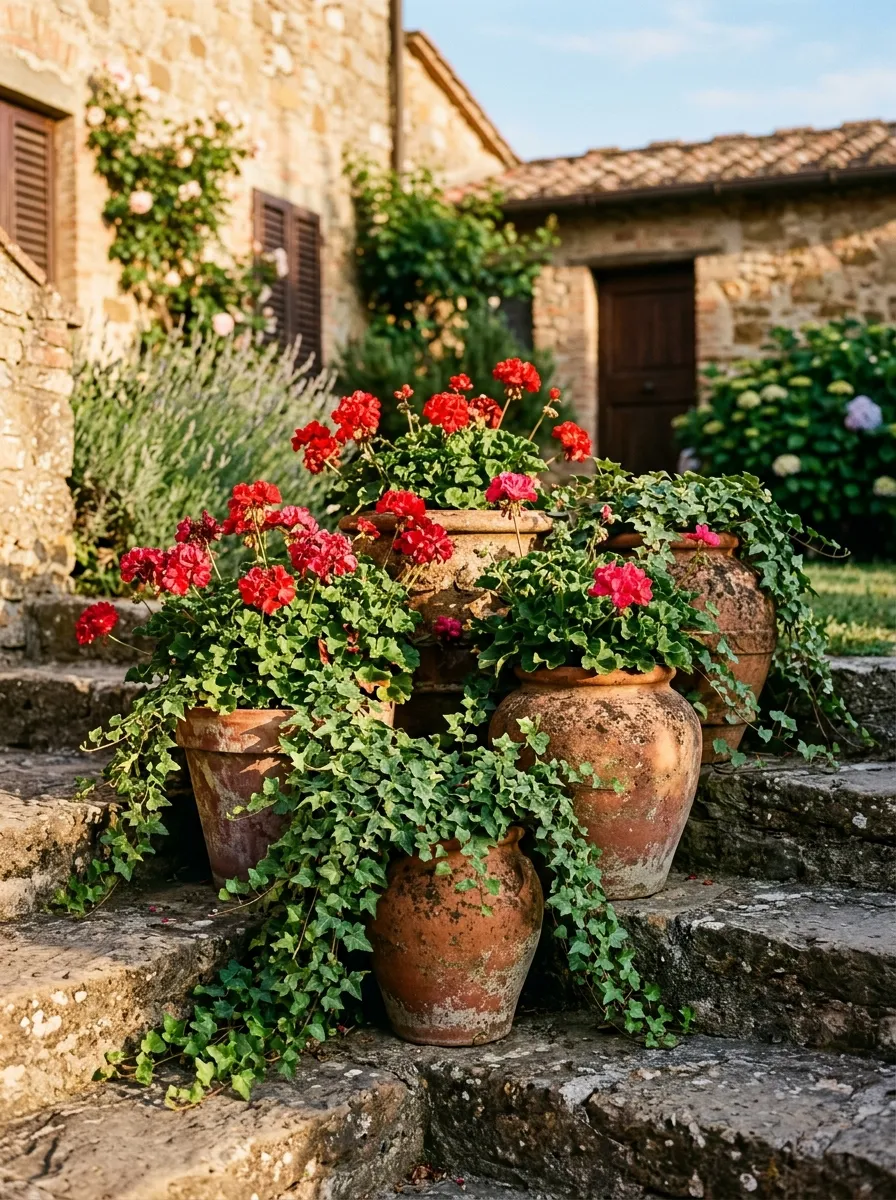
Terracotta pots have a timeless, slightly rustic look that fits the cottage style far better than plastic or glossy ceramic containers. Their natural clay color also weathers attractively over time, developing a mottled patina that only improves with age.
Group several pots of different sizes along steps, a doorway, or a patio edge. Fill them with classic cottage flowers like geraniums, which bloom reliably all summer with minimal care.
Terracotta is porous, so these pots dry out faster than plastic ones, meaning more frequent watering during hot stretches.
Budget tip: unglazed terracotta pots are usually the cheapest option at garden centers, and secondhand ones show up often at yard sales.
This project brings an instantly recognizable cottage element to any entryway or patio, for a relatively small cost.
15. Create a Cutting Garden for Fresh Bouquets
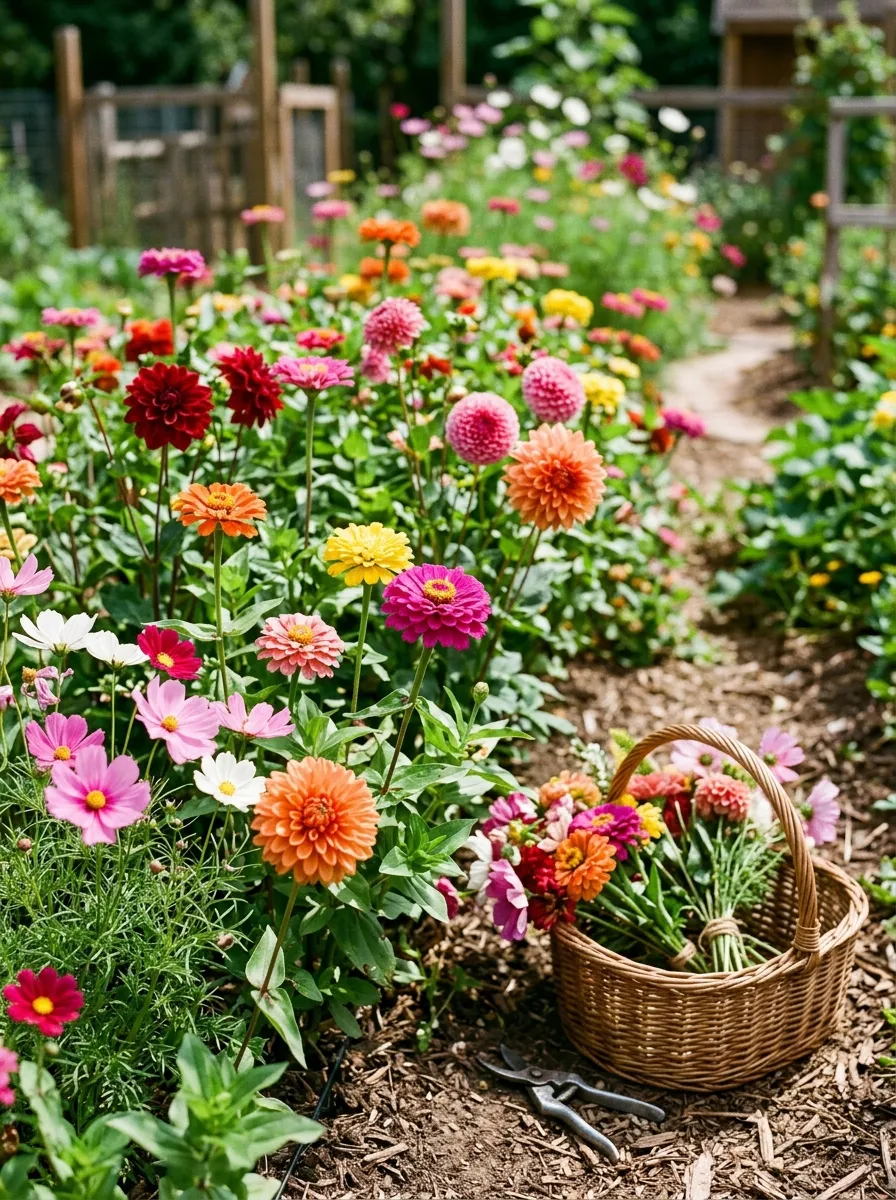
A cutting garden gives you a steady supply of fresh flowers for the table without stripping blooms from your main display beds. Dedicate a small, sunny patch specifically to flowers meant for picking, like zinnias, dahlias, and cosmos.
Plant in loose rows rather than the more scattered look of your ornamental beds, since this makes harvesting easier and encourages more blooms overall.
Cut flowers regularly, actually more than you might expect, since most cutting flowers produce more blooms the more you harvest them.
Budget tip: these flowers grow easily and cheaply from seed, making fresh bouquets far less costly than buying cut flowers from a store.
This project gives your cottage garden a practical purpose beyond looks, providing fresh flowers for your home throughout the growing season.
16. Add a Small Wishing Well or Garden Statue
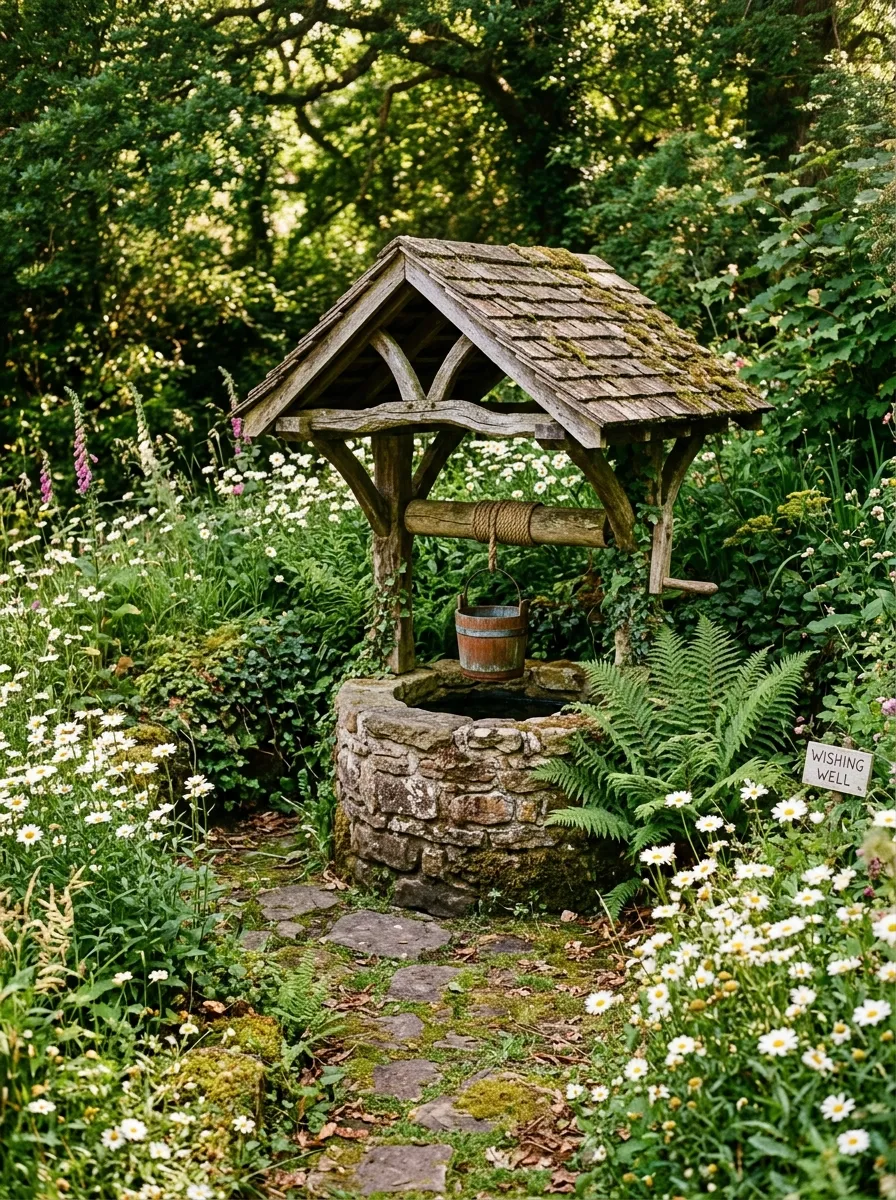
A small decorative feature, like a miniature wishing well or a weathered statue, gives your garden a whimsical touch that fits the storybook feel of cottage style. Tuck it into a bed rather than placing it in an open, obvious spot, so it feels discovered rather than staged.
Let surrounding plants grow up around the base slightly, since a half-hidden feature reads as more charming than one standing in a cleared, empty space.
Choose materials like stone or aged concrete that weather naturally rather than anything glossy or bright.
Budget tip: garden statuary shows up often at estate sales and thrift stores for a fraction of new retail prices.
This small addition adds personality and a sense of story to your garden, exactly the kind of detail that makes a space feel dreamy rather than just planted.
17. Grow Climbing Clematis Over an Entry
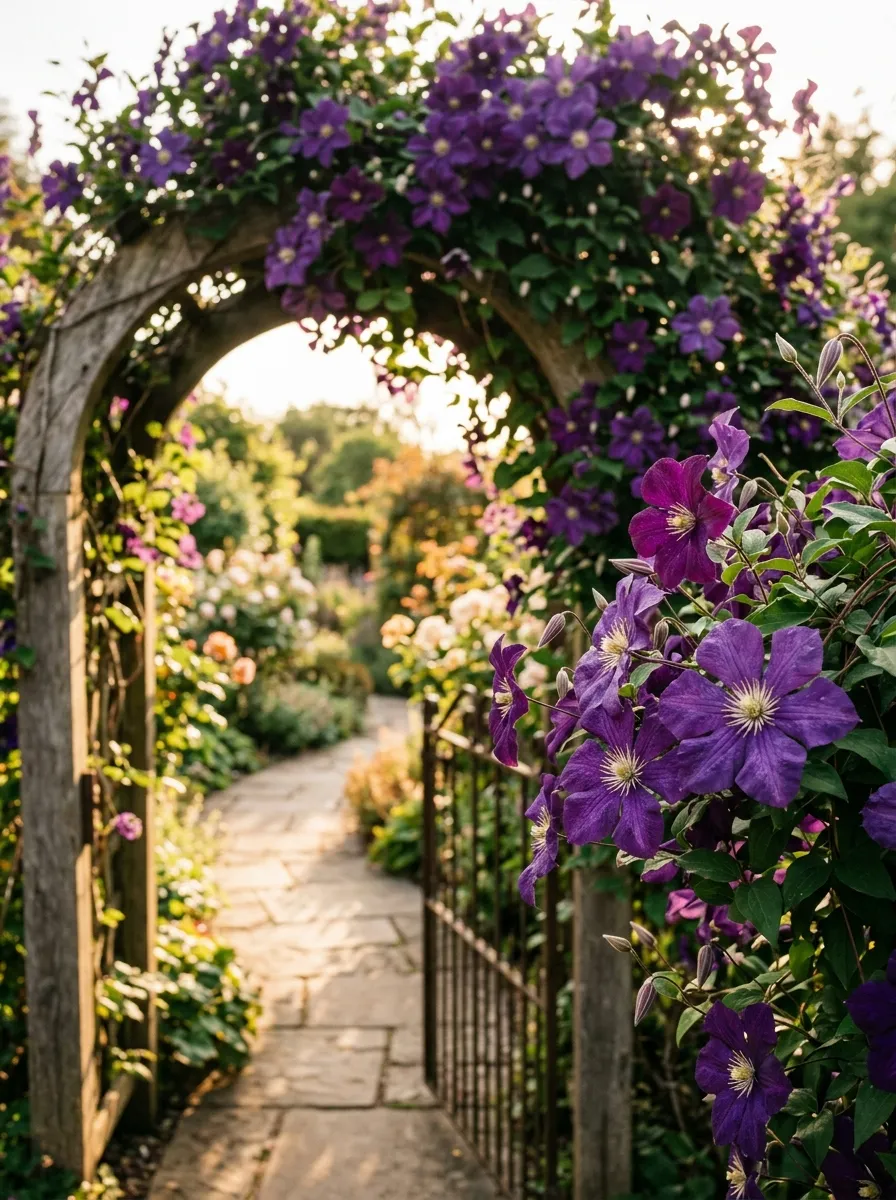
Clematis produces some of the showiest blooms of any climbing plant, and training it over a doorway or garden entry creates an instant, dramatic focal point. Plant it at the base of a trellis or arch, keeping the roots shaded while the vine climbs toward sunlight above.
Water deeply and regularly during the first year while the root system establishes, since clematis can be slow to settle in before it takes off.
Choose a variety suited to your specific climate zone, since bloom times and cold tolerance vary quite a bit between types.
Budget tip: smaller, younger clematis plants cost far less than mature ones and often catch up in growth within a season or two.
This project creates one of the most photogenic features in any cottage garden, framing an entry point with a dramatic, colorful curtain of blooms.
18. Use Woven Willow or Twig Edging
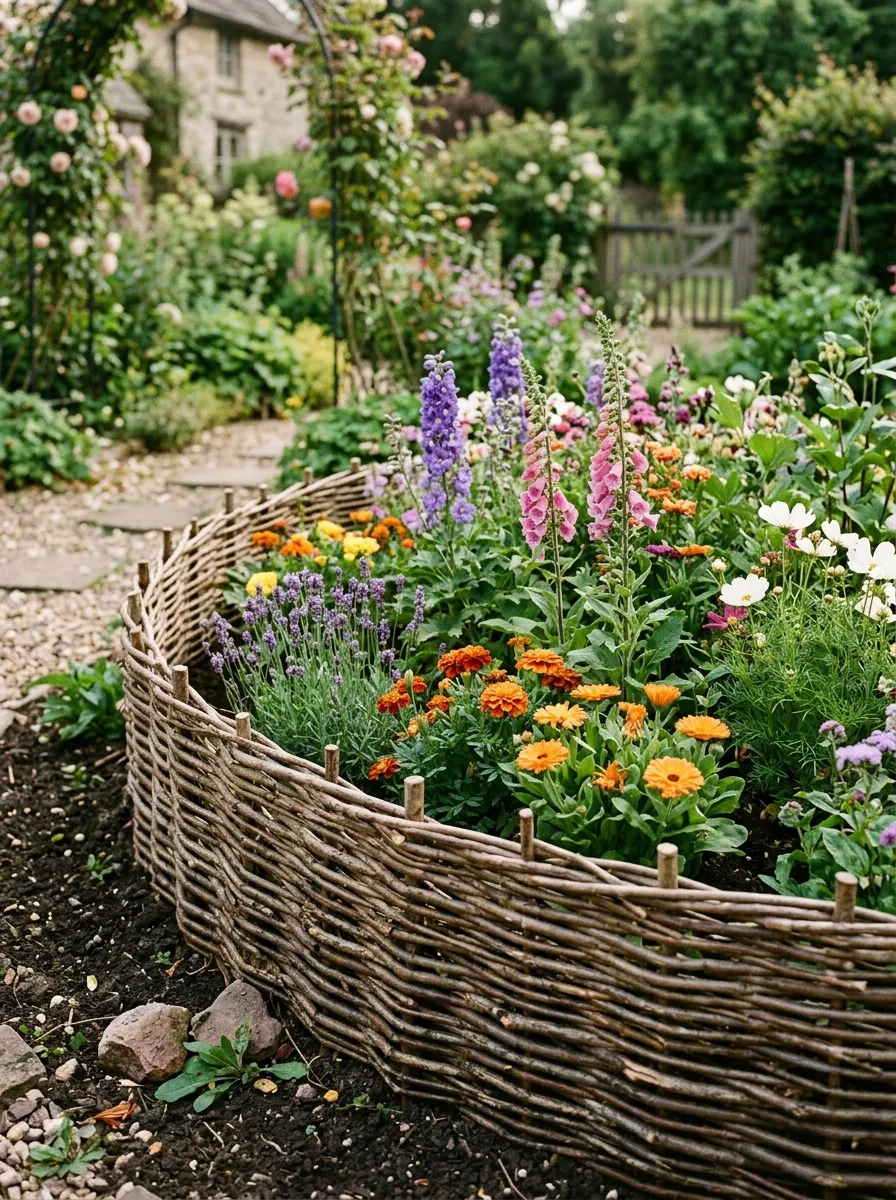
Woven twig edging, sometimes called wattle fencing, gives beds a soft, handmade border that fits the cottage aesthetic better than rigid plastic or metal edging. Weave flexible branches, like willow or dogwood, between short stakes driven into the ground along your bed’s border.
This kind of edging holds mulch in place while looking like it belongs in a storybook illustration rather than a hardware store aisle.
The branches will weather and gray over time, which only adds to the rustic charm rather than detracting from it.
Budget tip: many yards already have willow, dogwood, or other flexible branches available for free after a seasonal pruning.
This project costs almost nothing if you have access to the right branches, and it adds a genuinely handcrafted element that store-bought edging can’t replicate.
19. Plant Hollyhocks Against a Wall or Fence
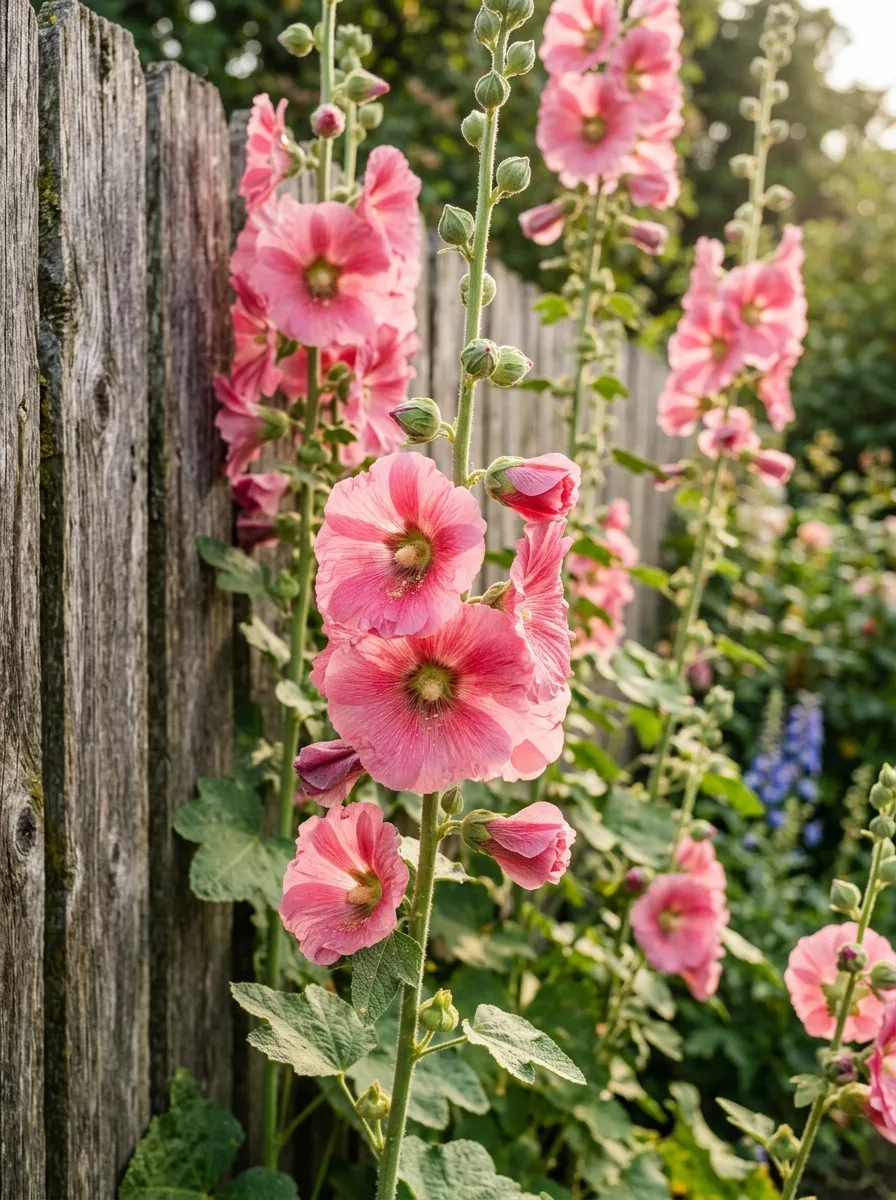
Hollyhocks grow tall, sometimes reaching six feet or more, with blooms stacked along a single towering stem. Planted against a wall or fence, they create dramatic height and a classic cottage silhouette without needing a trellis or support structure.
Give them a spot with good sun and decent soil drainage, and stake taller varieties if your area gets strong winds, since the height can make them top-heavy.
Hollyhocks often self-seed readily, so a single planting can return year after year with little extra effort.
Budget tip: collect seed from a neighbor’s established hollyhock plant in fall instead of buying seed packets or starts.
This project adds vertical drama to a plain fence or wall, filling what’s often an overlooked space with one of the most recognizable cottage garden flowers.
20. Add a Small Potting Shed or Storage Nook
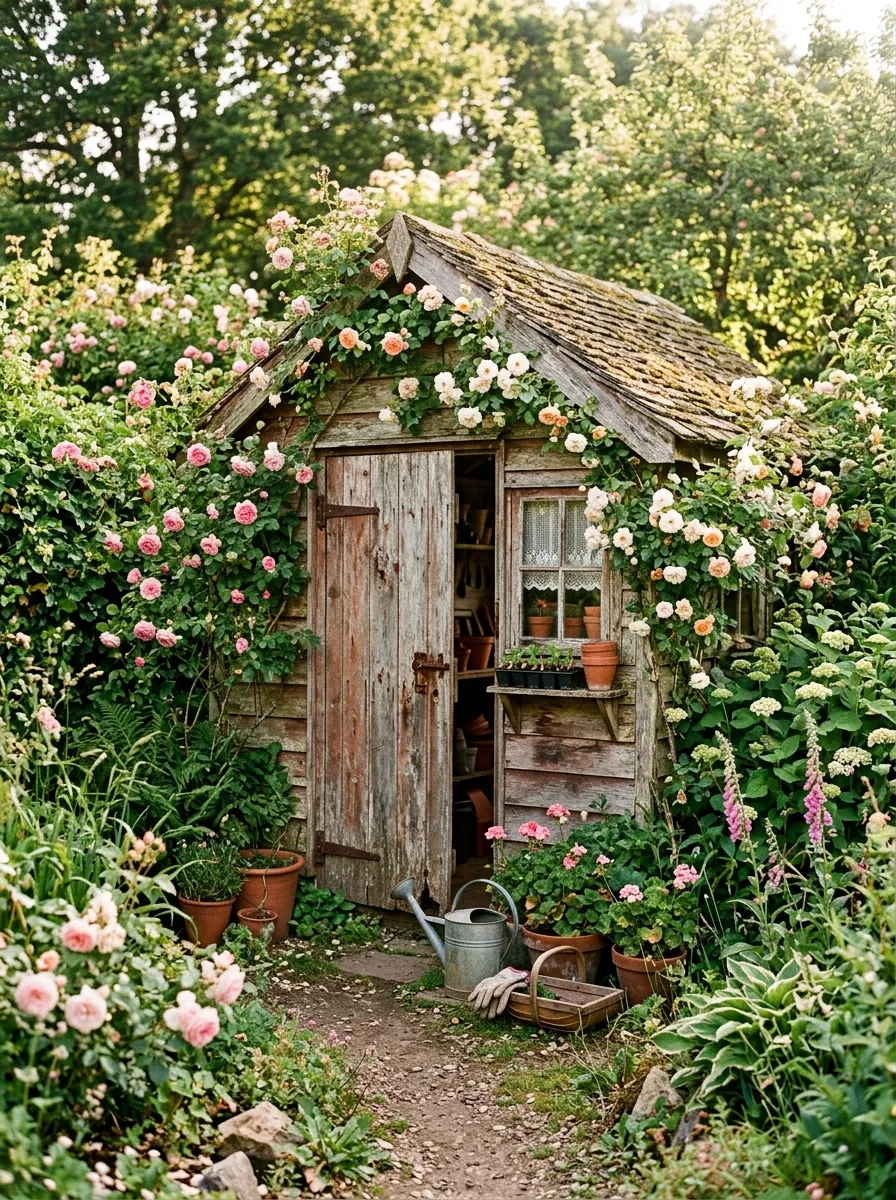
A small potting shed, even a modest one, gives your garden a practical home base while adding real architectural charm. It doesn’t need to be large. A simple structure just big enough for tools, pots, and a small potting bench covers most needs.
Let climbing plants like roses or ivy grow up the sides over time, softening the structure so it blends into the garden rather than standing apart from it.
Paint it in a soft, weathered color that complements your other garden features rather than a bright, modern shade.
Budget tip: secondhand storage sheds or garden buildings often show up on local marketplace listings for far less than new construction.
This project gives your garden both function and visual charm, anchoring the space with a structure that feels like it’s always belonged there.
21. Grow Climbing Nasturtiums for Easy Color
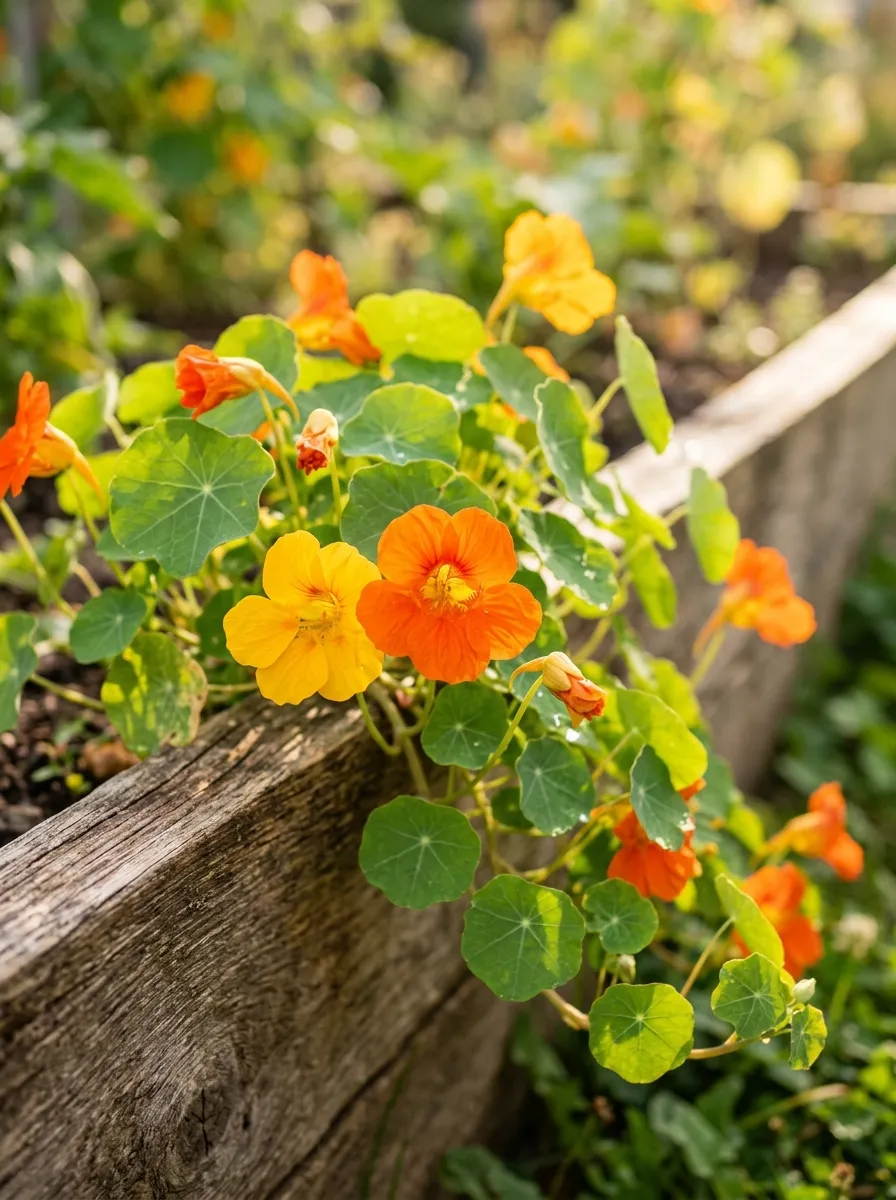
Nasturtiums grow fast, bloom generously, and tolerate poor soil better than almost any other flower, making them a low-effort way to add bright color throughout a cottage garden. Their trailing habit also works well spilling over bed edges, pots, or low walls.
Plant seeds directly in the ground after the last frost, and resist the urge to fertilize heavily, since rich soil actually produces more leaves and fewer blooms.
Both the flowers and leaves are edible, adding a peppery bite to salads if you want to use them beyond decoration.
Budget tip: nasturtium seeds are among the cheapest available and germinate reliably even for total beginners.
This project fills gaps and bare edges with fast, cheerful color, asking for almost nothing in return once the seeds are in the ground.
22. Use Antique Watering Cans as Decor
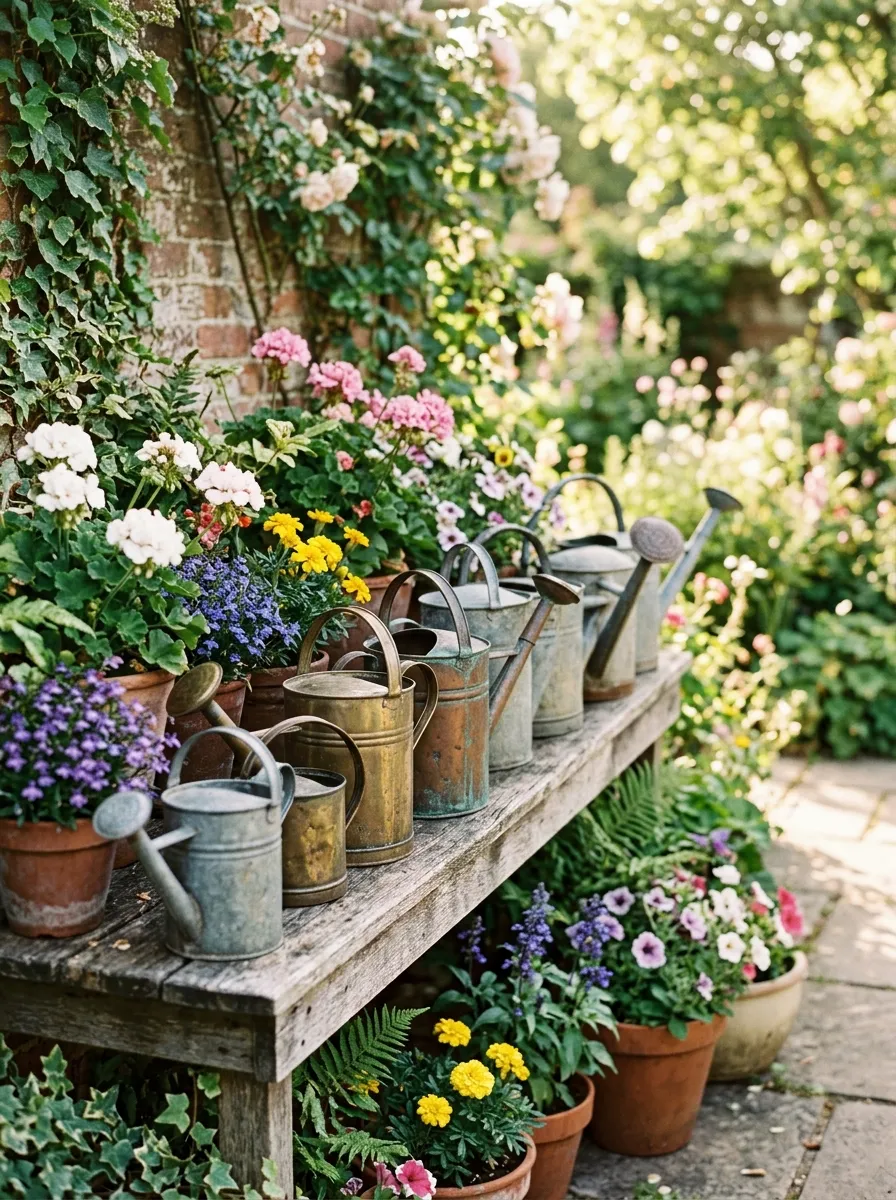
Old watering cans, even ones too rusted or dented for actual watering, make charming decorative accents throughout a cottage garden. Line a few up along a shelf, garden bench, or windowsill, or use one as a quirky planter for trailing flowers.
Mixing a couple of decorative cans with a working one keeps the display practical as well as pretty, so the collection still serves a purpose beyond just looking good.
Let them develop natural rust and patina rather than restoring them to a shiny finish, since the weathered look fits the cottage style far better.
Budget tip: flea markets and antique shops often sell old watering cans cheaply, since they’re considered too worn for practical use by most buyers.
This project adds nostalgic, collected-over-time charm to your garden for very little cost or effort.
23. Let Moss and Lichen Grow on Stone Features
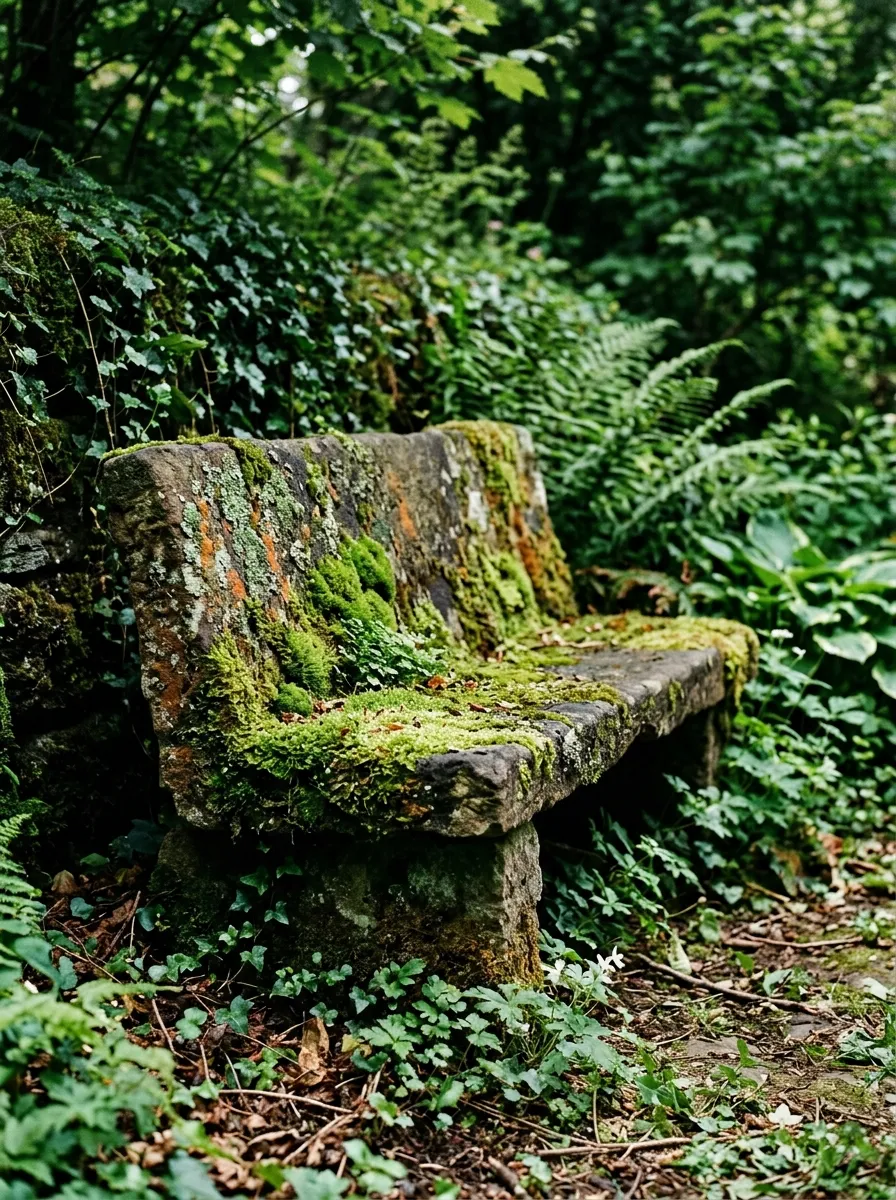
Moss and lichen growing naturally on stone benches, statues, or pathways add an aged, storybook quality that new materials simply can’t fake. Rather than scrubbing these growths away, let them spread in shaded, damp corners of your garden.
If you want to encourage moss growth on a specific stone feature, mix a bit of yogurt or buttermilk with water and brush it onto the surface, then keep the area consistently shaded and moist.
This works best on porous materials like natural stone or unglazed concrete rather than smooth, sealed surfaces.
Budget tip: this project costs nothing beyond a little patience, since moss spreads naturally given the right damp, shaded conditions.
This small, patient project adds a genuinely aged character to garden features, the exact quality that makes a cottage garden feel like it’s been there for generations.
Conclusion
A cottage garden isn’t built in a weekend, and that’s part of its charm. It grows into itself slowly, through dense planting, weathered materials, and a willingness to let nature blur a few edges. Start with one or two ideas from this list, a climbing rose here, a mismatched brick border there, and let the rest fill in over time. The dreamy, overflowing garden you’re picturing is closer than it looks, built one affordable, unhurried project at a time.